")


The first time I made these Whipped Cream and Berries Cups, it was almost an accident. We’d just had a lovely, slightly heavy Sunday roast, and the thought of a complicated or rich dessert felt overwhelming. Rummaging through the fridge, I found a carton of heavy cream nearing its best-by date and a punnet each of slightly soft strawberries and perfectly ripe blueberries I’d bought at the farmer’s market. Inspiration struck – sometimes the simplest ideas are truly the best. I remembered my grandmother making simple whipped cream desserts in the summer, always served in her prettiest glass bowls. With minimal effort, just whipping the cream with a touch of sugar and vanilla and layering it with the quickly sliced berries, I created something magical. When I brought the individual cups out to the living room where my family was relaxing, the reaction was immediate. Eyes lit up! My kids, usually picky about fruit, devoured theirs, asking for seconds before they’d even finished the first. My husband, who often skips dessert, commented on how refreshingly light yet satisfying it was – the perfect antidote to the rich main course. The cool, airy cream contrasted beautifully with the sweet-tart burst of the fresh berries. It wasn’t fancy, it wasn’t complicated, but it felt special. Since that day, these Whipped Cream and Berries Cups have become a staple in our house. They are my go-to for last-minute guests, a quick weeknight treat, or even a simple, elegant dessert for casual dinner parties. Their beauty lies in their simplicity, the quality of the fresh ingredients shining through. It’s a reminder that delicious food doesn’t need to be complex; sometimes, all you need is good cream, ripe fruit, and a little bit of love. This recipe is more than just instructions; it’s a gateway to easy elegance and pure, simple joy in a cup. It’s adaptable, forgiving, and universally loved – everything you could want in a dessert.
Ingredients
- 2 cups (480ml) Heavy Whipping Cream: Choose a high-quality cream with at least 35% milk fat for the best volume and stability when whipped. Ensure it’s very cold.
- 1/4 cup (30g) Powdered Sugar (Confectioners’ Sugar): Sifted, to avoid lumps. Adjust amount to your preferred sweetness level. Powdered sugar dissolves easily and contains cornstarch, which helps slightly stabilize the cream.
- 1 teaspoon Pure Vanilla Extract: Use good quality vanilla for the best flavour. You can substitute with vanilla bean paste for visible vanilla specks.
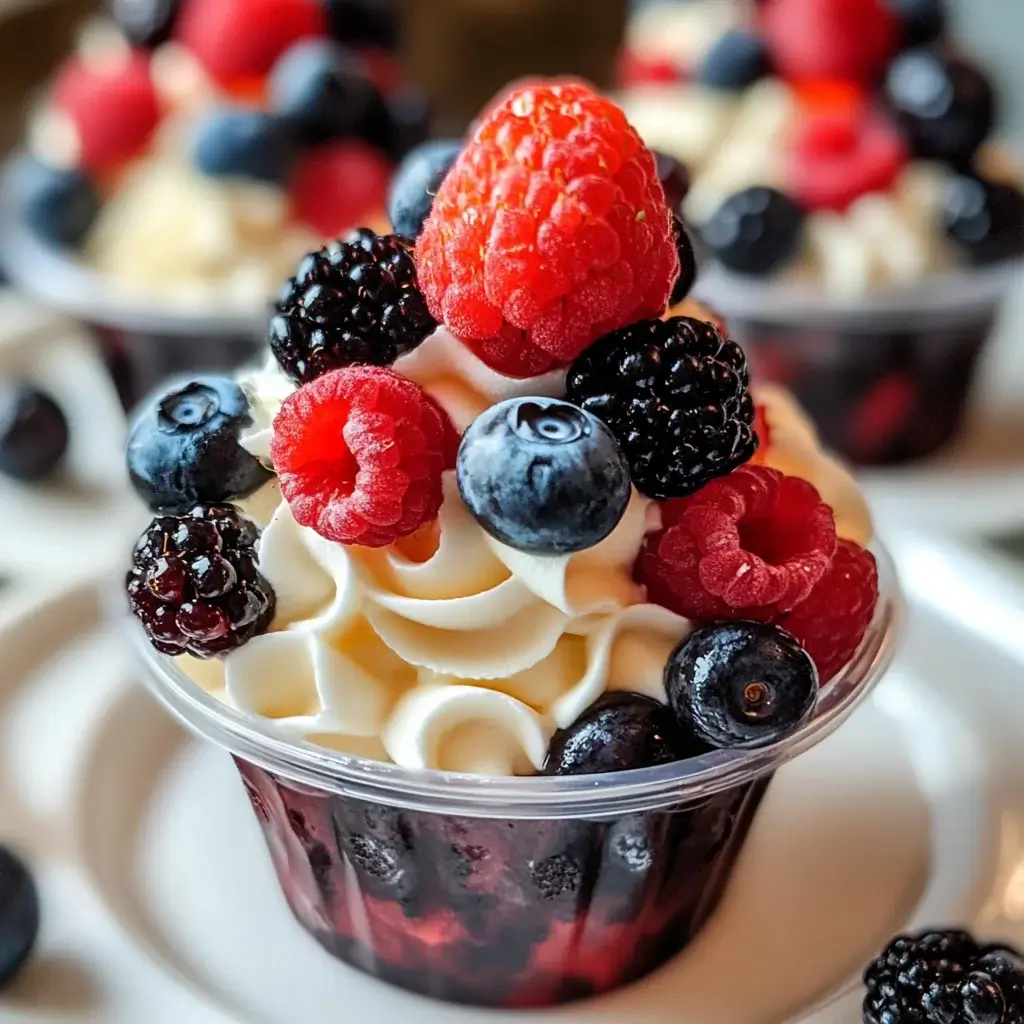
- 4 cups Mixed Fresh Berries: A combination of strawberries (hulled and sliced or quartered), blueberries, raspberries, and blackberries works beautifully. Use ripe, seasonal berries for optimal taste. Ensure they are washed and gently patted dry.
- Optional Garnishes: Fresh mint sprigs, lemon or orange zest, dark chocolate shavings, crushed shortbread cookies, or a drizzle of berry coulis.
Instructions
- Chill Your Equipment: Place the metal or glass mixing bowl you plan to use and the beaters (whisk attachment if using a stand mixer) in the freezer for at least 15-20 minutes before you begin. Cold equipment is crucial for achieving light, airy, and stable whipped cream. Ensure your heavy cream is also thoroughly chilled right up until you use it.
- Prepare the Berries: While the equipment chills, gently wash your chosen fresh berries under cold running water. Pat them completely dry with paper towels; excess water can make the dessert watery. Hull the strawberries and slice or quarter them depending on their size. Leave smaller berries like blueberries and raspberries whole. Set the prepared berries aside. You can lightly toss them together in a bowl or keep them separate for distinct layers.
- Whip the Cream: Pour the very cold heavy whipping cream into the chilled mixing bowl. Add the sifted powdered sugar and the pure vanilla extract.
- Start Whipping: Begin whipping the cream mixture on low speed using an electric hand mixer or a stand mixer fitted with the whisk attachment. Gradually increase the speed to medium-high as the cream starts to thicken.
- Achieve Stiff Peaks: Continue whipping until the cream becomes thick, voluminous, and forms “stiff peaks.” This means that when you lift the beaters (or whisk) out of the cream, the peak that forms holds its shape firmly and doesn’t flop over. Be careful not to overwhip, or the cream will start to separate and turn grainy, eventually becoming butter. This process usually takes about 3-5 minutes, depending on your mixer’s power.
- Assemble the Cups: Select your serving vessels – small glass tumblers, parfait glasses, ramekins, or even mason jars work well. Start by placing a layer of whipped cream (about 1-2 tablespoons, depending on cup size) at the bottom of each cup.
- Add a Berry Layer: Spoon a layer of the mixed berries over the whipped cream. Be generous, ensuring a good ratio of fruit to cream.
- Repeat Layering: Add another layer of whipped cream on top of the berries. Follow with another layer of berries. Continue layering until you reach near the top of the cup, typically ending with a final dollop or swirl of whipped cream. Aim for 2-3 layers of each component.
- Garnish (Optional): If desired, add your chosen garnishes just before serving. A sprig of fresh mint adds a pop of colour and freshness. A sprinkle of lemon or orange zest enhances the fruity notes. Dark chocolate shavings offer a touch of indulgence. Crushed cookies can add texture.
- Chill (Recommended): For the best flavour and texture, cover the assembled cups loosely with plastic wrap and chill them in the refrigerator for at least 30 minutes before serving. This allows the flavours to meld slightly and ensures the dessert is refreshingly cold. However, they can also be served immediately if preferred.
Nutrition Facts
- Servings: This recipe typically makes 4-6 individual servings, depending on the size of the cups used.
- Calories Per Serving: Approximately 350-450 kcal per serving (estimated, will vary based on exact ingredients, portion size, and sugar amount).
- Fat: High in fat, primarily saturated fat from the heavy cream. Provides richness and mouthfeel. (35-45g)
Preparation Time
This Whipped Cream and Berries Cups recipe is wonderfully quick to prepare. The active preparation time, which includes washing and preparing the berries, whipping the cream, and assembling the cups, is typically only 15 to 20 minutes. If you factor in the recommended (but optional) 30-minute chilling time before serving, the total time from start to finish is under an hour. It’s an ideal dessert when you’re short on time but still want something impressive and delicious. The majority of the effort is in the whipping and layering, both relatively fast processes.
How to Serve
Serving these Whipped Cream and Berries Cups is all about showcasing their simple beauty and fresh flavours. Here are some ideas:
- Choose the Right Vessel:
- Glass Tumblers or Parfait Glasses: Clear glass allows the beautiful layers of white cream and colourful berries to be visible, enhancing the visual appeal.
- Small Bowls or Ramekins: Offer a classic dessert presentation. White ramekins contrast nicely with the berry colours.
- Mason Jars: Provide a rustic, charming look, perfect for picnics or casual gatherings. Choose smaller 4oz or 8oz jars.
- Wine or Martini Glasses: Elevate the presentation for a more sophisticated feel, suitable for dinner parties.
- Temperature: Always serve these cups chilled. The cold temperature enhances the refreshing quality of the dessert and keeps the whipped cream firm. If they’ve been chilling for longer, let them sit at room temperature for 5 minutes before serving for the best texture.
- Garnishing is Key:
- Fresh Mint: A sprig of mint adds elegance, a pop of green colour, and a hint of fresh aroma.
- Citrus Zest: Finely grated lemon or orange zest sprinkled on top brightens the flavours and complements the berries.
- Chocolate: Dark chocolate shavings or a light dusting of cocoa powder add a touch of decadence.
- Texture: A sprinkle of crushed shortbread cookies, toasted nuts (like sliced almonds or pistachios), or granola adds a delightful textural contrast.
- Sauce Drizzle: A thin drizzle of berry coulis, chocolate sauce, or salted caramel sauce can take it to the next level, but use sparingly to avoid overpowering the fresh flavours.
- Occasions:
- After Dinner Dessert: Perfect as a light and refreshing end to any meal, especially after heavier main courses.
- Summer Parties & BBQs: Easy to make ahead (assemble just before serving) and serve individually, making them ideal for outdoor gatherings.
- Brunch: A lovely addition to a brunch spread, offering a sweet but not overly heavy option.
- Potlucks: Easily transportable if assembled in jars with lids.
- Simple Weeknight Treat: Quick enough to whip up any night of the week when a sweet craving hits.
- Serving Presentation:
- Place the individual cups on small dessert plates or saucers.
- Provide small dessert spoons for easy eating.
- If serving at a buffet, arrange the cups attractively on a platter.
Additional Tips
- The Colder, The Better: This can’t be stressed enough for perfect whipped cream. Ensure your heavy cream is straight from the coldest part of your fridge. Chilling the bowl and beaters (preferably metal or glass, as they retain cold better than plastic) prevents the cream from warming up as you whip, helping the fat globules emulsify efficiently and create maximum volume and stability. Even 10-15 minutes in the freezer makes a difference.
- Avoid Overwhipping: Keep a close eye on the cream as it approaches stiff peaks. If you whip it for too long, the fat globules will clump together, the mixture will become grainy, separate, and eventually turn into sweetened butter and buttermilk. If you see it starting to look slightly chunky or losing its smooth sheen, stop immediately. It’s better to slightly under-whip than overwhip.
- Sweetness Control: Taste the whipped cream before you start layering. Add more sifted powdered sugar, a teaspoon at a time, if you prefer it sweeter. Remember the berries also add sweetness. You can also use alternatives like maple syrup or agave, but add them towards the end of whipping, as liquids can slightly affect the final texture. Start with less; you can always add more.
- Berry Freedom: Don’t feel restricted to mixed berries! Use whatever fruit is fresh, seasonal, and delicious. Sliced peaches, nectarines, mango chunks, kiwi slices, or even pitted cherries work wonderfully. Consider a single-fruit focus, like purely strawberry or raspberry cups. Ensure harder fruits are sliced thinly or diced small.
- Make-Ahead Strategy: While best assembled close to serving time for optimal freshness and texture (berries can release juice), you can make components ahead. The whipped cream can be made a few hours in advance (or up to a day if stabilized – see FAQ) and stored covered in the fridge. Wash and prepare the berries ahead, storing them in an airtight container. Assemble the cups up to an hour or two before serving and keep chilled.
- Flavour Enhancements: Elevate the basic recipe with simple additions. A teaspoon of citrus zest (lemon, lime, or orange) folded into the whipped cream adds brightness. Substitute almond extract or coconut extract for vanilla for a different profile. A tiny pinch of salt in the whipped cream can actually enhance the sweetness and complexity.
- Layering Perfection: For neat, distinct layers, especially in tall glasses, consider using a piping bag (with or without a tip) to add the whipped cream layers. This gives you more control than spooning it in. Alternatively, carefully spoon the cream and berries towards the center of the glass, letting them spread naturally towards the edges, minimizing smudges on the glass.
- Handling Frozen Berries: If fresh berries aren’t available or economical, frozen berries can be used. However, you MUST thaw them completely first. Place them in a colander over a bowl to drain away excess liquid as they thaw. Pat them gently dry with paper towels before layering. Be aware that frozen berries tend to be softer and may release more juice than fresh, potentially making the bottom layers slightly wetter. Using them in a compote first is another great option.
FAQ
- Q: Can I use low-fat cream or half-and-half instead of heavy whipping cream?
A: Unfortunately, no. The ability of cream to whip into a stable foam depends almost entirely on its fat content. Heavy whipping cream typically contains 35-40% milk fat. This high fat content is necessary for trapping air bubbles and creating the structure of whipped cream. Lighter creams, half-and-half, or milk simply don’t have enough fat to whip properly; they will remain liquid or become only slightly frothy. For this recipe, stick to heavy cream or heavy whipping cream. - Q: How can I make a dairy-free or vegan version of this recipe?
A: Yes, you absolutely can! The best substitute is full-fat coconut cream (not coconut milk). Chill a can of full-fat coconut milk or coconut cream in the fridge overnight without shaking it. The thick, solid cream will separate from the watery liquid. Scoop out only the thick, solid cream into your chilled bowl, discarding the liquid (save it for smoothies!). Add powdered sugar and vanilla, and whip just like heavy cream. It whips beautifully into a rich, dairy-free topping. There are also commercially available vegan whipping creams (often made from lentil protein, oat milk, or other bases) that work well. - Q: How long will these Whipped Cream and Berries Cups last in the refrigerator?
A: These cups are best enjoyed within a few hours of assembly, ideally within the same day. The whipped cream, especially if not stabilized, will gradually deflate and potentially weep liquid over time. The berries will also soften and release juices, which can make the layers watery. If you need to store them, cover loosely with plastic wrap and refrigerate for up to 24 hours, but be aware the texture won’t be quite as perfect as when freshly made. - Q: Can I use frozen berries instead of fresh?
A: Yes, frozen berries are a viable option, especially out of season. However, it’s crucial to thaw them completely and drain them very well before use, as they release a significant amount of liquid upon thawing. Pat them dry gently. Keep in mind that thawed berries will have a softer, less vibrant texture than fresh ones and might make the dessert slightly more “juicy.” For better texture, consider making a quick compote by simmering the thawed berries with a little sugar and cornstarch, letting it cool completely before layering. - Q: Are there other sweeteners I can use besides powdered sugar?
A: Yes, while powdered sugar is ideal because it dissolves easily and contains cornstarch for slight stabilization, you can use other sweeteners. Granulated sugar can work, but whip a bit longer to ensure it dissolves fully to avoid grittiness. Liquid sweeteners like maple syrup, honey, or agave nectar can be used (add them slowly towards the end of whipping), but they add moisture and may result in slightly softer whipped cream. For sugar-free options, use powdered erythritol or xylitol (ensure it’s powdered) or liquid stevia drops to taste. - Q: My whipped cream deflates quickly. How can I make it more stable for longer storage?
A: Standard whipped cream is best fresh. For longer stability (if making ahead or needing it to hold its shape longer), you need to add a stabilizer. Common methods include:- Gelatin: Bloom powdered gelatin in cold water, gently melt it, cool slightly, then whisk it into the cream as it reaches soft peaks.
- Cream Cheese: Beat a small amount (e.g., 2 oz) of softened cream cheese until smooth, then gradually beat in the cold heavy cream, sugar, and vanilla.
- Powdered Milk: Adding a tablespoon or two of non-fat dry milk powder can help absorb excess liquid.
- Cornstarch: Included in powdered sugar, or you can add a teaspoon extra (mixed with the sugar) for more stability.
- Commercial Stabilizers: Products specifically designed for stabilizing whipped cream are also available.
- Q: Can I add other elements to the layers besides cream and berries?
A: Absolutely! Get creative with your layers. Consider adding:- Texture: Crushed cookies (like shortbread, Oreos, graham crackers), granola, toasted chopped nuts (almonds, pecans, pistachios), or shredded coconut.
- Cake or Brownie: Small cubes of pound cake, angel food cake, or crumbled brownies make it more substantial.
- Sauces: A thin layer of lemon curd, berry coulis, chocolate ganache, or caramel sauce between the cream and berries.
- Meringue: Crushed meringue cookies add sweetness and crunch.
Remember to balance flavours and textures.
- Q: Is this recipe naturally gluten-free?
A: Yes, the core recipe using just heavy cream, powdered sugar, vanilla, and fresh berries is naturally gluten-free. However, you need to be mindful if you add optional elements. Ensure any garnishes like crushed cookies or additions like cake crumbles are certified gluten-free if catering to someone with celiac disease or gluten sensitivity. Always double-check labels on extracts and processed ingredients if strict gluten avoidance is necessary.

Whipped Cream and Berries Cups
Ingredients
- 2 cups (480ml) Heavy Whipping Cream: Choose a high-quality cream with at least 35% milk fat for the best volume and stability when whipped. Ensure it’s very cold.
- 1/4 cup (30g) Powdered Sugar (Confectioners’ Sugar): Sifted, to avoid lumps. Adjust amount to your preferred sweetness level. Powdered sugar dissolves easily and contains cornstarch, which helps slightly stabilize the cream.
- 1 teaspoon Pure Vanilla Extract: Use good quality vanilla for the best flavour. You can substitute with vanilla bean paste for visible vanilla specks.
- 4 cups Mixed Fresh Berries: A combination of strawberries (hulled and sliced or quartered), blueberries, raspberries, and blackberries works beautifully. Use ripe, seasonal berries for optimal taste. Ensure they are washed and gently patted dry.
- Optional Garnishes: Fresh mint sprigs, lemon or orange zest, dark chocolate shavings, crushed shortbread cookies, or a drizzle of berry coulis.
Instructions
- Chill Your Equipment: Place the metal or glass mixing bowl you plan to use and the beaters (whisk attachment if using a stand mixer) in the freezer for at least 15-20 minutes before you begin. Cold equipment is crucial for achieving light, airy, and stable whipped cream. Ensure your heavy cream is also thoroughly chilled right up until you use it.
- Prepare the Berries: While the equipment chills, gently wash your chosen fresh berries under cold running water. Pat them completely dry with paper towels; excess water can make the dessert watery. Hull the strawberries and slice or quarter them depending on their size. Leave smaller berries like blueberries and raspberries whole. Set the prepared berries aside. You can lightly toss them together in a bowl or keep them separate for distinct layers.
- Whip the Cream: Pour the very cold heavy whipping cream into the chilled mixing bowl. Add the sifted powdered sugar and the pure vanilla extract.
- Start Whipping: Begin whipping the cream mixture on low speed using an electric hand mixer or a stand mixer fitted with the whisk attachment. Gradually increase the speed to medium-high as the cream starts to thicken.
- Achieve Stiff Peaks: Continue whipping until the cream becomes thick, voluminous, and forms “stiff peaks.” This means that when you lift the beaters (or whisk) out of the cream, the peak that forms holds its shape firmly and doesn’t flop over. Be careful not to overwhip, or the cream will start to separate and turn grainy, eventually becoming butter. This process usually takes about 3-5 minutes, depending on your mixer’s power.
- Assemble the Cups: Select your serving vessels – small glass tumblers, parfait glasses, ramekins, or even mason jars work well. Start by placing a layer of whipped cream (about 1-2 tablespoons, depending on cup size) at the bottom of each cup.
- Add a Berry Layer: Spoon a layer of the mixed berries over the whipped cream. Be generous, ensuring a good ratio of fruit to cream.
- Repeat Layering: Add another layer of whipped cream on top of the berries. Follow with another layer of berries. Continue layering until you reach near the top of the cup, typically ending with a final dollop or swirl of whipped cream. Aim for 2-3 layers of each component.
- Garnish (Optional): If desired, add your chosen garnishes just before serving. A sprig of fresh mint adds a pop of colour and freshness. A sprinkle of lemon or orange zest enhances the fruity notes. Dark chocolate shavings offer a touch of indulgence. Crushed cookies can add texture.
- Chill (Recommended): For the best flavour and texture, cover the assembled cups loosely with plastic wrap and chill them in the refrigerator for at least 30 minutes before serving. This allows the flavours to meld slightly and ensures the dessert is refreshingly cold. However, they can also be served immediately if preferred.
Nutrition
- Serving Size: one normal portion
- Calories: 450
- Fat: 45g