")


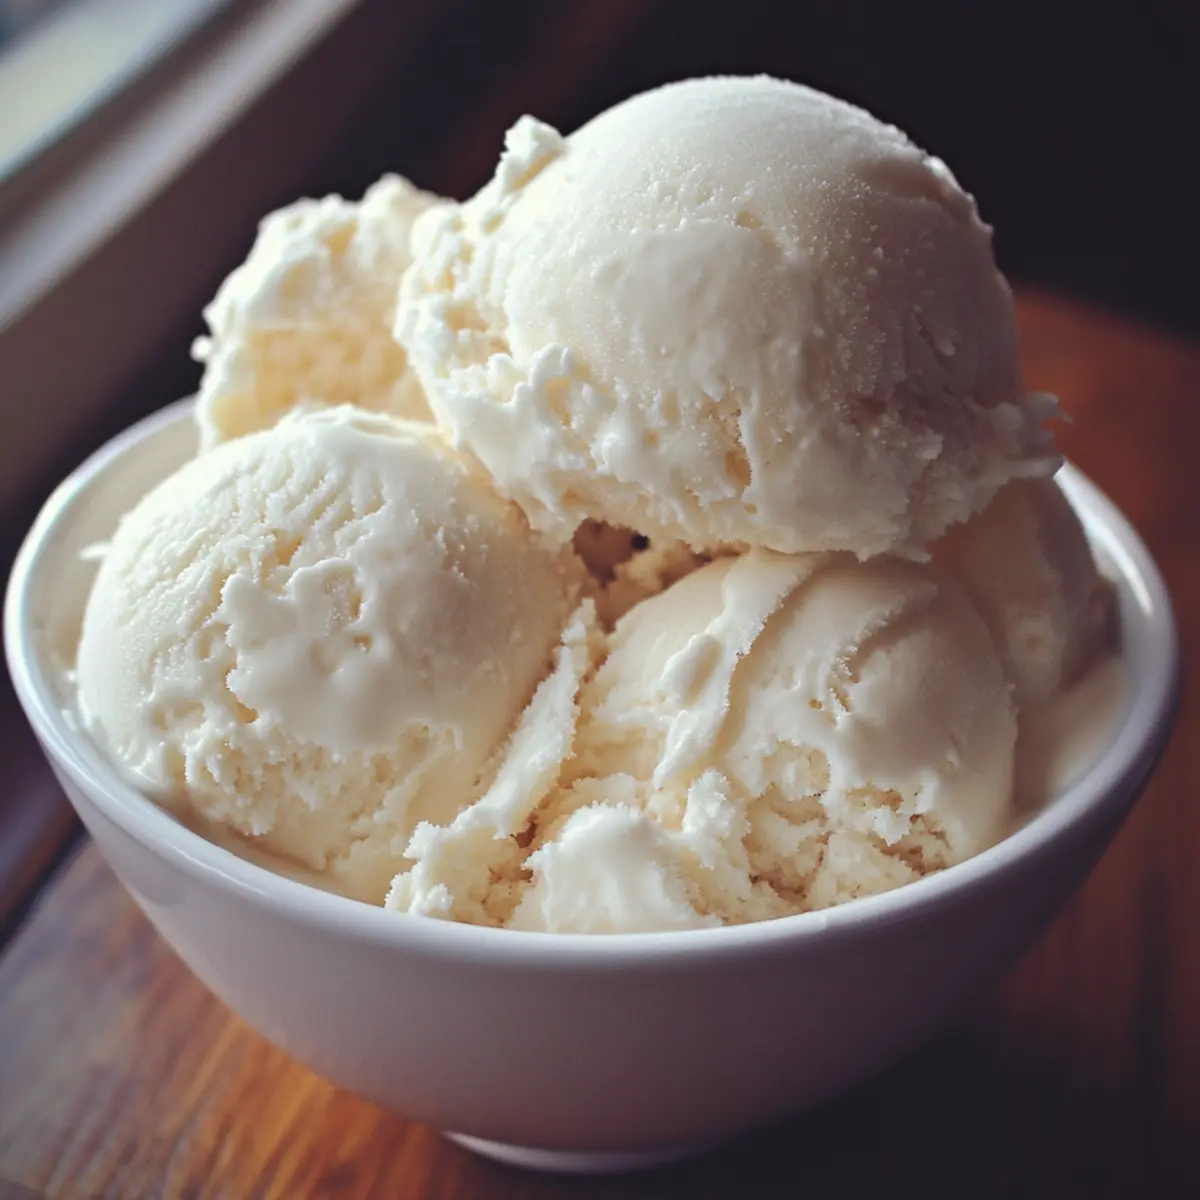
There’s something magical about the creamy, rich aroma of homemade vanilla ice cream swirling through your kitchen. After countless trips to the freezer aisle, I finally decided to craft my own version from scratch—and wow, nothing compares to that first luscious spoonful melting on your tongue. What I love most is how simple ingredients transform into a silky dessert that feels both nostalgic and indulgent. Whether you’re craving a sweet escape on a summer afternoon or looking to impress guests with a classic crowd-pleaser, this homemade vanilla ice cream recipe is your new go-to. It’s easy to make, endlessly versatile, and way more satisfying than anything store-bought. Let me show you how to make this timeless treat right at home!
Why Choose Homemade Vanilla Ice Cream?
Unmatched Creaminess: The fresh ingredients and slow churning create an irresistibly smooth texture. Simple Ingredients: Just a few pantry staples come together for a classic flavor. Customizable: Add your favorite mix-ins or toppings for endless variety. No Preservatives: Pure, natural, and free from artificial additives. Time-Saving: Quick to prepare and perfect for last-minute dessert cravings. Guaranteed Crowd-Pleaser: A timeless treat that everyone loves!
Homemade Vanilla Ice Cream Ingredients
For the Ice Cream Base
- Whole Milk – Provides creaminess and balances richness for a silky texture.
- Heavy Cream – Essential for that luscious, dreamy mouthfeel homemade vanilla ice cream is known for.
- Granulated Sugar – Adds the perfect level of sweetness without overpowering the vanilla flavor.
- Egg Yolks – Act as a natural thickener, creating that smooth custard base everyone loves.
- Pure Vanilla Extract – The star ingredient that gives homemade vanilla ice cream its classic, comforting aroma.
Optional Add-ins and Toppings
- Vanilla Bean Pod – For an extra burst of authentic vanilla flavor and those beautiful specks.
- Sea Salt – Just a pinch enhances all the sweet notes in your ice cream.
- Chocolate Chips or Nuts – Stir in after churning for delightful texture contrasts.
Using these simple ingredients, your homemade vanilla ice cream will capture that creamy, dreamy bliss every time!
How to Make Homemade Vanilla Ice Cream
For the Ice Cream Base:
- Warm Cream: In a medium saucepan, combine whole milk, heavy cream, and vanilla extract (with bean pod if using). Heat over medium until edges bubble, about 5 minutes.
- Whisk Yolks: Meanwhile, whisk egg yolks and granulated sugar vigorously in a bowl until mixture turns pale yellow and ribbons form, about 2–3 minutes.
- Temper Eggs: Slowly pour ½ cup of the warm cream mixture into yolks, whisking constantly to prevent scrambling and gently raise the temperature before returning all to the pan.
- Cook Custard: Return yolk mixture to saucepan. Cook over medium-low, stirring constantly until custard coats the back of a spoon, about 5–7 minutes or 170°F.
Chill & Churn:
- Chill Mixture: Strain custard through a fine-mesh sieve into a clean bowl. Cool to room temperature, then refrigerate for at least 4 hours or overnight.
- Churn Ice Cream: Pour chilled custard into your ice cream maker. Churn following manufacturer’s instructions until it reaches a thick, soft-serve consistency, about 20–25 minutes.
- Freeze Firm: Transfer churned ice cream to a freezer-safe container. Smooth the top, cover tightly, and freeze until firm, at least 2 hours.
Optional: Stir in crushed cookies or your favorite toppings during the last 5 minutes.
Exact quantities are listed in the recipe card below.
Expert Tips for Homemade Vanilla Ice Cream
- Use Fresh Ingredients: Always choose fresh eggs and high-quality vanilla extract to ensure rich flavor and creamy texture in your homemade vanilla ice cream.
- Temper the Eggs Carefully: Pour the warm cream slowly into the yolks while whisking constantly to avoid scrambled eggs and create a smooth custard base.
- Chill Thoroughly: Refrigerate the custard mixture overnight for the best texture—this step helps deepen flavor and ensures perfect churning results.
- Don’t Skip Straining: Strain the custard to remove any cooked egg bits, guaranteeing silky, lump-free homemade vanilla ice cream every time.
- Avoid Over-Churning: Stop the ice cream maker when the texture is soft-serve-like; over-churning can make it icy or too firm before freezing.
- Customize After Churning: Add mix-ins at the end of churning to keep textures distinct and your homemade vanilla ice cream full of delightful surprises.
How to Store and Freeze Homemade Vanilla Ice Cream
- Room Temperature: It’s best to avoid leaving ice cream out at room temperature for more than 10-15 minutes, as it will melt and lose its texture.
- Fridge: Homemade vanilla ice cream can be stored in the fridge for up to 3 days, but for optimal texture, keep it in the freezer.
- Freezer: Store the ice cream in an airtight container in the freezer for up to 2 weeks. Press a piece of parchment paper against the surface before sealing to minimize ice crystals.
- Reheating: If the ice cream becomes too firm, let it sit at room temperature for about 5-10 minutes before scooping. Enjoy your homemade vanilla ice cream at its best!
Variations & Substitutions for Homemade Vanilla Ice Cream
Feel free to get creative with this recipe and make it truly your own with these delightful twists!
-
Dairy-Free: Substitute almond, coconut, or oat milk for a creamy, non-dairy base without sacrificing flavor. You’ll still enjoy that rich, silky texture with a hint of nuttiness.
-
Egg-Free: Use a commercial egg replacer or silken tofu to maintain creaminess while keeping it vegan. The result will be just as luscious, leaving everyone guessing!
-
Flavor Boost: Infuse your ice cream with coffee or chai spices by adding brewed coffee or a chai tea bag during the warm cream step. This flavor twist adds warmth and depth for a deliciously unique scoop.
-
Add a Crunch: Toss in crushed cookies, granola, or toasted nuts during the last five minutes of churning. The delightful texture will create a fun surprise in every bite.
-
Fruity Delight: Include fresh fruit or puree (like strawberries or mango) right before churning for a refreshing summer twist. This adds a fruity sweetness that pairs beautifully with the vanilla.
-
Chocolate Lovers: Fold in chocolate chips or swirl in melted chocolate after churning. The intermingling flavors create a luxurious balance of vanilla and rich chocolate to satisfy any sweet tooth.
-
Spicy Twist: Add a sprinkle of cinnamon or a dash of nutmeg to your custard for a warm, cozy flavor profile. This unexpected addition means your ice cream can bring new experiences, even in classic comfort food.
-
Alcohol-Enhanced: A splash of bourbon or rum can elevate your homemade vanilla ice cream by adding complexity. Just a tablespoon will do, giving it an adult twist that may become a new favorite!
What to Serve with Homemade Vanilla Ice Cream?
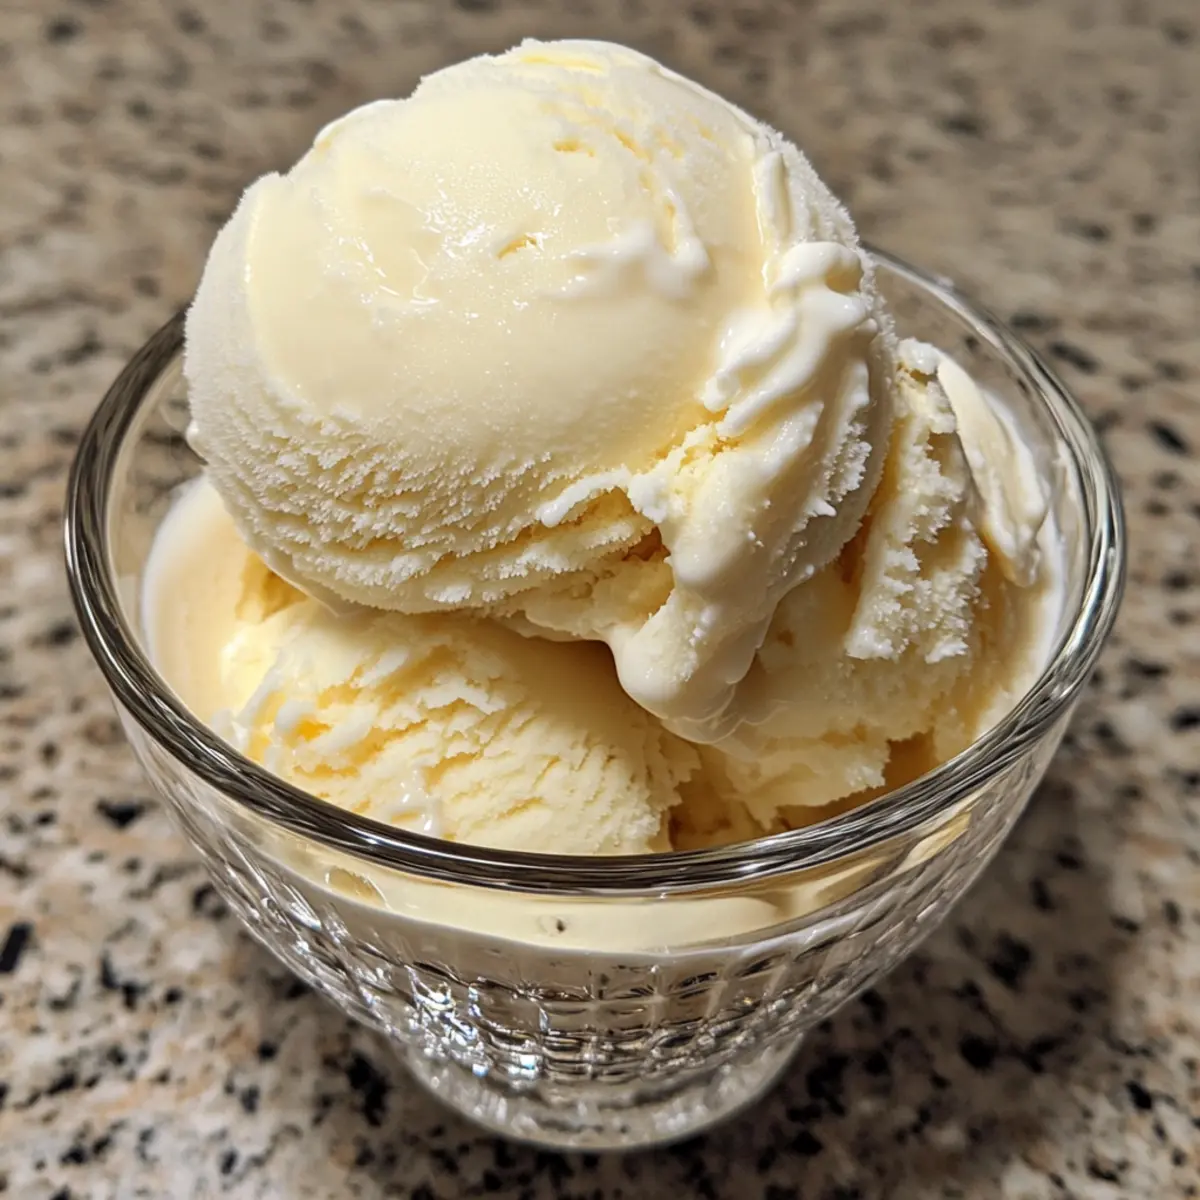
There’s nothing quite like the dreamy delight of a scoop of homemade vanilla ice cream, and finding the perfect companions for it makes the experience even more special.
-
Warm Chocolate Brownies: The fudgy richness of brownies provides a delightful contrast to the smoothness of the ice cream, creating a heavenly dessert duo. Each bite of warm brownie topped with cold ice cream is pure bliss.
-
Fresh Berry Medley: Juicy strawberries, blueberries, and raspberries add brightness and a refreshing zing that cuts through the creaminess. Their natural sweetness brings a vibrant flavor profile that complements the comforting vanilla beautifully.
-
Apple Pie Slices: The spiced warmth of apple pie pairs wonderfully with ice cream, making for a classic dessert that evokes cozy memories. The flaky crust and soft, tender apples meet the cold, creamy goodness for a satisfying contrast.
-
Chocolate Sauce Drizzle: A rich, velvety chocolate sauce poured over your ice cream not only enhances flavor but also adds decadent texture. The sweet and semi-bitter notes harmonize perfectly as they mingle with the vanilla.
-
Homemade Waffle Cones: There’s something so nostalgic about a freshly baked waffle cone. Serving your ice cream in these cones adds a delightful crunch and an irresistible aroma, reminiscent of summer fairs and ice cream shops.
-
Peanut Butter Swirl: A generous spoonful of creamy peanut butter swirled into your bowl creates a divine nutty richness that pairs perfectly with the vanilla flavor. It’s a great way to elevate your dessert experience and add depth to each bite.
-
Caramel Sauce: The luxurious sweetness of warm caramel sauce drizzled atop your ice cream brings a touch of indulgence that’s hard to resist. The sweet and buttery notes blend seamlessly with the ice cream, making it a luxurious treat.
-
Coffee or Espresso: A hot cup of coffee beside your ice cream creates a nice balance. The bitterness of the coffee complements the sweet ice cream, making for a delightful adult dessert experience.
-
Mini Fruit Tarts: Light, flaky tarts filled with fresh cream and topped with fruits deliver an elegant touch to your dessert table. The combination of textures and flavors melds perfectly with the luscious vanilla ice cream, creating a sophisticated pairing.
Make Ahead Options
Homemade vanilla ice cream is perfect for busy home cooks looking to save time without sacrificing flavor! You can prepare the ice cream base up to 24 hours in advance by completing steps 1 through 4 and refrigerating the strained custard overnight. This resting time enhances the flavors and ensures a creamy texture. When you’re ready to serve, just churn the chilled custard in your ice cream maker, which takes about 20–25 minutes, followed by a simple freeze in a container until firm, taking another 2 hours. By prepping the base ahead of time, you’ll have a delightful, creamy dessert ready with minimal effort—perfect for spontaneous summer gatherings or a sweet treat after a long day!
Best Homemade Vanilla Ice Cream Recipe for Creamy, Dreamy Bliss Recipe FAQs
How do I know when the vanilla beans are ripe and perfect to use?
Look for beans that are plump, moist, and slightly oily with a deep, rich color. Avoid ones that are dry, brittle, or have dark spots all over. Fresh beans pack the most fragrant vanilla warmth in your ice cream.
What’s the best way to store homemade vanilla ice cream and how long will it last?
Keep it in an airtight container in the coldest part of your freezer, ideally beneath the freezer light. For peak creaminess and flavor, consume within 2 weeks. If kept sealed properly, it can last up to 1 month but might develop ice crystals.
Can I freeze homemade vanilla ice cream for longer storage? If so, how?
Absolutely! Freeze in a shallow, airtight container; press a piece of parchment or wax paper directly on the ice cream surface to prevent ice crystals. Seal tightly and freeze for up to 3 months. When ready to enjoy, thaw in the fridge for 15–20 minutes before scooping.
What should I do if my ice cream turns out icy or grainy instead of creamy?
This can happen if the custard didn’t cook enough or the mixture wasn’t cooled fully before churning. Make sure to cook the custard to 170°F for proper thickening and chill thoroughly overnight. Also, don’t over-churn—stop as soon as it reaches soft-serve texture!
Is this vanilla ice cream recipe safe for pets or allergy-friendly for all diets?
While delicious, this recipe contains dairy and eggs, which might not be suitable for pets or those with lactose intolerance and egg allergies. For pet treats or allergy-friendly versions, consider dairy-free and egg-free alternatives or consult a vet for safe ingredient swaps.
Best Homemade Vanilla Ice Cream Recipe for Creamy, Dreamy Bliss
Ingredients
Equipment
Method
- In a medium saucepan, combine whole milk, heavy cream, and vanilla extract (with bean pod if using). Heat over medium until edges bubble, about 5 minutes.
- Meanwhile, whisk egg yolks and granulated sugar vigorously in a bowl until mixture turns pale yellow and ribbons form, about 2–3 minutes.
- Slowly pour ½ cup of the warm cream mixture into yolks, whisking constantly to prevent scrambling and gently raise the temperature before returning all to the pan.
- Return yolk mixture to saucepan. Cook over medium-low, stirring constantly until custard coats the back of a spoon, about 5–7 minutes or 170°F.
- Strain custard through a fine-mesh sieve into a clean bowl. Cool to room temperature, then refrigerate for at least 4 hours or overnight.
- Pour chilled custard into your ice cream maker. Churn following manufacturer’s instructions until it reaches a thick, soft-serve consistency, about 20–25 minutes.
- Transfer churned ice cream to a freezer-safe container. Smooth the top, cover tightly, and freeze until firm, at least 2 hours.
- Optional: Stir in crushed cookies or your favorite toppings during the last 5 minutes.