")


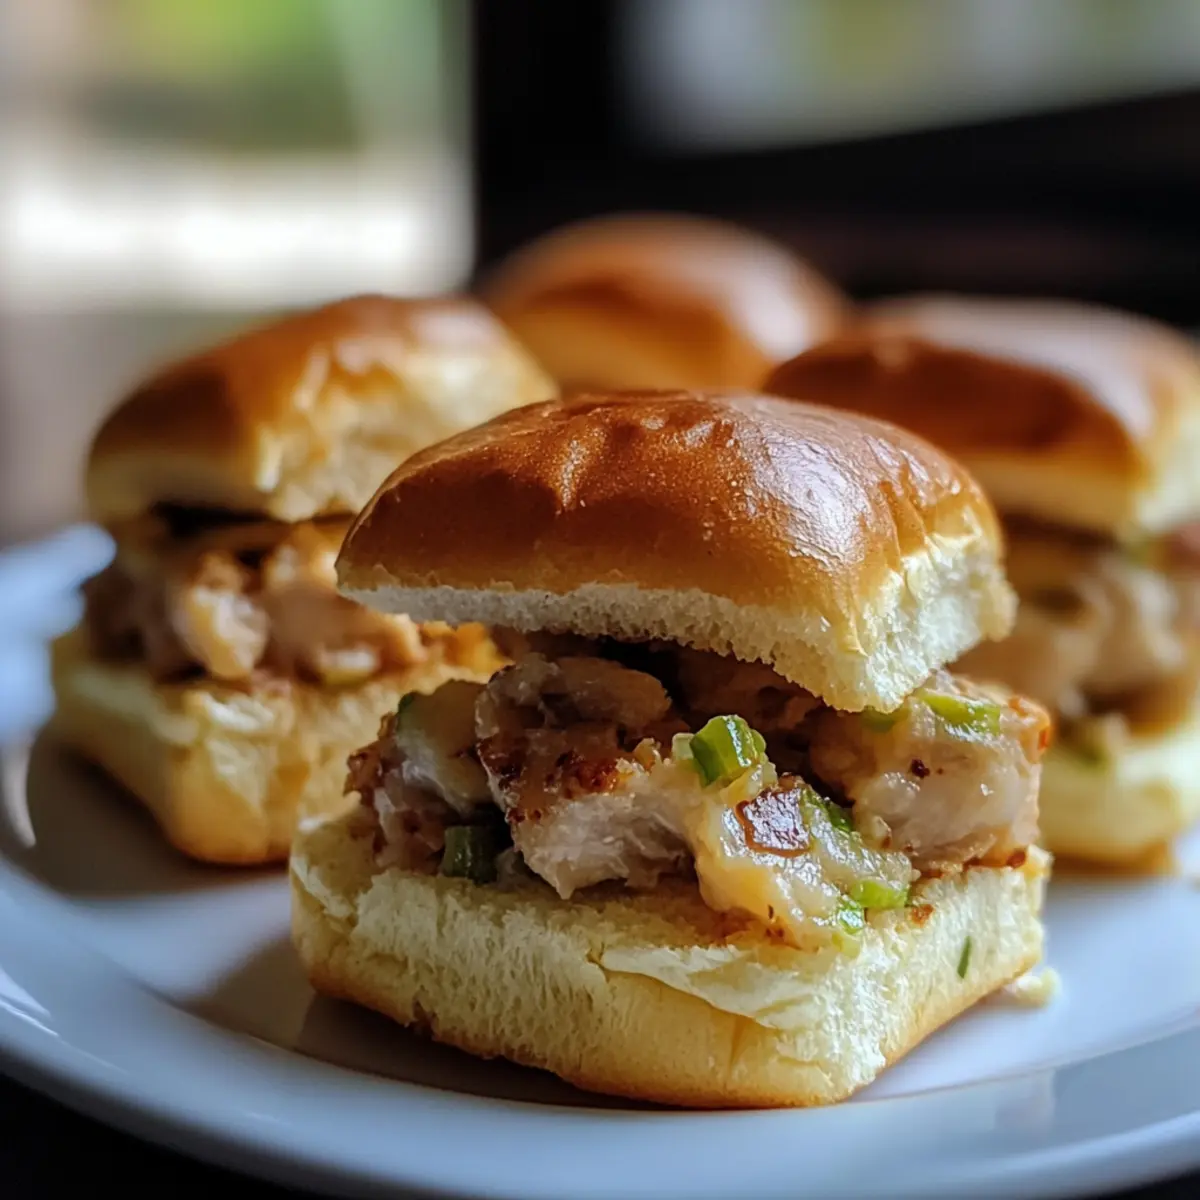
The moment these Mini Tuna Melt Sliders came out of the oven, their golden, melty tops had me hooked instantly. There’s something so satisfying about the blend of creamy tuna salad with molten cheese, all nestled in soft, toasted slider buns. Perfectly bite-sized, they’re a delightful twist on a classic comfort food that’s quick enough for busy nights but tasty enough to impress guests. Whether you’re craving a nostalgic lunch or planning a crowd-pleasing appetizer, these sliders bring that cozy, homemade touch without any fuss. Trust me, once you try them, these little wonders will become your go-to whenever you want something warm, flavorful, and irresistibly easy.
Why choose Mini Tuna Melt Sliders?
Unmatched convenience: These sliders are quick to assemble, perfect for busy days. Big, juicy flavor: Creamy tuna mixed with melted cheese delivers a mouthwatering punch. Perfectly portioned: The bite-sized buns make them ideal for snacking or entertaining. Comfort food classic: A nostalgic twist on a beloved favorite that’ll satisfy any craving. Versatile serving: Great as lunch, appetizer, or party treat with minimal fuss.
Mini Tuna Melt Sliders Ingredients
For the Tuna Salad
- Canned Tuna – Use chunk light tuna in water for a tender, flaky texture that shines in Mini Tuna Melt Sliders.
- Mayonnaise – Adds creamy richness; opt for a full-fat version for the best flavor and consistency.
- Diced Celery – Provides a fresh crunch and subtle sweetness to balance the tuna’s savoriness.
- Diced Red Onion – Brings a mild bite and color contrast to your tuna salad mix.
- Dijon Mustard – A small kick of tanginess that enhances the overall flavor without overpowering.
- Salt & Pepper – Season thoughtfully to bring out every nuance in the filling.
For the Sliders
- Slider Buns – Soft, small buns hold the filling perfectly; lightly toasted for extra texture and warmth.
- Cheddar Cheese Slices – Melts beautifully over the tuna mixture to create that irresistible, gooey finish.
- Butter – Spread on buns before toasting for a golden, crispy edge that elevates your sliders.
Optional Garnishes
- Sliced Pickles – Add a tangy crunch to balance the melty cheese and creamy tuna.
- Fresh Parsley – Sprinkle on top for a pop of color and fresh aroma in every bite.
How to Make Mini Tuna Melt Sliders
For the Tuna Salad:
- Drain Tuna: In a medium bowl, drain canned tuna thoroughly to remove excess water—this keeps the filling creamy and prevents soggy sliders.
- Mix Salad: Add mayonnaise, diced celery, red onion, and Dijon mustard to the tuna bowl. Stir gently until evenly combined and creamy, about 30 seconds.
- Season: Taste the tuna salad and season with salt and pepper. Adjust seasoning for balanced tang and creaminess before moving on to assembling.
For the Sliders:
- Prep Buns: Preheat oven to 375°F. Spread butter on cut sides of slider buns and toast on a baking sheet for 5 minutes until golden edges form.
- Assemble Sliders: Place a generous scoop of tuna salad on each bottom bun, top with cheddar slice, then cap with the top bun, ready for melting magic.
- Bake: Return assembled sliders to the oven for 8–10 minutes, until cheese is melted and buns are golden brown. Serve warm and enjoy every gooey bite.
Optional: Serve with sliced pickles or fresh parsley for added tang and color.
Exact quantities are listed in the recipe card below.

What to Serve with Mini Tuna Melt Sliders?
Elevate your slider experience by pairing them with comforting sides and delightful bites that complement the rich flavors.
- Crispy Sweet Potato Fries: The natural sweetness and crispy texture contrast beautifully with the creamy tuna. Dip them in your favorite sauce for extra flavor.
- Garden Fresh Salad: A light salad of mixed greens, cherry tomatoes, and a zesty vinaigrette provides a refreshing balance to satisfy your palate.
- Creamy Coleslaw: The crunch and tanginess of coleslaw perfectly complement the sliders’ warm, cheesy goodness—truly a match made in comfort food heaven.
- Potato Chips: Opt for kettle-cooked chips for their satisfying crunch, which provides a delightful contrast to the soft, melty sliders.
- Tomato Soup: Cozy up with a bowl of creamy tomato soup—dipping the sliders adds a delicious twist to this classic combination.
- Sparkling Lemonade: A zesty, refreshing drink that brightens up the meal and contrasts the savory richness of the sliders.
- Chocolate Chip Cookie Bars: End on a sweet note! Warm, gooey cookie bars complete the meal with a comforting, homemade taste that everyone loves.
- Pickle Spears: Serve tangy, crunchy pickle spears on the side for that extra zing, creating a delightful bite when paired with the sliders.
- Roasted Veggies: Colorful, seasoned roasted vegetables add both nutrition and vibrant flavors, rounding out your meal beautifully.
Mini Tuna Melt Sliders Variations & Substitutions
Feel free to get creative with these sliders and make them your own—let your taste buds guide the way!
-
Spicy Kick: Add diced jalapeños or a splash of hot sauce to the tuna salad for a zesty surprise in every bite.
-
Herbed Twist: Mix in fresh dill or parsley for a fragrant note that brightens up the creamy texture of the tuna salad.
-
Vegan Style: Substitute tuna with chickpeas or mashed avocado, and swap mayonnaise for vegan mayo to create a plant-based delight.
-
Cheese Variety: Try different cheeses like pepper jack for some heat or Swiss for a nutty flavor that complements the tuna perfectly.
-
Extra Crunch: Incorporate diced bell peppers or chopped walnuts into the tuna salad for an unexpected texture that keeps things exciting.
-
Grilled Option: Grill the assembled sliders on a panini press for crispy, crunchy edges and a melty inside that takes the flavor to the next level.
-
Gluten-Free: Use gluten-free slider buns or lettuce wraps to cater to your dietary needs while enjoying these scrumptious bites.
-
Mediterranean Flair: Add olives and capers to the tuna mix and serve with tzatziki sauce for a refreshing Mediterranean twist that dances on your palate.
With these variations, you’ll never run out of delicious ways to enjoy your Mini Tuna Melt Sliders!
Storage Tips for Mini Tuna Melt Sliders
- Room Temperature: Enjoy Mini Tuna Melt Sliders fresh out of the oven, but if they sit out, consume them within 2 hours to ensure food safety.
- Fridge: Store cooled sliders in an airtight container for up to 3 days. Reheat gently in the microwave or oven to restore softness.
- Freezer: Wrap individually in plastic wrap and seal in a freezer-safe bag for up to 2 months. Thaw overnight in the fridge before reheating to preserve texture.
- Reheating: For the best results, reheat in a preheated oven at 350°F for 10-15 minutes or until heated through, ensuring that cheese melts beautifully.
Expert Tips for Mini Tuna Melt Sliders
- Choose Quality Tuna: Use chunk light tuna in water for a fresh, flaky texture that won’t overpower the sliders. Avoid oily or overly packed varieties.
- Drain Thoroughly: Excess liquid in canned tuna can make your sliders soggy; always drain well to keep tuna salad creamy but not wet.
- Balance Flavors: Taste the tuna salad before assembling—adjust salt, pepper, and Dijon mustard carefully to avoid blandness or overpowering tang.
- Toast Buns Properly: Butter and toast slider buns just right to get a crispy, golden edge that adds texture without drying them out.
- Cheese Melting Magic: Use medium cheddar slices for a perfect gooey melt; watch closely in the oven to prevent burning or drying.
- Serve Warm: Mini Tuna Melt Sliders are best enjoyed hot from the oven when cheese is luscious and buns are soft but crisp.
Make Ahead Options
These Mini Tuna Melt Sliders are perfect for meal prep enthusiasts! You can prepare the tuna salad up to 3 days in advance and store it in an airtight container in the refrigerator to maintain its freshness. To prevent the slider buns from becoming soggy, it’s best to keep them separate until you’re ready to serve. If you want even more convenience, you can assemble the sliders without baking up to 24 hours ahead of time—just wrap them tightly in plastic wrap. When it’s time to enjoy, simply bake them in the oven as instructed for 8-10 minutes, and you’ll have warm, delicious sliders ready to impress your family or guests with minimal effort!
Mini Tuna Melt Sliders Recipe FAQs
What type of tuna should I use for the best Mini Tuna Melt Sliders?
I recommend chunk light tuna in water—it’s flaky and tender, which blends beautifully with the creamy mayo without overpowering the sliders. Avoid oily or packed tuna varieties to keep the texture just right.
How long can I store Mini Tuna Melt Sliders in the fridge?
You can keep cooled sliders stored in an airtight container for up to 3 to 4 days. When you’re ready to enjoy them again, reheat gently in the oven or microwave to bring back that warm, melty goodness.
Can I freeze Mini Tuna Melt Sliders? How do I do that?
Absolutely! Wrap each slider individually in plastic wrap, then place them in a freezer-safe bag or container. Freeze for up to 2 months. To reheat, thaw overnight in the fridge, then warm them in a 350°F oven for 10–15 minutes, ensuring the cheese melts perfectly without drying out the buns.
What if my tuna salad feels too dry or too wet?
If it’s too dry, add a little extra mayonnaise or a tiny splash of lemon juice to brighten it up. If it’s too wet, drain the tuna thoroughly first and consider adding more finely diced celery for crunch. The balance is key, so adjust slowly and taste as you go!
Are Mini Tuna Melt Sliders safe for pets or people with allergies?
While delicious for humans, these sliders aren’t suitable for pets due to onions and mayonnaise. For those with seafood allergies, substitute tuna with cooked shredded chicken for a similar texture and flavor joy. Always check ingredients carefully if feeding guests with food sensitivities!
Easy Mini Tuna Melt Sliders That Bring Big, Juicy Flavor!
Ingredients
Equipment
Method
- In a medium bowl, drain canned tuna thoroughly to remove excess water.
- Add mayonnaise, diced celery, red onion, and Dijon mustard to the tuna bowl. Stir gently until evenly combined.
- Taste the tuna salad and season with salt and pepper.
- Preheat oven to 375°F. Spread butter on cut sides of slider buns and toast on a baking sheet for 5 minutes.
- Place a generous scoop of tuna salad on each bottom bun, top with a cheddar slice, then cap with the top bun.
- Return assembled sliders to the oven for 8–10 minutes, until cheese is melted and buns are golden brown.