")


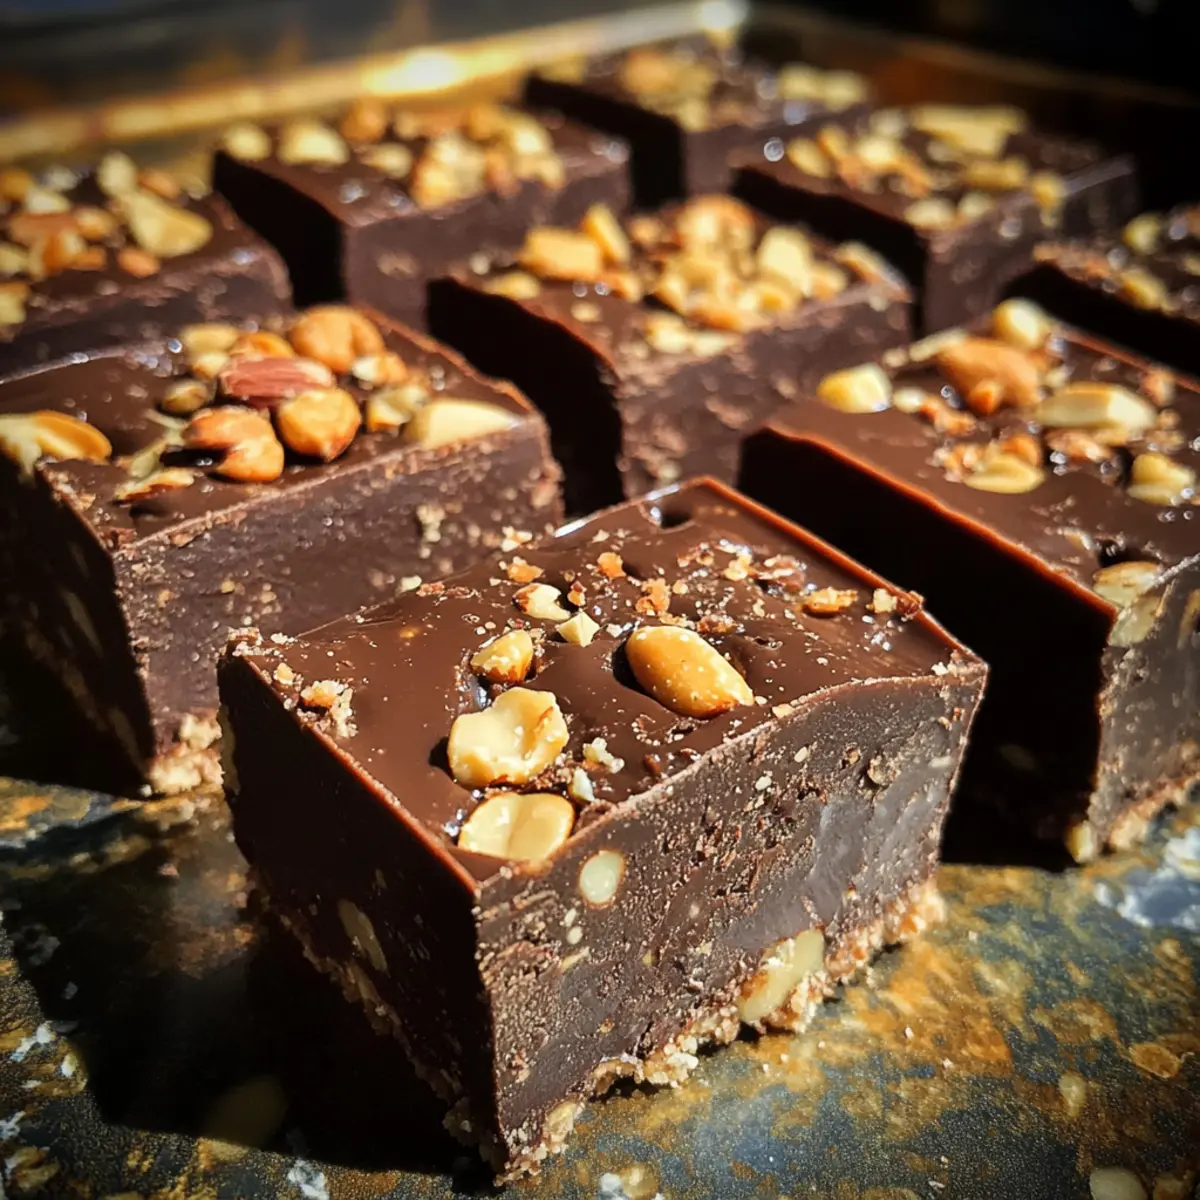
There’s something irresistibly comforting about the rich blend of chocolate and peanut butter coming together in a no-bake treat. One afternoon, craving something sweet but without the hassle of turning on the oven, I whipped up these No-Bake Chocolate Peanut Bars—and they quickly became my go-to snack. What I love most is how effortlessly they come together, with just a handful of ingredients and zero baking time. Whether you’re after a quick energy boost, a crowd-pleasing dessert, or a homemade snack to satisfy that chocolate-peanut craving, these bars hit all the marks. They’re chewy, chocolatey, and perfectly nutty—making them a staple in my kitchen whenever I want to impress without the stress.
Why choose No-Bake Chocolate Peanut Bars?
Simple preparation: No oven required, these bars come together quickly with minimal ingredients. Deliciously rich: The perfect harmony of creamy peanut butter and smooth chocolate satisfies any sweet tooth. Versatile snack: Great for an afternoon pick-me-up, dessert, or on-the-go energy boost. Crowd favorite: Loved by kids and adults alike, ideal for sharing. Mess-free: No sticky baking trays or timers—just mix, chill, and enjoy!
Easy No-Bake Chocolate Peanut Bars Ingredients
For the Bars
- Creamy peanut butter – Use smooth peanut butter for a luscious, melt-in-your-mouth texture.
- Honey or maple syrup – Adds natural sweetness and helps bind the bars without baking.
- Old-fashioned rolled oats – Provides chewy structure and wholesome goodness.
- Mini chocolate chips – Melts slightly for rich chocolate pockets in every bite.
- Vanilla extract – Enhances the overall flavor with a subtle aromatic touch.
- Salt – Balances sweetness and elevates the peanut butter flavor.
For the Chocolate Drizzle
- Dark or semi-sweet chocolate – Melts easily to create a glossy, decadent topping.
- Coconut oil – Adds shine and helps the chocolate set smoothly on the bars.
These simple ingredients come together effortlessly to create your favorite No-Bake Chocolate Peanut Bars, perfect for any occasion!
How to Make No-Bake Chocolate Peanut Bars
-
Combine peanut butter, honey, and vanilla in a medium bowl, stirring until smooth and glossy. Add salt and rolled oats, then mix for about 1–2 minutes until evenly coated.
-
Fold mini chocolate chips into the oat mixture, gently stirring to distribute pockets of rich chocolate throughout the bars without overmixing, ensuring each bite is delightfully gooey and sweet.
-
Press the mixture firmly into an 8×8-inch pan lined with parchment paper. Use the back of a spatula to smooth the surface. Chill 30–45 minutes until bars are set and firm.
For the Chocolate Drizzle:
-
Melt dark chocolate and coconut oil together in a microwave-safe bowl, heating in 20-second bursts and stirring between each until the mixture is silky smooth, about 1 minute total.
-
Drizzle the melted chocolate over chilled bars using a fork or spoon for a zigzag pattern. Return to fridge 10 minutes to let the chocolate fully set before slicing.
-
Slice the bars into 12 even squares: lift them out using the parchment overhang and clean your knife between cuts for crisp, neat edges every time.
Optional: Sprinkle a pinch of sea salt on top.
Exact quantities are listed in the recipe card below.
Expert Tips for No-Bake Chocolate Peanut Bars
- Use smooth peanut butter: For the best melt-in-your-mouth texture, choose creamy peanut butter instead of chunky to ensure even mixing and smooth bars.
- Don’t overmix oats: Stir just until oats are coated to keep the bars chewy, avoiding a dense or crumbly texture that happens with overworking.
- Press firmly: Applying firm pressure when pressing into the pan prevents bars from falling apart after chilling—use a spatula’s flat back for even layering.
- Chill adequately: Allow at least 30 minutes to set so bars hold their shape; cutting too soon causes crumbling and messy edges.
- Drizzle chocolate carefully: Melt chocolate in short bursts and stir in between to avoid burning; a steady drizzle creates a pretty, glossy finish.
- Store properly: Keep bars refrigerated in an airtight container for freshness and to maintain the ideal chewy texture of your no-bake chocolate peanut bars.
How to Store and Freeze No-Bake Chocolate Peanut Bars
Room Temperature: Keep in a cool, dry place for up to 3 days to enjoy the chewy consistency without refrigeration.
Fridge: Store in an airtight container for up to 1 week. This method helps maintain the bars’ freshness and ideal texture.
Freezer: Wrap individually in plastic wrap or place in a freezer-safe container for up to 3 months. Thaw in the fridge before indulging in your no-bake chocolate peanut bars.
Reheating: No need to reheat; simply enjoy them straight from the fridge or at room temperature for the best taste!
Variations & Substitutions for No-Bake Chocolate Peanut Bars
Feel free to get creative and make this recipe your own with these fun and easy variations.
- Nut Butter Swap: Use almond or cashew butter for a different flavor profile and texture. Each nut butter adds its unique twist to enhance your bars.
- Sweetener Change: Try agave syrup or brown rice syrup instead of honey for a vegan-friendly option. Both provide a delicious sweetness without compromising texture.
- Oat Alternatives: Substitute old-fashioned rolled oats with gluten-free oats or ground flaxseed for a different texture and dietary preference. The result is equally delightful!
- Protein Boost: Mix in protein powder or crushed nuts for an extra nutritional kick. This not only elevates the health factor but adds satisfying crunch.
- Flavor Infusions: Add a splash of maple syrup or a dash of cinnamon to the mix for warming undertones, transforming your bars into a comforting treat.
- Chocolate Variants: Swap mini chocolate chips for dried fruit, like cranberries or raisins, for sweetness with a chewy texture. This twist creates a delightful contrast in every bite.
- Spice it Up: Incorporate a pinch of cayenne or chili powder for a surprising kick, balancing chocolate’s sweetness with a warm heat.
- Topping Options: Instead of a chocolate drizzle, try a peanut butter drizzle or sprinkle the top with crushed nuts or seeds for added crunch and visual appeal.
With these variations, you’ll be able to make the No-Bake Chocolate Peanut Bars fit any mood or dietary need while keeping the same familiar comfort!
What to Serve with No-Bake Chocolate Peanut Bars?
Elevate your snacking experience with these delightful pairings that bring out the best in each luscious bite.
-
Fresh Berries: Juicy strawberries or blueberries provide a refreshing contrast to the rich chocolate and nutty flavors. Their vibrant color adds a pop to your plate!
-
Nutty Trail Mix: A mix of almonds, walnuts, and seeds creates a crunchy texture that complements the chewy bars, enhancing the nutty notes beautifully.
-
Vanilla Ice Cream: The creamy and cool nature of ice cream contrasts perfectly with the bars, making for a delightful treat that’s hard to resist.
-
Cold Brew Coffee: A glass of cold brew offers a smooth, rich taste that pairs wonderfully with a sweet snack, creating a perfectly balanced afternoon pick-me-up.
-
Chocolate Milkshake: Creamy and indulgent, this shake enhances the chocolatey flavor while adding a fun twist to your dessert experience.
-
Peanut Butter Smoothie: A silky smoothie loaded with banana and a touch of vanilla complements those rich peanut flavors and adds a healthy twist.
-
Drizzled Fruit: Drizzling honey or melted chocolate over sliced bananas elevates simple fruit to a new dessert level, harmonizing flavors on your plate.
-
Chia Seed Pudding: A light, creamy pudding topped with fresh fruits acts as a delightful side, balancing the richness of the bars while satisfying your sweet cravings.
Make Ahead Options
These No-Bake Chocolate Peanut Bars are perfect for meal prep enthusiasts looking to save time on busy weeknights! You can prepare the bar mixture up to 24 hours in advance by combining the peanut butter, honey, and oats, then pressing them into the pan; simply cover and refrigerate until ready to finish. Additionally, you can melt the chocolate drizzle a day ahead and store it in the fridge—just give it a quick reheat before using. When you’re ready to serve, drizzle the chocolate over the bars and let them set for an extra 10 minutes in the fridge. With these make-ahead tips, you’ll enjoy delicious bars with minimal effort!
Easy No-Bake Chocolate Peanut Bars Recipe FAQs
How do I know if my peanut butter is suitable for these bars?
Choose creamy peanut butter without added oils or sugars for the smoothest, richest texture. Avoid natural or separated peanut butters unless well-stirred, as they can make the mixture oily or crumbly.
What’s the best way to store these bars to keep them fresh?
I recommend an airtight container in the fridge, where they’ll stay fresh and chewy for up to 1 week. If storing at room temperature, keep them in a cool, dry spot and enjoy within 3 days to avoid softness or melting.
Can I freeze No-Bake Chocolate Peanut Bars for later?
Absolutely! Wrap each bar tightly in plastic wrap, then place them in a freezer-safe container or bag. They’ll keep deliciously for up to 3 months. When ready to enjoy, thaw in the fridge overnight for the best texture and flavor.
Why do my bars sometimes fall apart or crumble after chilling?
This usually happens if you don’t press the mixture firmly into the pan or cut the bars too soon. Firmly press using the back of a spatula before chilling, and wait at least 30 minutes until fully set. Use a sharp knife and wipe it clean between slices for neat edges.
Are these bars safe for pets or people with allergies?
These bars contain peanut butter and chocolate, which can be harmful to dogs and some pets. Also, peanuts are a common allergen for humans, so please avoid serving them to anyone with nut allergies. For allergy-friendly options, substitute peanut butter with sunflower seed butter and choose dairy-free chocolate.
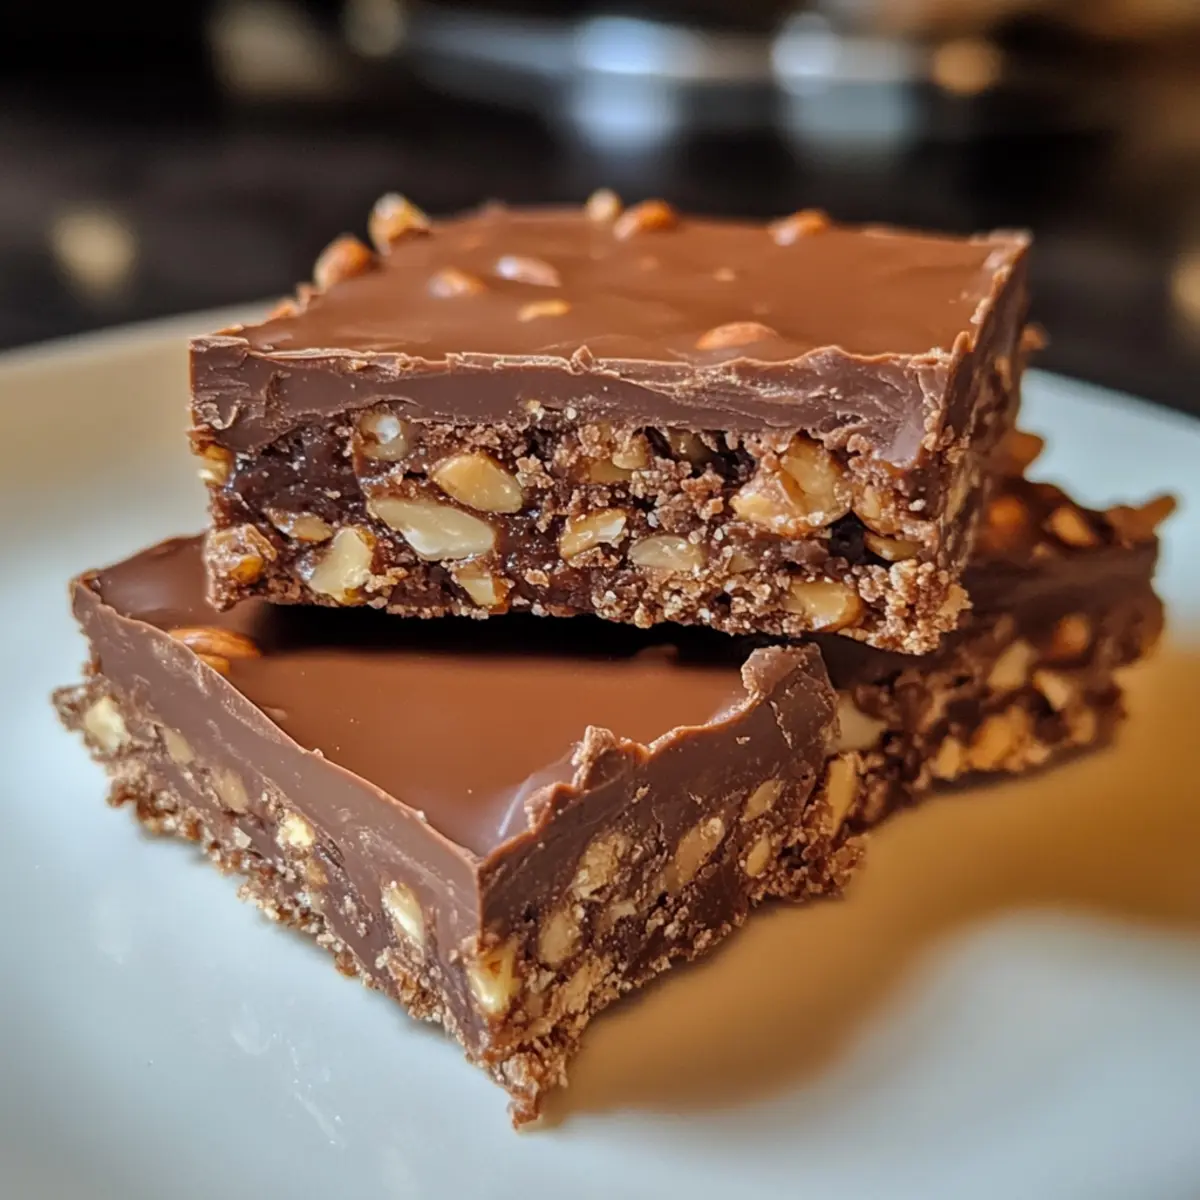
Easy No-Bake Chocolate Peanut Bars That Melt in Your Mouth
Ingredients
Equipment
Method
- Combine peanut butter, honey, and vanilla in a medium bowl, stirring until smooth and glossy. Add salt and rolled oats, then mix for about 1–2 minutes until evenly coated.
- Fold mini chocolate chips into the oat mixture, gently stirring to distribute pockets of rich chocolate throughout the bars without overmixing.
- Press the mixture firmly into an 8×8-inch pan lined with parchment paper. Smooth the surface with the back of a spatula. Chill for 30–45 minutes until set.
- Melt dark chocolate and coconut oil together in a microwave-safe bowl, heating in 20-second bursts and stirring between each until silky smooth.
- Drizzle the melted chocolate over chilled bars using a fork or spoon for a zigzag pattern. Return to fridge for 10 minutes to set.
- Slice the bars into 12 even squares. Use the parchment overhang to lift them out for easy slicing.