")


Of all the classic comfort foods, onion rings have always held a special place in my heart, but they came with a catch. For years, my experience was limited to the greasy, heavy versions from diners or the frozen aisle, which often left me feeling more regretful than satisfied. I craved that incredible combination of a sweet, tender onion encased in a shatteringly crisp, savory crust, but without the vat of oil and the subsequent kitchen cleanup. This craving sparked a culinary mission: to create the ultimate crispy baked onion rings recipe. My family, initially skeptical that an oven could ever replicate the magic of a deep fryer, became my willing taste-testers. The first few attempts were… educational. Some were soggy, others had breading that slid right off, and a few were just plain bland. But with each batch, I tweaked and refined, and then, one Sunday afternoon, it happened. The timer chimed, and I pulled a tray of the most beautiful, golden-brown rings from the oven. The sound they made as I moved them to the cooling rack was pure music—a distinct, audible crunch. My kids came running, and within minutes, the entire batch had vanished, accompanied by a chorus of “Wow, Mom, these are the best ever!” That was the moment I knew I’d cracked the code. This recipe isn’t just about making a healthier alternative; it’s about proving that you can achieve spectacular texture and flavor without the deep-fryer. These onion rings are light yet satisfying, outrageously crispy, and packed with a savory, slightly smoky flavor that will make you forget all about their greasy cousins. They have become a non-negotiable staple for our game nights, movie marathons, and burger nights, and I am so thrilled to share the perfected recipe with you.
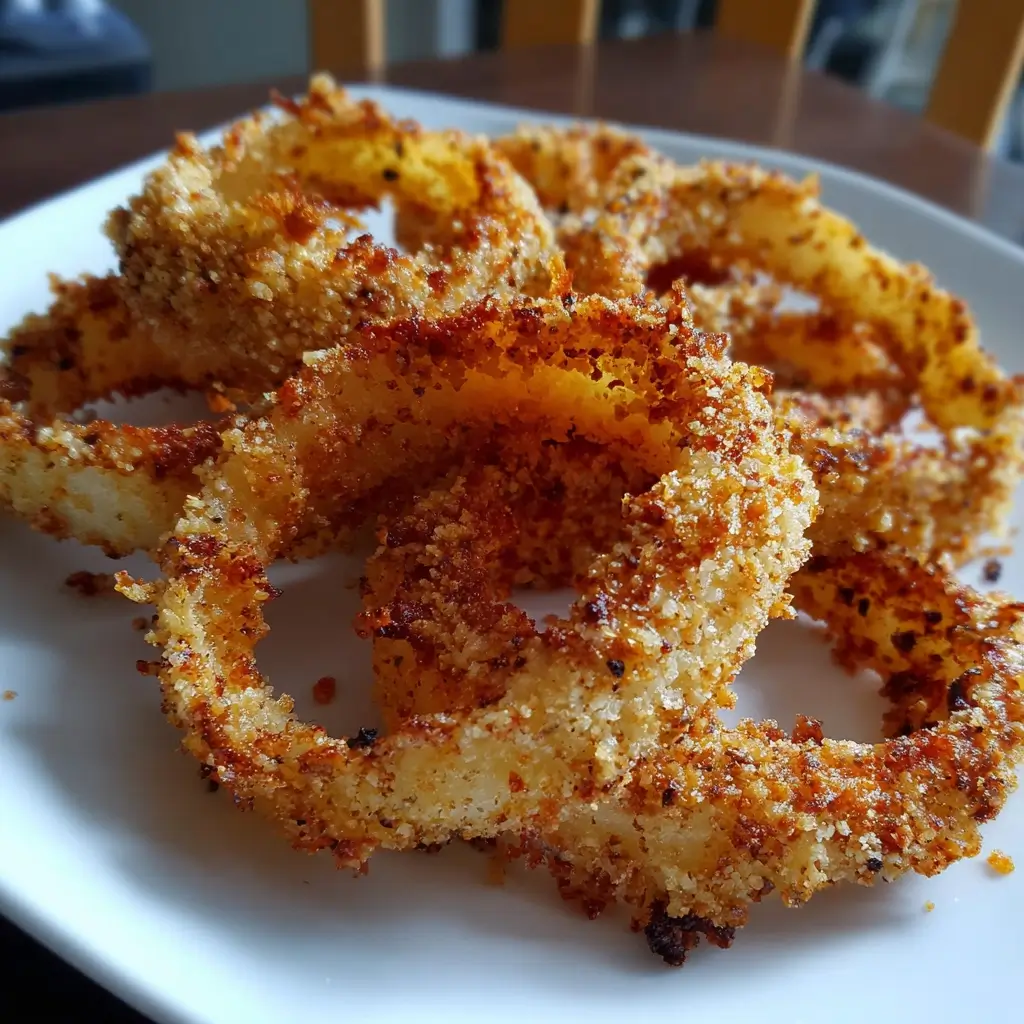
Crispy Baked Onion Rings Recipe
This recipe focuses on a three-stage breading process and high-heat baking to create an unbelievably crispy exterior while keeping the onion inside perfectly sweet and tender. The secret lies in using Panko breadcrumbs and a few key spices to build layers of flavor and texture.
Ingredients
- Large Sweet Onions (2): The star of the show. Varieties like Vidalia, Walla Walla, or other sweet yellow onions are ideal as they have a higher sugar content and lower sulfur content, resulting in a sweet, non-acrid flavor when cooked.
- All-Purpose Flour (1 cup): This forms the base layer of our coating, giving the egg something to adhere to.
- Smoked Paprika (2 teaspoons): Adds a beautiful color and a subtle, smoky depth of flavor that complements the sweet onion.
- Garlic Powder (2 teaspoons): Provides a savory, aromatic foundation to the breading.
- Salt (1 ½ teaspoons, divided): Essential for seasoning every layer of the recipe, from the flour dredge to the final Panko crust.
- Black Pepper (1 teaspoon): Freshly ground black pepper adds a mild, pungent kick.
- Large Eggs (3): Acts as the crucial binder, helping the Panko breadcrumbs stick firmly to the onion rings.
- Panko Breadcrumbs (3 cups): This is the non-negotiable secret to ultimate crispiness. These Japanese-style breadcrumbs are flakier and lighter than traditional breadcrumbs, so they absorb less oil (or in this case, moisture) and bake up incredibly crunchy.
- Olive Oil or Avocado Oil Spray: A light mist of oil helps the Panko to brown evenly and achieve that fried-like texture in the oven.
Instructions
Follow these detailed steps carefully to ensure your onion rings are perfectly coated and bake to a crispy, golden-brown finish. The process is broken down into preparation, breading, and baking for clarity.
Step 1: Prepare the Onions and Oven
First, position your oven racks in the upper-middle and lower-middle positions. Preheat your oven to 425°F (220°C). A high temperature is crucial for quickly crisping the exterior. Line two large baking sheets with parchment paper. Parchment paper prevents sticking and makes cleanup a breeze. Lightly spray the parchment paper with olive oil spray.
Next, prepare your onions. Peel the dry, papery outer layers from the onions. Slice them crosswise into thick rings, about ½-inch to ¾-inch thick. Thinner rings can burn, while thicker ones may not cook through. Carefully separate the slices into individual rings. Reserve the smaller, center pieces for another use like soups or stocks. For an optional step that helps mellow the onion flavor even more, you can place the separated rings in a bowl of cold water or milk for about 15-20 minutes, then drain and pat them completely dry with paper towels. This step is not mandatory but can result in a sweeter, more tender final product.
Step 2: Set Up the Breading Station
Proper organization is key to a smooth and mess-free breading process. You will need three shallow dishes or pie plates.
- Dish 1 (Flour Mixture): In the first dish, whisk together the 1 cup of all-purpose flour, smoked paprika, garlic powder, 1 teaspoon of salt, and 1 teaspoon of black pepper until thoroughly combined.
- Dish 2 (Egg Wash): In the second dish, crack the 3 large eggs and whisk them vigorously until the yolks and whites are completely blended and slightly frothy.
- Dish 3 (Panko Mixture): In the third dish, combine the 3 cups of Panko breadcrumbs with the remaining ½ teaspoon of salt. Mix well to ensure the salt is evenly distributed.
Arrange your three dishes in an assembly line: flour, then egg, then Panko, with your prepared baking sheets at the very end.
Step 3: The Three-Stage Breading Process
This is the most critical part of the recipe for achieving a coating that sticks. It’s helpful to use one hand for the dry ingredients (flour, Panko) and the other hand for the wet ingredient (egg) to prevent your fingers from becoming heavily coated.
- Dredge in Flour: Take one onion ring and place it in the flour mixture. Toss it gently to coat it completely on all sides, including the inside and outside edges. Tap off any excess flour. A light, even coating is all you need.
- Dip in Egg: Transfer the flour-coated ring to the egg wash. Submerge it completely, ensuring the entire surface is wet. Allow any excess egg to drip back into the dish for a second or two. The flour coating helps the egg adhere perfectly.
- Coat with Panko: Immediately move the egg-dipped ring to the Panko mixture. Press the Panko firmly onto all surfaces of the ring. Be generous here; you want a thick, even crust. The firm pressure helps the Panko lock onto the egg wash.
- Arrange on Baking Sheet: Place the fully breaded onion ring on one of the prepared baking sheets. Repeat this process with the remaining onion rings, arranging them in a single, even layer. Do not let the rings touch or overlap, as this will cause them to steam instead of crisp up. Leave at least an inch of space between each ring.
Step 4: Bake to Golden Perfection
Once all your rings are breaded and arranged on the baking sheets, give them a final, light misting with the olive oil or avocado oil spray. This helps them achieve a beautiful golden-brown color and enhances the crispiness.
Place the baking sheets in the preheated 425°F oven. Bake for 10-12 minutes. Then, carefully remove the sheets from the oven. Using tongs, flip each onion ring over. Rotate the baking sheets, moving the top one to the bottom rack and the bottom one to the top rack to ensure even cooking and browning.
Return the sheets to the oven and bake for another 8-10 minutes, or until the onion rings are a deep golden-brown and wonderfully crispy. Keep a close eye on them during the last few minutes, as Panko can go from golden to burnt quite quickly.
Once baked, remove them from the oven and let them cool on the baking sheets for a minute or two before transferring them to a wire rack. Serve immediately for the best possible texture.
Nutrition Facts
- Servings: 6
- Calories per serving: Approximately 280 kcal
- Fat: This recipe is significantly lower in fat compared to its deep-fried counterpart, as baking requires only a minimal amount of oil spray.
- Sodium: The sodium content can be controlled by adjusting the amount of salt used in the breading mixture to fit your dietary needs.
- Carbohydrates: The primary source of carbohydrates comes from the flour and Panko breadcrumbs that create the crispy crust.
- Fiber: Onions are a natural source of dietary fiber, which is beneficial for digestive health.
Preparation Time
- Prep Time: 25 minutes (includes slicing onions and setting up breading station)
- Cook Time: 20 minutes
- Total Time: 45 minutes
This recipe is relatively quick to prepare, making it an excellent choice for a weeknight treat or a fast and impressive appetizer for guests.
How to Serve
These crispy baked onion rings are incredibly versatile. They shine as a standalone appetizer but also work beautifully as a side dish or a topping. Here are some delicious ways to serve them:
As a Classic Appetizer:
Serve a heaping platter of fresh, hot onion rings as the centerpiece of an appetizer spread. Pair them with a variety of dipping sauces to please every palate.
- Spicy Sriracha Aioli: Mix ½ cup of mayonnaise with 1-2 tablespoons of Sriracha, a squeeze of lime juice, and a minced garlic clove.
- Smoky BBQ Ranch: Combine ½ cup of ranch dressing with 2 tablespoons of your favorite smoky BBQ sauce.
- Classic Honey Mustard: Whisk together ¼ cup of Dijon mustard, ¼ cup of honey, and 2 tablespoons of mayonnaise for a sweet and tangy dip.
- Homemade Fry Sauce: A simple but beloved classic. Mix equal parts ketchup and mayonnaise, with a dash of pickle relish or Worcestershire sauce.
As a Gourmet Side Dish:
Elevate your main courses by swapping out traditional fries or potatoes for these crispy rings.
- Burger and Sandwich Companion: They are the perfect partner for a juicy homemade beef burger, a grilled chicken sandwich, or a hearty steak sandwich.
- With Grilled Meats: Serve alongside a perfectly grilled steak, chicken breast, or sausages for a satisfying meal.
- “Pub Night” at Home: Create a pub-style platter with onion rings, chicken wings, and mozzarella sticks for a fun, casual dinner.
As a Creative Topping:
Use the crunch and flavor of the onion rings to add a new dimension to other dishes.
- On Top of a Burger: Place one or two rings directly on your burger patty for an incredible crunch in every bite.
- Crumbled Over a Casserole: Roughly crush a few onion rings and sprinkle them over a green bean casserole or mac and cheese before baking for a crispy topping.
- In a Salad: For a truly indulgent salad, break up a few rings and use them in place of croutons for a savory, crunchy element.
Additional Tips
To ensure you get the best possible results every time, keep these eight pro tips in mind.
- Don’t Overcrowd the Pan: This is the golden rule of baking anything you want to be crispy. Placing the rings too close together traps steam, which will make the coating soggy. Always leave space between each ring and use two baking sheets if necessary.
- Choose Your Onion Wisely: Sweet onions are highly recommended for their mild flavor. If you can’t find them, yellow onions are a good substitute. Avoid red or white onions, as their flavor can be sharper and more pungent, which might overpower the savory coating.
- The Secret to a Sticking Coating: The dry-wet-dry breading method (flour-egg-Panko) is non-negotiable. Don’t skip the initial flour dredge. It gives the egg wash something to cling to, which in turn holds the Panko in place. Patting the onions dry before you start is also essential.
- Toast Your Panko for Extra Crunch: For an even crispier, golden-brown finish, you can toast the Panko before using it. Spread the Panko on a dry baking sheet and bake at 350°F (175°C) for 3-5 minutes, stirring once, until it’s lightly golden. Let it cool completely before using it in the breading station.
- Achieving Uniform Thickness: For professional-looking rings that cook evenly, try to slice your onions to a consistent thickness. A mandoline slicer set to a ½-inch thickness can be a great tool for this, but always use the hand guard for safety.
- Spice It Up: If you like a bit of heat, feel free to customize the flour mixture. Add ½ to 1 teaspoon of cayenne pepper or a pinch of red pepper flakes for a spicy kick. You can also add a teaspoon of chili powder for a different flavor profile.
- Best Practices for Reheating: While onion rings are best enjoyed fresh, you can reheat leftovers. The worst way to reheat them is in the microwave, which will make them limp and rubbery. The best way is in an oven or air fryer at 375°F (190°C) for 5-7 minutes, or until they are hot and crispy again.
- Air Fryer Instructions: This recipe adapts beautifully to the air fryer. Preheat your air fryer to 375°F (190°C). Arrange the breaded rings in a single layer in the air fryer basket (you will need to work in batches). Spray with oil and cook for 6-8 minutes, flipping halfway through, until golden and crisp.
Frequently Asked Questions (FAQ)
Q1: Why did my breading fall off the onion rings?
A: This is the most common issue and usually happens for a few reasons. First, the onions might have been too moist. It’s crucial to pat them completely dry before starting. Second, you may have skipped the flour dredging step. The flour acts as a primer for the egg. Third, you didn’t press the Panko on firmly enough. Gently but firmly pressing the Panko onto the egg-coated ring helps create a secure bond.
Q2: My baked onion rings came out soggy, not crispy. What went wrong?
A: Sogginess is almost always caused by steam. This happens when the baking sheet is overcrowded, preventing air from circulating around each ring. It can also happen if your oven wasn’t fully preheated to a high enough temperature (425°F is key). A lower temperature will steam the rings rather than quickly crisping the exterior.
Q3: Can I make these onion rings gluten-free?
A: Absolutely! To make this recipe gluten-free, simply make two substitutions. Replace the all-purpose flour with a good quality gluten-free all-purpose flour blend. For the breadcrumbs, use gluten-free Panko breadcrumbs, which are widely available in most supermarkets. The results will be just as crispy and delicious.
Q4: Can I prepare these in advance?
A: It’s not recommended to fully bread them and refrigerate them before baking, as the moisture from the onion will turn the Panko soggy. However, you can do some prep ahead of time. You can slice the onions and store them in a container of cold water in the fridge for up to 24 hours. You can also pre-mix your dry flour and Panko mixtures and store them in airtight containers. This makes the assembly process much faster when you’re ready to bake.
Q5: What is the best type of onion to use for onion rings?
A: Sweet onions, such as Vidalia, Walla Walla, or Texas Sweet, are the best choice. They have a naturally mild and sweet flavor that becomes even more delicious when baked. Yellow onions are the next best alternative. While you can technically use any onion, stronger varieties like white or red onions might result in a more pungent, “oniony” taste.
Q6: What’s the real difference between Panko and regular breadcrumbs?
A: The difference is texture. Regular breadcrumbs are fine and dense, made from bread that includes the crusts. Panko breadcrumbs are made from crustless white bread and are processed into large, airy flakes. These flakes absorb less oil, stay crispier for longer, and provide a light, shatteringly crunchy texture that is far superior for recipes like this.
Q7: Are baked onion rings actually healthy?
A: “Healthy” is subjective, but compared to their deep-fried counterparts, baked onion rings are a significantly healthier choice. Deep-frying submerges the rings in hot oil, causing them to absorb a large amount of fat and calories. This baked version uses only a light spray of oil, drastically reducing the fat content while still delivering a satisfying crunch. They are a wonderful way to enjoy a classic comfort food in a more mindful way.
Q8: Can I use whole wheat flour instead of all-purpose flour?
A: Yes, you can substitute whole wheat flour for all-purpose flour. It will give the coating a slightly nuttier, earthier flavor and a denser texture. The color of the breading may also be a bit darker. It’s a great option if you’re looking to incorporate more whole grains into the dish.

Crispy Baked Onion Rings Recipe
Ingredients
- Large Sweet Onions (2): The star of the show. Varieties like Vidalia, Walla Walla, or other sweet yellow onions are ideal as they have a higher sugar content and lower sulfur content, resulting in a sweet, non-acrid flavor when cooked.
- All-Purpose Flour (1 cup): This forms the base layer of our coating, giving the egg something to adhere to.
- Smoked Paprika (2 teaspoons): Adds a beautiful color and a subtle, smoky depth of flavor that complements the sweet onion.
- Garlic Powder (2 teaspoons): Provides a savory, aromatic foundation to the breading.
- Salt (1 ½ teaspoons, divided): Essential for seasoning every layer of the recipe, from the flour dredge to the final Panko crust.
- Black Pepper (1 teaspoon): Freshly ground black pepper adds a mild, pungent kick.
- Large Eggs (3): Acts as the crucial binder, helping the Panko breadcrumbs stick firmly to the onion rings.
- Panko Breadcrumbs (3 cups): This is the non-negotiable secret to ultimate crispiness. These Japanese-style breadcrumbs are flakier and lighter than traditional breadcrumbs, so they absorb less oil (or in this case, moisture) and bake up incredibly crunchy.
- Olive Oil or Avocado Oil Spray: A light mist of oil helps the Panko to brown evenly and achieve that fried-like texture in the oven.
Instructions
Follow these detailed steps carefully to ensure your onion rings are perfectly coated and bake to a crispy, golden-brown finish. The process is broken down into preparation, breading, and baking for clarity.
Step 1: Prepare the Onions and Oven
First, position your oven racks in the upper-middle and lower-middle positions. Preheat your oven to 425°F (220°C). A high temperature is crucial for quickly crisping the exterior. Line two large baking sheets with parchment paper. Parchment paper prevents sticking and makes cleanup a breeze. Lightly spray the parchment paper with olive oil spray.
Next, prepare your onions. Peel the dry, papery outer layers from the onions. Slice them crosswise into thick rings, about ½-inch to ¾-inch thick. Thinner rings can burn, while thicker ones may not cook through. Carefully separate the slices into individual rings. Reserve the smaller, center pieces for another use like soups or stocks. For an optional step that helps mellow the onion flavor even more, you can place the separated rings in a bowl of cold water or milk for about 15-20 minutes, then drain and pat them completely dry with paper towels. This step is not mandatory but can result in a sweeter, more tender final product.
Step 2: Set Up the Breading Station
Proper organization is key to a smooth and mess-free breading process. You will need three shallow dishes or pie plates.
- Dish 1 (Flour Mixture): In the first dish, whisk together the 1 cup of all-purpose flour, smoked paprika, garlic powder, 1 teaspoon of salt, and 1 teaspoon of black pepper until thoroughly combined.
- Dish 2 (Egg Wash): In the second dish, crack the 3 large eggs and whisk them vigorously until the yolks and whites are completely blended and slightly frothy.
- Dish 3 (Panko Mixture): In the third dish, combine the 3 cups of Panko breadcrumbs with the remaining ½ teaspoon of salt. Mix well to ensure the salt is evenly distributed.
Arrange your three dishes in an assembly line: flour, then egg, then Panko, with your prepared baking sheets at the very end.
Step 3: The Three-Stage Breading Process
This is the most critical part of the recipe for achieving a coating that sticks. It’s helpful to use one hand for the dry ingredients (flour, Panko) and the other hand for the wet ingredient (egg) to prevent your fingers from becoming heavily coated.
- Dredge in Flour: Take one onion ring and place it in the flour mixture. Toss it gently to coat it completely on all sides, including the inside and outside edges. Tap off any excess flour. A light, even coating is all you need.
- Dip in Egg: Transfer the flour-coated ring to the egg wash. Submerge it completely, ensuring the entire surface is wet. Allow any excess egg to drip back into the dish for a second or two. The flour coating helps the egg adhere perfectly.
- Coat with Panko: Immediately move the egg-dipped ring to the Panko mixture. Press the Panko firmly onto all surfaces of the ring. Be generous here; you want a thick, even crust. The firm pressure helps the Panko lock onto the egg wash.
- Arrange on Baking Sheet: Place the fully breaded onion ring on one of the prepared baking sheets. Repeat this process with the remaining onion rings, arranging them in a single, even layer. Do not let the rings touch or overlap, as this will cause them to steam instead of crisp up. Leave at least an inch of space between each ring.
Step 4: Bake to Golden Perfection
Once all your rings are breaded and arranged on the baking sheets, give them a final, light misting with the olive oil or avocado oil spray. This helps them achieve a beautiful golden-brown color and enhances the crispiness.
Place the baking sheets in the preheated 425°F oven. Bake for 10-12 minutes. Then, carefully remove the sheets from the oven. Using tongs, flip each onion ring over. Rotate the baking sheets, moving the top one to the bottom rack and the bottom one to the top rack to ensure even cooking and browning.
Return the sheets to the oven and bake for another 8-10 minutes, or until the onion rings are a deep golden-brown and wonderfully crispy. Keep a close eye on them during the last few minutes, as Panko can go from golden to burnt quite quickly.
Once baked, remove them from the oven and let them cool on the baking sheets for a minute or two before transferring them to a wire rack. Serve immediately for the best possible texture.
Nutrition
- Serving Size: one normal portion
- Calories: 280


