")

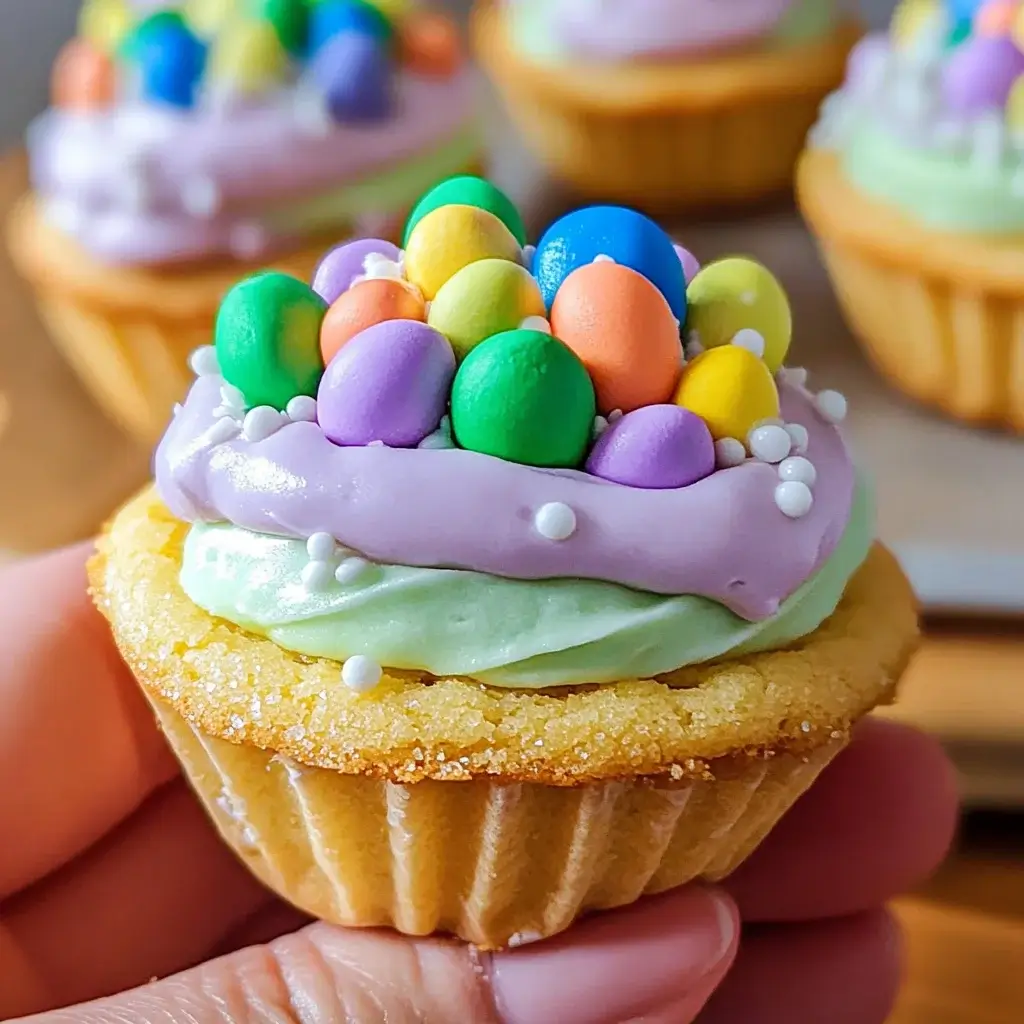

It’s safe to say that Easter at our house is synonymous with baking adventures, and this year, Easter Basket Cookie Cups took center stage – and for good reason! From the moment the aroma of buttery sugar cookies filled the kitchen to the delighted squeals when the kids saw them, these little edible baskets were a resounding success. They were surprisingly easy to make, even with little helpers eager to get involved, and the customizable filling options meant everyone could create their perfect Easter treat. Honestly, the hardest part was deciding whether to fill them with chocolate ganache, lemon curd, or maybe even a scoop of ice cream! The final result? Adorable, delicious, and utterly devoured. If you’re looking for a fun, festive, and crowd-pleasing Easter dessert, look no further – these Easter Basket Cookie Cups are guaranteed to be a hit!
Ingredients
- For the Cookie Cups:
- All-purpose flour: The foundation of our cookie cups, providing structure and a tender crumb.
- Granulated sugar: Adds sweetness and helps create a crisp yet chewy texture.
- Unsalted butter: Cold butter is crucial for flaky cookies, contributing richness and flavor.
- Large egg: Binds the ingredients together and adds moisture and richness.
- Vanilla extract: Enhances the overall flavor, adding a warm, sweet note.
- Baking powder: A leavening agent that gives the cookies a slight lift and airy texture.
- Salt: Balances the sweetness and enhances the other flavors.
- For the Chocolate Ganache Filling (Optional, can substitute with other fillings):
- Heavy cream: Creates a smooth and rich ganache, providing moisture and creaminess.
- Semi-sweet chocolate chips: Melted into the cream to create a decadent chocolate filling.
- For Decoration:
- Frosting (various colors): Used to create the basket weave design and add visual appeal. Choose your favorite colors for a festive touch.
- Sprinkles: Adds texture, color, and fun to the Easter basket cookies. Easter-themed sprinkles are perfect!
- Candy Eggs or other small candies: Fill the cookie cups to resemble Easter baskets filled with treats.
Instructions
- Prepare the Cookie Dough: In a large bowl, whisk together the all-purpose flour, baking powder, and salt. Set aside. In a separate large bowl, cream together the cold unsalted butter and granulated sugar until light and fluffy. Beat in the large egg and vanilla extract until well combined. Gradually add the dry ingredients to the wet ingredients, mixing on low speed until just combined. Be careful not to overmix. The dough should be smooth and slightly sticky.
- Chill the Dough: Wrap the cookie dough in plastic wrap and flatten it into a disc. Refrigerate for at least 1 hour, or preferably 2 hours, to allow the dough to firm up. Chilling the dough is essential for preventing the cookies from spreading too much during baking and for making it easier to handle.
- Preheat Oven and Prepare Muffin Tin: Preheat your oven to 350°F (175°C). Lightly grease a standard 12-cup muffin tin. You can also use cupcake liners if desired, but greasing is sufficient.
- Roll and Cut the Cookie Dough: On a lightly floured surface, roll out the chilled cookie dough to about 1/8-inch thickness. Use a 3-inch round cookie cutter to cut out circles. You should get approximately 24 circles from the dough, enough for 12 cookie cups (two circles per cup). If you re-roll scraps, be aware the dough might become slightly tougher, so try to minimize re-rolling.
- Shape the Cookie Cups: Gently press one cookie circle into each muffin cup, making sure it covers the bottom and sides. Take the second cookie circle and carefully place it on top of the first one inside the muffin cup, pressing it gently to conform to the shape. This double layer helps create a sturdy cookie cup that can hold the filling without breaking. Ensure the edges are sealed together slightly to prevent separation during baking.
- Bake the Cookie Cups: Bake in the preheated oven for 12-15 minutes, or until the edges are lightly golden brown. The centers might still look slightly soft, but they will firm up as they cool. Avoid overbaking, as this can make the cookies dry and brittle.
- Cool and Remove from Muffin Tin: Let the cookie cups cool in the muffin tin for about 5-10 minutes before carefully transferring them to a wire rack to cool completely. Cooling them in the muffin tin slightly helps them retain their shape. Use a thin knife or offset spatula to gently loosen the edges if needed, being careful not to break the delicate cups. Ensure they are completely cool before filling to prevent the filling from melting or softening the cookies.
- Prepare the Chocolate Ganache (if using): While the cookie cups are cooling, prepare the chocolate ganache. Place the semi-sweet chocolate chips in a heatproof bowl. In a small saucepan, heat the heavy cream over medium heat until it just begins to simmer. Do not let it boil. Pour the hot cream over the chocolate chips and let it sit for 1 minute to soften the chocolate. Whisk gently until smooth and glossy. If the ganache is too thick, add a tiny bit more warm cream; if too thin, let it sit at room temperature to thicken slightly.
- Fill the Cookie Cups: Once the cookie cups are completely cool and the chocolate ganache (or your chosen filling) has thickened slightly, fill each cookie cup with the desired amount of filling. You can use a spoon or a piping bag for a neater presentation. If using ganache, you can let it set in the refrigerator for a faster firming process.
- Decorate as Easter Baskets: This is the fun part! Use colored frosting and a piping bag fitted with a basket weave tip (or a small round tip if you don’t have a basket weave tip, you can create lines to mimic the weave) to create the basket weave design around the edges of the cookie cups. Get creative with different frosting colors and patterns.
- Add Sprinkles and Candy Eggs: Immediately after piping the frosting, add sprinkles to the edges and rims of the cookie cups. Place candy eggs, jelly beans, or other small Easter candies inside the filled cookie cups to resemble Easter baskets filled with treats.
- Let Set and Enjoy: Allow the frosting and ganache (if using) to set completely before serving. This will help the decorations stay in place and the filling to firm up. Store the Easter Basket Cookie Cups in an airtight container at room temperature for up to 3 days, or in the refrigerator for up to 5 days.
Nutrition Facts
(Approximate values per serving, using chocolate ganache filling. Actual values may vary based on specific ingredients and serving size.)
- Serving Size: 1 Cookie Cup
- Calories: 250 kcal
- Fat: 15g
(Note: These values are estimates and can vary. For precise nutritional information, use a nutrition calculator with the exact brands and quantities of ingredients used.)
Preparation Time
- Prep Time: 45 minutes (includes dough making and chilling time)
- Cook Time: 15 minutes
- Cooling Time: 30 minutes
- Decoration Time: 30 minutes
- Total Time: Approximately 2 hours (including chilling and cooling)
(Description: While the active preparation time is relatively short, chilling the dough and allowing the cookies to cool completely adds to the overall time. However, much of this time is hands-off, allowing you to prepare other parts of your Easter meal or simply relax while the magic happens!)
How to Serve
- Dessert Plate: Arrange the Easter Basket Cookie Cups beautifully on a dessert platter for a festive presentation. Add fresh berries or other spring fruits around them for an extra touch of color and freshness.
- Easter Brunch or Dinner: Serve them as a delightful dessert option at your Easter brunch or dinner. They are a perfect sweet ending to a celebratory meal.
- Edible Centerpiece: Create an edible centerpiece by arranging the cookie cups in a decorative basket or on a tiered stand. This makes a visually appealing and delicious focal point for your Easter table.
- Party Favors: Individually wrap the cookie cups in cellophane bags tied with ribbons to create adorable and personalized party favors for Easter gatherings or children’s parties.
- Gift for Neighbors or Friends: Share the Easter cheer by gifting a batch of these cookie cups to neighbors, friends, or teachers. They make a thoughtful and homemade Easter treat.
- Kids’ Easter Party: These are perfect for kids’ Easter parties! Children will love the fun basket design and the sweet filling. Set up a decorating station where kids can personalize their own cookie cups with frosting and candies.
- With Ice Cream or Whipped Cream: Serve the cookie cups warm (if freshly baked) or at room temperature with a scoop of vanilla ice cream or a dollop of whipped cream for an extra indulgent dessert.
- With Coffee or Tea: Enjoy these cookie cups as a sweet treat alongside a cup of coffee, tea, or hot chocolate for a cozy Easter afternoon snack.
Additional Tips for Perfect Easter Basket Cookie Cups
- Use Cold Butter: Start with very cold butter for the cookie dough. Cold butter prevents excessive spreading during baking and results in flakier, crispier cookie cups. Cut the butter into small cubes and work quickly to keep it cold.
- Don’t Overmix the Dough: Overmixing develops gluten, which can make the cookies tough. Mix the dry and wet ingredients until just combined. A few streaks of flour are okay – they will disappear as you gently knead the dough briefly before chilling.
- Chill the Dough Thoroughly: Chilling the dough is crucial. It firms up the butter, making the dough easier to roll out and shape, and also prevents excessive spreading in the oven. Don’t skip this step!
- Roll Dough Evenly: Roll the cookie dough to an even thickness (about 1/8 inch). This ensures that the cookie cups bake uniformly and don’t have thin spots that might break. Use a rolling pin with guides or rotate the dough frequently while rolling to achieve even thickness.
- Use the Right Size Cookie Cutter: A 3-inch round cookie cutter is ideal for standard muffin tins. If your muffin tin cups are smaller or larger, adjust the cookie cutter size accordingly to ensure a good fit.
- Press Dough Gently into Muffin Cups: Press the cookie dough circles gently into the muffin cups, making sure they conform to the shape without stretching or tearing. Avoid pressing too hard, which can make the dough too thin in some areas.
- Watch Baking Time Closely: Bake the cookie cups until the edges are lightly golden brown. Ovens vary, so keep a close eye on them during the last few minutes of baking to prevent overbrowning. Overbaked cookies will be dry and less tender.
- Cool Completely Before Filling: Ensure the cookie cups are completely cool before filling them. Warm cookies are fragile and can break easily. Also, if you’re using a filling like ganache, warm cookies can cause it to melt or become runny. Cooling them completely ensures they are sturdy and ready to hold the filling.
FAQ Section: Easter Basket Cookie Cups
Q1: Can I make the cookie dough ahead of time?
A: Absolutely! You can make the cookie dough up to 2 days in advance. Store it wrapped in plastic wrap in the refrigerator. When ready to bake, let it sit at room temperature for about 15-20 minutes to soften slightly before rolling out.
Q2: Can I freeze the cookie cups?
A: Yes, you can freeze the baked cookie cups. Make sure they are completely cooled first. Freeze them in an airtight container, layered between parchment paper, for up to 1 month. Thaw at room temperature before filling and decorating. It’s best to freeze them unfilled as the filling might change texture upon thawing.
Q3: What other fillings can I use besides chocolate ganache?
A: The possibilities are endless! You can use lemon curd, pastry cream, vanilla pudding, whipped cream, fruit compote, caramel, or even a scoop of ice cream right before serving. Get creative and use your favorite fillings!
Q4: Can I make these cookie cups gluten-free?
A: Yes, you can adapt this recipe to be gluten-free. Simply substitute the all-purpose flour with a gluten-free all-purpose flour blend. Make sure the blend contains xanthan gum or guar gum for binding. Follow the recipe as directed.
Q5: How do I make the basket weave frosting design?
A: You’ll need a piping bag fitted with a basket weave tip (Wilton #47 or #48 are common). Fill the bag with frosting. Hold the tip perpendicular to the cookie cup and apply even pressure while moving the tip in a vertical line, then switch to a horizontal line overlapping slightly, alternating to create the woven effect. If you don’t have a basket weave tip, you can use a small round tip and pipe thin lines vertically and horizontally to mimic the weave.
Q6: Can I use store-bought frosting for decorating?
A: Yes, store-bought frosting works perfectly fine for decorating. Choose your favorite colors and flavors. You can even whip it slightly with an electric mixer to make it fluffier and easier to pipe.
Q7: How do I prevent the cookie cups from sticking to the muffin tin?
A: Make sure to grease the muffin tin thoroughly with butter or cooking spray. You can also use cupcake liners for extra insurance against sticking, but greasing the tin is usually sufficient. Cooling the cookies slightly in the tin before removing them also helps.
Q8: Can I make mini Easter basket cookie cups?
A: Absolutely! Use a mini muffin tin and adjust the size of your cookie cutter accordingly (about 2-inch diameter circles should work). Reduce the baking time slightly, checking for doneness after 8-10 minutes. Mini cookie cups are even more adorable and perfect for bite-sized treats!

Easter Basket Cookie Cups
Ingredients
- For the Cookie Cups:
- All-purpose flour: The foundation of our cookie cups, providing structure and a tender crumb.
- Granulated sugar: Adds sweetness and helps create a crisp yet chewy texture.
- Unsalted butter: Cold butter is crucial for flaky cookies, contributing richness and flavor.
- Large egg: Binds the ingredients together and adds moisture and richness.
- Vanilla extract: Enhances the overall flavor, adding a warm, sweet note.
- Baking powder: A leavening agent that gives the cookies a slight lift and airy texture.
- Salt: Balances the sweetness and enhances the other flavors.
- For the Chocolate Ganache Filling (Optional, can substitute with other fillings):
- Heavy cream: Creates a smooth and rich ganache, providing moisture and creaminess.
- Semi-sweet chocolate chips: Melted into the cream to create a decadent chocolate filling.
- For Decoration:
- Frosting (various colors): Used to create the basket weave design and add visual appeal. Choose your favorite colors for a festive touch.
- Sprinkles: Adds texture, color, and fun to the Easter basket cookies. Easter-themed sprinkles are perfect!
- Candy Eggs or other small candies: Fill the cookie cups to resemble Easter baskets filled with treats.
Instructions
- Prepare the Cookie Dough: In a large bowl, whisk together the all-purpose flour, baking powder, and salt. Set aside. In a separate large bowl, cream together the cold unsalted butter and granulated sugar until light and fluffy. Beat in the large egg and vanilla extract until well combined. Gradually add the dry ingredients to the wet ingredients, mixing on low speed until just combined. Be careful not to overmix. The dough should be smooth and slightly sticky.
- Chill the Dough: Wrap the cookie dough in plastic wrap and flatten it into a disc. Refrigerate for at least 1 hour, or preferably 2 hours, to allow the dough to firm up. Chilling the dough is essential for preventing the cookies from spreading too much during baking and for making it easier to handle.
- Preheat Oven and Prepare Muffin Tin: Preheat your oven to 350°F (175°C). Lightly grease a standard 12-cup muffin tin. You can also use cupcake liners if desired, but greasing is sufficient.
- Roll and Cut the Cookie Dough: On a lightly floured surface, roll out the chilled cookie dough to about 1/8-inch thickness. Use a 3-inch round cookie cutter to cut out circles. You should get approximately 24 circles from the dough, enough for 12 cookie cups (two circles per cup). If you re-roll scraps, be aware the dough might become slightly tougher, so try to minimize re-rolling.
- Shape the Cookie Cups: Gently press one cookie circle into each muffin cup, making sure it covers the bottom and sides. Take the second cookie circle and carefully place it on top of the first one inside the muffin cup, pressing it gently to conform to the shape. This double layer helps create a sturdy cookie cup that can hold the filling without breaking. Ensure the edges are sealed together slightly to prevent separation during baking.
- Bake the Cookie Cups: Bake in the preheated oven for 12-15 minutes, or until the edges are lightly golden brown. The centers might still look slightly soft, but they will firm up as they cool. Avoid overbaking, as this can make the cookies dry and brittle.
- Cool and Remove from Muffin Tin: Let the cookie cups cool in the muffin tin for about 5-10 minutes before carefully transferring them to a wire rack to cool completely. Cooling them in the muffin tin slightly helps them retain their shape. Use a thin knife or offset spatula to gently loosen the edges if needed, being careful not to break the delicate cups. Ensure they are completely cool before filling to prevent the filling from melting or softening the cookies.
- Prepare the Chocolate Ganache (if using): While the cookie cups are cooling, prepare the chocolate ganache. Place the semi-sweet chocolate chips in a heatproof bowl. In a small saucepan, heat the heavy cream over medium heat until it just begins to simmer. Do not let it boil. Pour the hot cream over the chocolate chips and let it sit for 1 minute to soften the chocolate. Whisk gently until smooth and glossy. If the ganache is too thick, add a tiny bit more warm cream; if too thin, let it sit at room temperature to thicken slightly.
- Fill the Cookie Cups: Once the cookie cups are completely cool and the chocolate ganache (or your chosen filling) has thickened slightly, fill each cookie cup with the desired amount of filling. You can use a spoon or a piping bag for a neater presentation. If using ganache, you can let it set in the refrigerator for a faster firming process.
- Decorate as Easter Baskets: This is the fun part! Use colored frosting and a piping bag fitted with a basket weave tip (or a small round tip if you don’t have a basket weave tip, you can create lines to mimic the weave) to create the basket weave design around the edges of the cookie cups. Get creative with different frosting colors and patterns.
- Add Sprinkles and Candy Eggs: Immediately after piping the frosting, add sprinkles to the edges and rims of the cookie cups. Place candy eggs, jelly beans, or other small Easter candies inside the filled cookie cups to resemble Easter baskets filled with treats.
- Let Set and Enjoy: Allow the frosting and ganache (if using) to set completely before serving. This will help the decorations stay in place and the filling to firm up. Store the Easter Basket Cookie Cups in an airtight container at room temperature for up to 3 days, or in the refrigerator for up to 5 days.
Nutrition
- Serving Size: one normal portion
- Calories: 250
- Fat: 15g


