")


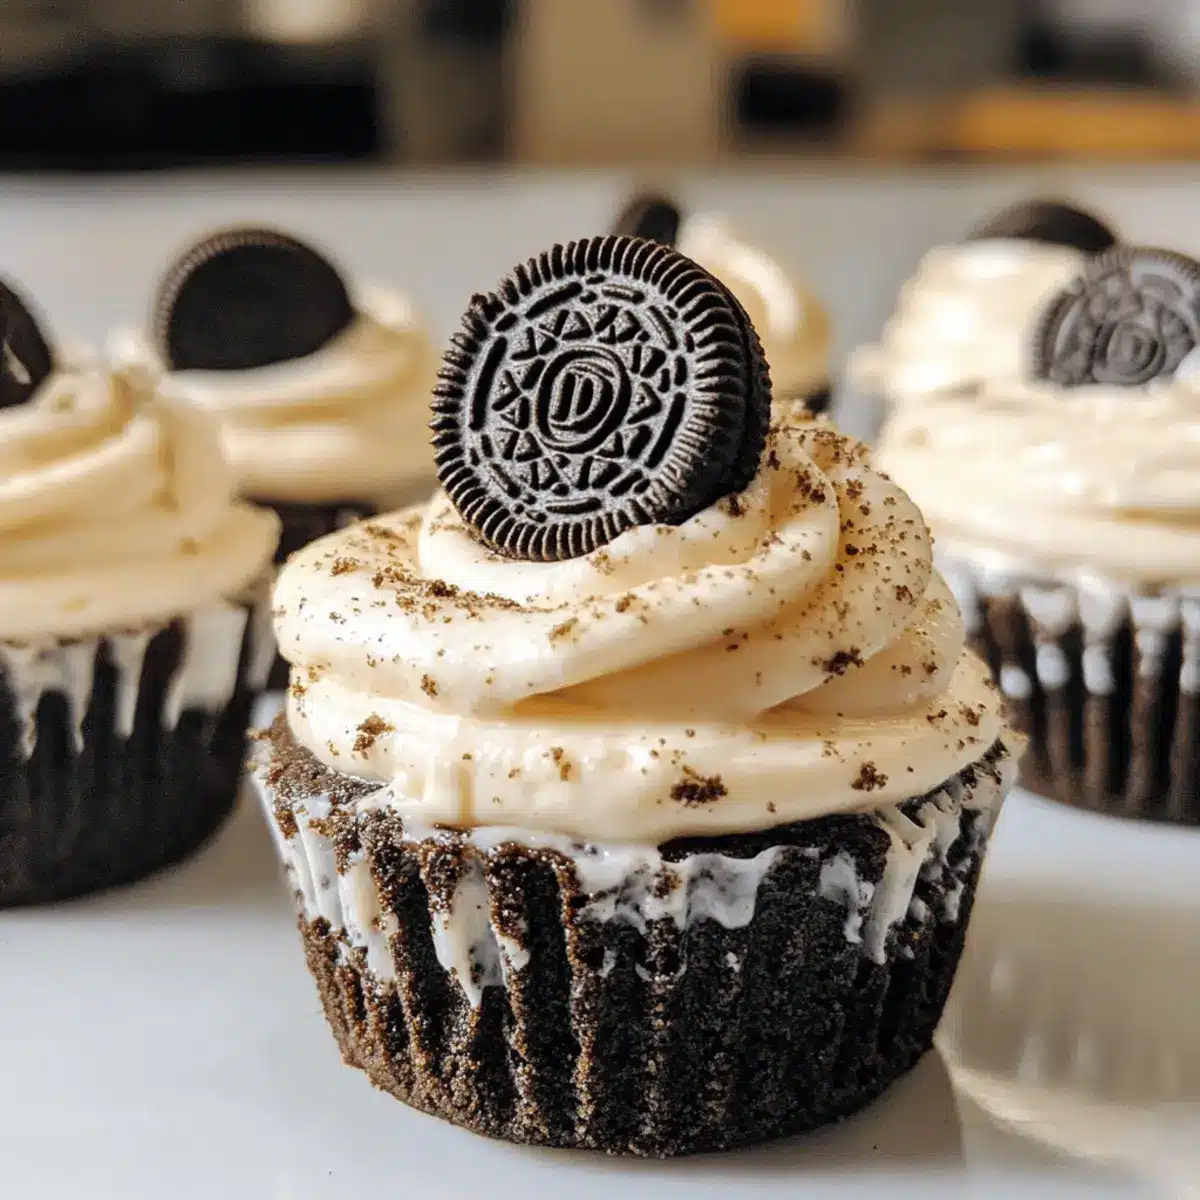
There’s something wonderfully satisfying about sinking your spoon into a dessert that’s creamy, crunchy, and utterly indulgent—all without turning on the oven. These No-Bake Oreo Cheesecake Cups have quickly become my go-to treat when I want a crowd-pleasing dessert that comes together in minutes. Layers of crushed Oreos meet a luscious, velvety cheesecake filling, creating the perfect harmony of textures and flavors. Whether you’re whipping these up for a casual family night or impressing friends at a last-minute gathering, they deliver that homemade charm without any fuss. Let me show you how easy—and delicious—no-bake can be!
Why choose No-Bake Oreo Cheesecake Cups?
Effortless Delight: No oven needed means quick prep and no heat in the kitchen. Creamy Texture: The luscious cheesecake filling melts in your mouth, perfectly balanced with crunchy Oreos. Versatility: Serve them in cups for easy portioning or upscale your presentation for guests. Crowd-Pleaser: These cups are always a hit with family and friends. Time-Saving: Ready in under 15 minutes, ideal for last-minute cravings or unexpected visitors.
No-Bake Oreo Cheesecake Cups Ingredients
For the Oreo Crust
- Crushed Oreos – Use about 20 cookies for a perfect crunchy base that anchors these No-Bake Oreo Cheesecake Cups.
- Unsalted Butter – Melted butter binds the crumbs together for that classic, buttery crust texture.
For the Cheesecake Filling
- Cream Cheese – Softened to room temperature for a smooth, creamy filling that’s the heart of the dessert.
- Powdered Sugar – Adds sweetness without grit, blending seamlessly into the filling.
- Heavy Whipping Cream – Whipped to soft peaks, it gives airiness and lightness to the cheesecake mix.
- Vanilla Extract – A splash enhances all the flavors, making the filling irresistibly rich.
For Garnish (Optional)
- Mini Oreo Pieces – Sprinkle on top for extra crunch and eye appeal.
- Chocolate Shavings – A final flourish for decadence and a hint of bittersweet contrast.
How to Make No-Bake Oreo Cheesecake Cups
For the Crust:
- Process Oreos: Pulse 20 Oreo cookies in a food processor until they become fine, dark crumbs, resembling sand, ensuring a uniform, crunchy base.
- Add Butter: Melt unsalted butter in the microwave for 30 seconds, then pour over crumbs, stirring until glossy and fully combined for perfect binding.
- Press Crust: Divide crumb mixture into eight serving cups; press firmly with a spoon to create a compact, level base, rich chocolate color.
For the Filling:
- Beat Cream Cheese: In a large bowl, whisk softened cream cheese until silky smooth and airy, no lumps remain, pale ivory texture.
- Add Sugar & Vanilla: Blend in powdered sugar and vanilla extract until fully incorporated, creating a sweet, fragrant filling with a creamy consistency.
- Whip Cream: In a chilled bowl, whip heavy cream to soft peaks—when you lift the whisk, the cream should hold gentle, billowy peaks.
- Combine Mixtures: Gently fold whipped cream into the cream cheese blend using a rubber spatula until light, fluffy, and streak-free.
For Assembly & Chill:
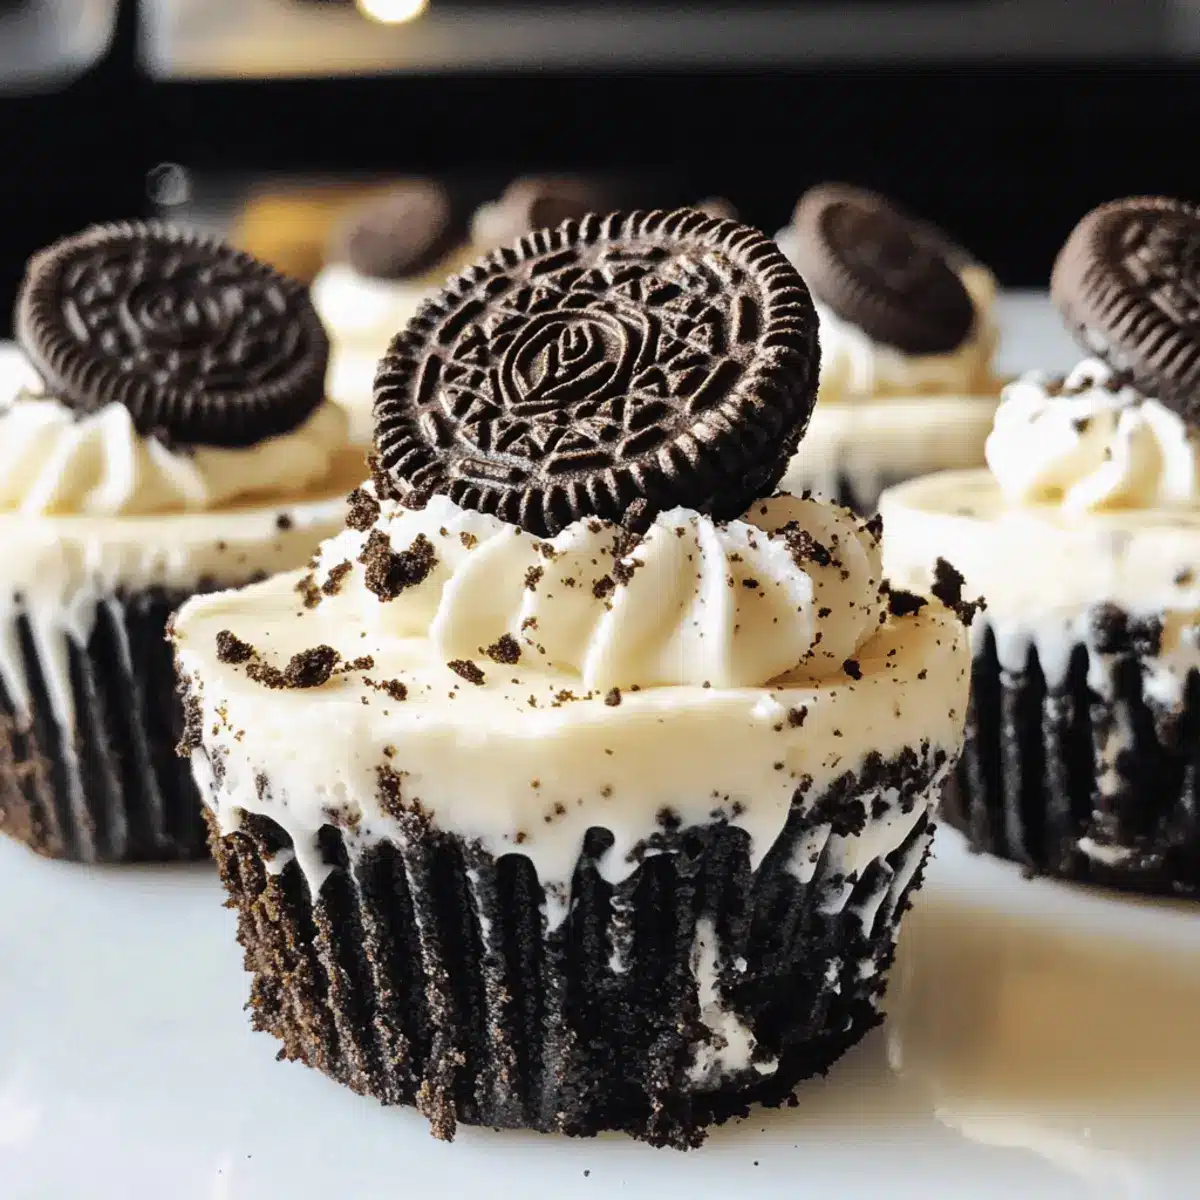
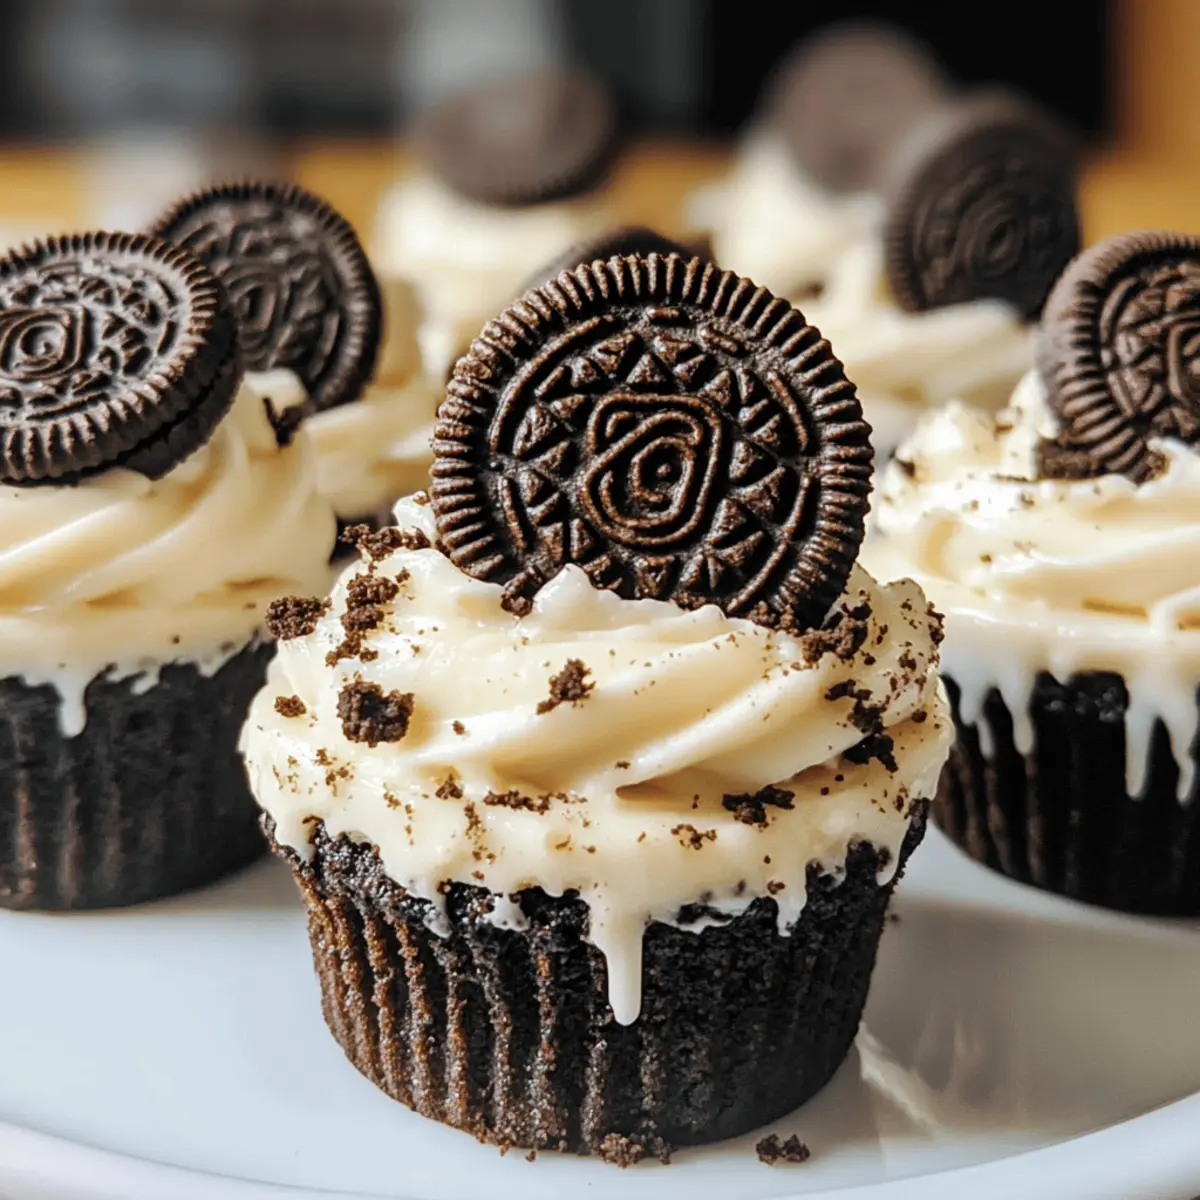
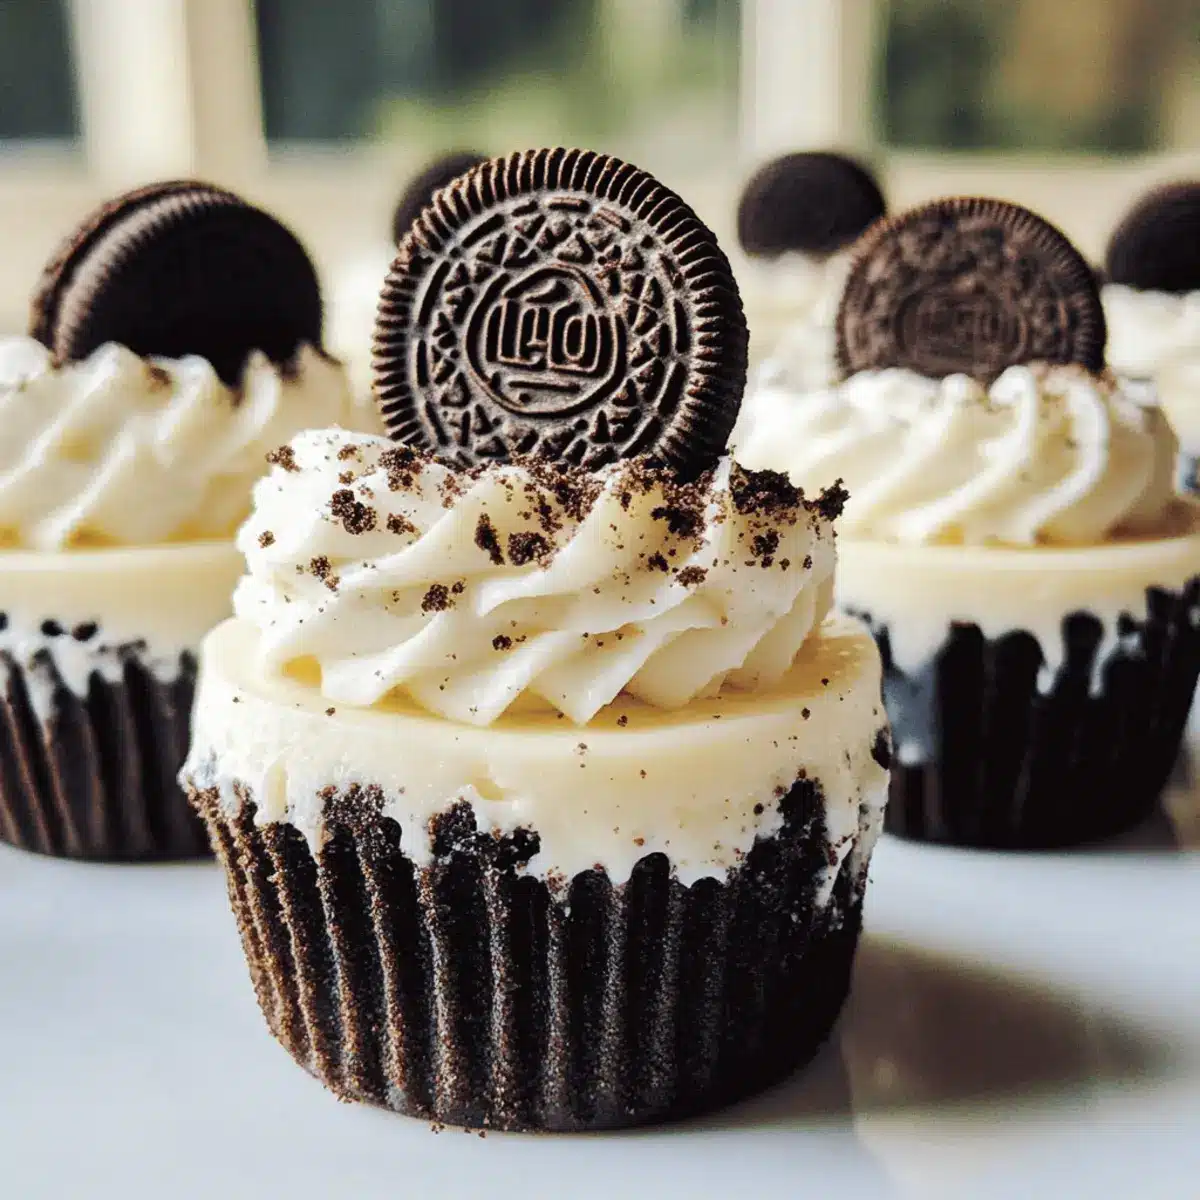
- Fill Cups: Spoon or pipe cheesecake filling over each crust, leveling gently; the contrast between dark base and ivory filling should be visually striking.
- Garnish: Top with mini Oreo pieces and chocolate shavings for extra crunch, visual appeal, and a hint of bittersweet contrast.
- Chill: Refrigerate for at least 1 hour (ideally 2) until set; flavors meld and filling firms for the best no-bake results.
Optional: Dust with cocoa powder before serving for extra richness.
Exact quantities are listed in the recipe card below.
What to Serve with No-Bake Oreo Cheesecake Cups?
Satisfy your sweet tooth with these delightful pairings that enhance the creamy indulgence of your cheesecake cups.
- Fresh Berries: Bursting with juiciness, strawberries or raspberries add a pop of color and a refreshing contrast to the rich cheesecake.
- Whipped Cream: A dollop of sweetened whipped cream provides an airy balance, enhancing the dessert’s indulgence with every spoonful.
- Chocolate Sauce: Drizzling chocolate sauce brings an extra level of decadence, making each bite a delightful treat that chocolate lovers will adore.
- Ice Cream: Pairing with a scoop of vanilla or cookies and cream ice cream creates a delightful semi-freddo effect, elevating the overall experience.
- Espresso: A shot of rich espresso offers a bold, contrasting flavor, perfectly complementing the creaminess of the cheesecake while balancing the sweetness.
- Chocolate-Covered Strawberries: These add a fun and fancy touch, harmonizing chocolate and fruit flavors to impress guests and elevate your dessert spread.
Indulging never felt so good, and these pairings will take your No-Bake Oreo Cheesecake Cups to the next level!
Make Ahead Options
These No-Bake Oreo Cheesecake Cups are an excellent choice for meal prep, saving you time during busy weeknights or gatherings! You can prepare the Oreo crust and cheesecake filling up to 24 hours in advance. To do this, follow the steps to create and press the crust into the serving cups, then store them covered in the refrigerator. Prepare the cheesecake filling as instructed and refrigerate it in an airtight container. When you’re ready to serve, simply fill the crusts with the chilled filling, garnish with mini Oreo pieces and chocolate shavings, and they’ll be just as delicious and fresh as if made that day!
Variations & Substitutions for No-Bake Oreo Cheesecake Cups
Feel free to get creative and personalize these delightful cups to match your taste preferences!
-
Gluten-Free: Use gluten-free Oreos to make these cheesecake cups a safe indulgence for those with gluten sensitivities. It’s a simple swap that doesn’t compromise on flavor!
-
Dairy-Free: Substitute cream cheese with a vegan cream cheese alternative, and use coconut whipped cream to achieve a luscious, dairy-free delight. This way, everyone can join in on the sweetness!
-
Chocolate Twist: Mix in some cocoa powder into the cheesecake filling or drizzle chocolate ganache on top. The added richness elevates the dessert’s chocolatey vibe, making it extra decadent.
-
Fruit Flavor: Add pureed strawberries or raspberries into the filling for a fruity twist. It lightens the overall flavor, bringing a refreshing summer vibe to every bite!
-
Nutty Crunch: Incorporate chopped nuts like walnuts or pecans into the crust for added texture. This variation offers a delightful contrast to the creaminess of the cheesecake.
-
Minty Freshness: Introduce a drop or two of mint extract into the filling for a refreshing mint Oreo cheesecake experience. It’s like a creamy chocolate mint cookie in cup form!
-
Spicy Kick: For a touch of warmth, add a pinch of cayenne pepper in the filling. You’ll be surprised by how the heat plays with the sweetness!
-
Caramel Drizzle: Top with a drizzle of salted caramel for an indulgent finish. This sweet and salty combo will have everyone coming back for more!
Expert Tips for No-Bake Oreo Cheesecake Cups
- Room Temperature Cream Cheese: Always soften cream cheese fully to avoid lumps and achieve a silky, smooth cheesecake filling.
- Perfectly Whipped Cream: Whip heavy cream to soft peaks—not stiff—to keep the filling light and airy without curdling.
- Even Crust Pressing: Press Oreo crumbs firmly but gently to create a compact base that holds shape without becoming too dense.
- Folding Technique: Fold whipped cream into the cheesecake mixture gently and gradually to preserve airiness and avoid deflation.
- Chill Time Matters: Refrigerate at least 1 hour to let flavors meld and filling set properly for the best texture and taste.
- Avoid Overprocessing Oreos: Pulse Oreos just until fine crumbs form; over-blending can create a doughy texture instead of a crunchy crust.
How to Store and Freeze No-Bake Oreo Cheesecake Cups
Fridge: Store leftover No-Bake Oreo Cheesecake Cups in an airtight container in the fridge for up to 5 days to maintain freshness and flavor.
Freezer: For longer storage, wrap each cup individually with plastic wrap and then place them in a freezer-safe bag. They can last up to 3 months.
Thawing: To enjoy frozen cheesecake cups, transfer them to the fridge and allow them to thaw overnight before serving for the best texture.
Reheating: These cups are best served cold and shouldn’t be reheated; the creamy filling is meant to be enjoyed straight from the fridge.
No-Bake Oreo Cheesecake Cups Recipe FAQs
How do I know if my cream cheese is ready for the filling?
Your cream cheese should be softened to room temperature—soft enough to press a finger into gently without resistance but not melted. This ensures a smooth, lump-free cheesecake filling that blends beautifully with the other ingredients.
Can I prepare No-Bake Oreo Cheesecake Cups ahead of time?
Absolutely! You can make these cheesecake cups a day in advance. Simply assemble them as directed, then cover tightly and refrigerate for up to 24 hours. This resting time allows the flavors to meld and the filling to set perfectly.
What’s the best way to freeze these cheesecake cups?
I recommend freezing them individually to preserve texture and flavor. First, cover each cup with plastic wrap, making sure it touches the surface to prevent ice crystals. Then place all wrapped cups in a freezer-safe container or bag. They’ll keep well for up to 3 months. When ready to serve, thaw in the fridge overnight for the best creamy texture.
My cheesecake filling isn’t setting—what am I doing wrong?
This can happen if your heavy cream wasn’t whipped to soft peaks or if the cream cheese was too cold and lumpy. Make sure to whip the cream just enough so it holds gentle peaks but isn’t stiff, and soften the cream cheese fully beforehand. Also, don’t rush the chilling time—at least 1 hour in the fridge is crucial for the filling to firm up.
Are No-Bake Oreo Cheesecake Cups safe for pets?
No, these are not pet-friendly. Oreos contain chocolate, which is toxic to dogs and cats. If you want to share a treat with your furry friends, opt for pet-safe recipes specifically designed for them. Always keep these cheesecake cups well out of reach from curious pets.
Easy No-Bake Oreo Cheesecake Cups That Will Wow Your Taste Buds
Ingredients
Equipment
Method
- Pulse 20 Oreo cookies in a food processor until they become fine crumbs.
- Melt unsalted butter in the microwave, then pour over crumbs, stirring until glossy.
- Divide crumb mixture into eight serving cups; press firmly to create a compact base.
- In a large bowl, whisk softened cream cheese until silky smooth.
- Blend in powdered sugar and vanilla extract until fully incorporated.
- In a chilled bowl, whip heavy cream to soft peaks.
- Gently fold whipped cream into the cream cheese blend until light and fluffy.
- Spoon or pipe cheesecake filling over each crust.
- Top with mini Oreo pieces and chocolate shavings.
- Refrigerate for at least 1 hour until set.


