")


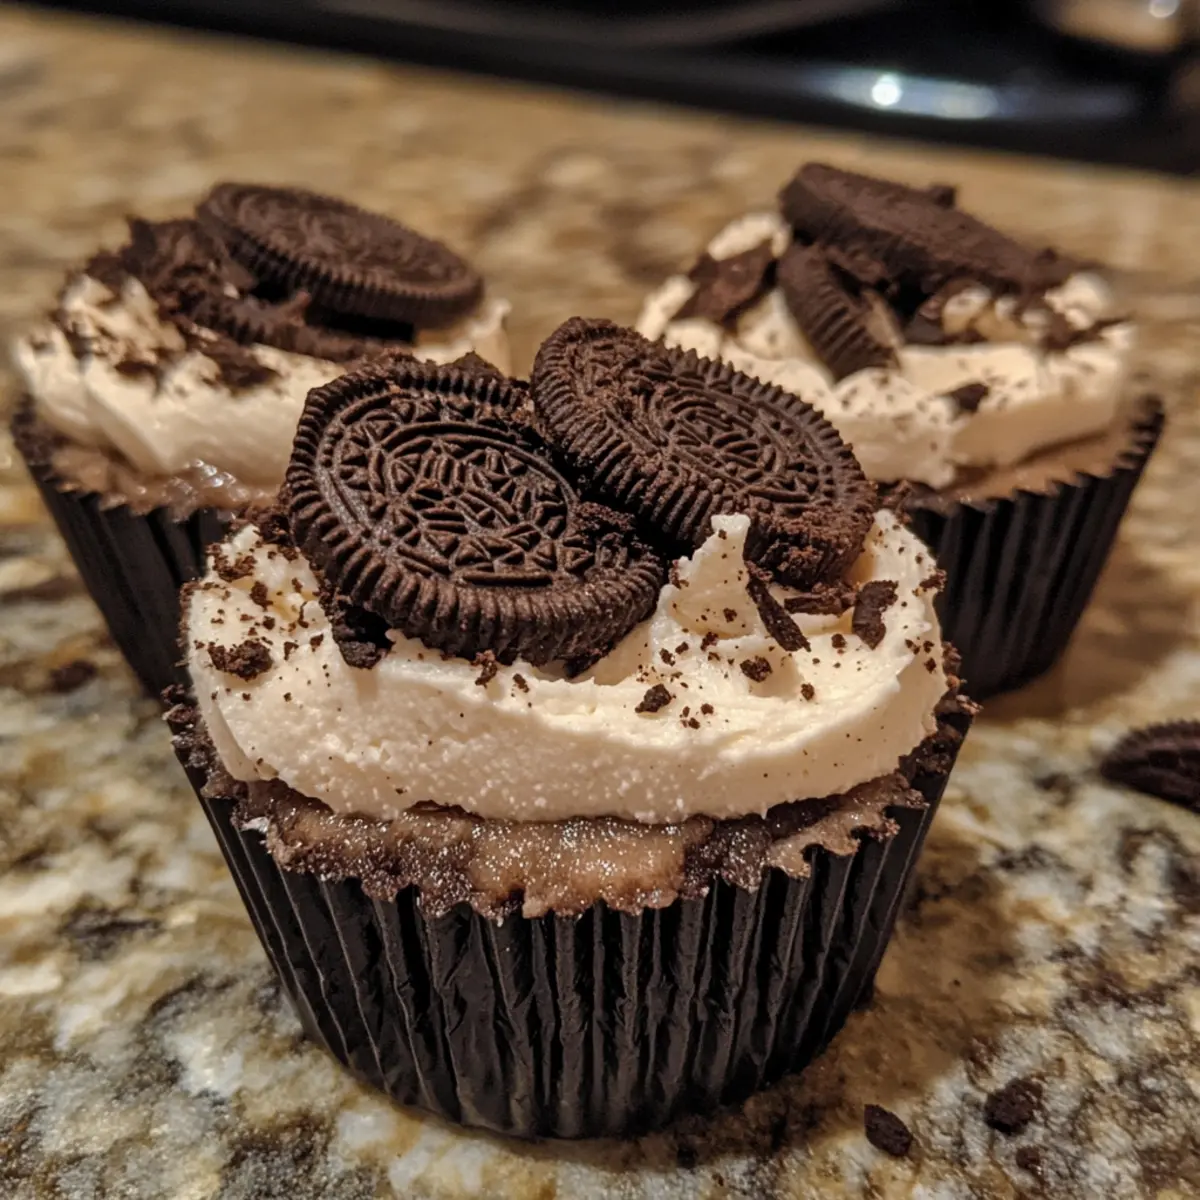
The moment I crushed those classic Oreo cookies and layered them with creamy cheesecake filling, I knew I had stumbled upon a game-changer. These No Bake Oreo Cheesecake Cups are my go-to when I want a dessert that feels indulgent but comes together in minutes—no oven required! Perfect for impressing guests or satisfying a midnight sweet tooth, they combine that irresistible chocolate crunch with a light, velvety texture that melts in your mouth. Whether you’re a busy chef craving quick homemade treats or someone tired of the same old fast-food desserts, these cups offer the perfect balance of simplicity and decadence. Trust me, once you try this recipe, you’ll be reaching for Oreos in a whole new way!
Why choose No Bake Oreo Cheesecake Cups?
Quick and easy: No oven means no stress—just mix, layer, and chill. Delightfully creamy: Each spoonful melts with rich, velvety cheesecake goodness. Chocolatey crunch: Classic Oreo crumbs add that signature irresistible crunch. Versatile treat: Perfect for parties, busy weeknights, or a cozy indulgence. Crowd-pleaser: Everyone loves a dessert that’s both elegant and simple to make!
No Bake Oreo Cheesecake Cups Ingredients
For the Oreo Crust
- Oreo Cookies – Use classic Oreos crushed finely for that iconic chocolate crunch in every bite.
- Unsalted Butter – Melted butter binds the crushed Oreos, creating the perfect no-bake crust texture.
For the Cheesecake Filling
- Cream Cheese – The creamy heart of your No Bake Oreo Cheesecake Cups; soften it to avoid lumps.
- Powdered Sugar – Adds just the right amount of sweetness without graininess.
- Heavy Whipping Cream – Whip this until stiff peaks form to give your cheesecake that velvety, light texture.
- Vanilla Extract – A splash enhances the rich flavors in your cheesecake filling.
Optional Toppings
- Oreo Cookie Halves or Crumbs – Sprinkle on top for extra crunch and decoration.
- Chocolate Shavings or Syrup – Drizzle or garnish for an extra decadent touch that everyone will admire.
How to Make No Bake Oreo Cheesecake Cups
- For the Crust: In a food processor or sturdy bag, crush Oreo cookies into fine crumbs resembling wet sand with chocolate specks uniform throughout to create the perfect crunchy base.
- Combine Butter: Gently stir melted butter into the Oreo crumbs until moistened and sandy, ensuring every crumb is coated for a sturdy, cohesive crust. Chill for 10 minutes.
- Press Crust: Divide mixture evenly among 6 cups, pressing firmly to form a level ¼-inch crust at the bottom. Pop into the fridge while you whip up the filling.
- For the Filling: In a large bowl, beat softened cream cheese until smooth and creamy, scraping down the sides to avoid lumps. This luscious base builds that velvety texture.
- Whip Cream: Beat heavy whipping cream at medium-high speed until stiff peaks form, about 3 minutes. You want firm, glossy peaks that’ll uplift your cheesecake filling.
- Fold & Flavor: Gently fold whipped cream, powdered sugar, and vanilla extract into the cream cheese until light and airy, preserving volume for a melt-in-your-mouth finish.
- Assemble Cups: Spoon or pipe cheesecake filling over chilled Oreo crusts, filling each cup to the top. Smooth the surface for a clean, professional presentation.
- Chill: Refrigerate cups for at least 2 hours or overnight for best set and flavor development. Chilling is key to achieve that perfect cheesecake texture.
- Garnish: Top each cup with Oreo halves, crumbs, or chocolate shavings right before serving to maintain crisp textures and an elegant look.
Optional: Sprinkle a pinch of flaky sea salt for balanced sweetness.
Exact quantities are listed in the recipe card below.
What to Serve with No Bake Oreo Cheesecake Cups?
These delightful dessert cups deserve the perfect companions to create a memorable sweet experience.
-
Fresh Berries: Their tartness contrasts beautifully with the creamy cheesecake, adding a burst of flavor and freshness. A handful of raspberries or strawberries on the side enhances both taste and presentation.
-
Chocolate Sauce: A drizzle of rich chocolate sauce pairs excellently with the Oreo base, adding an extra layer of indulgence. It’s perfect for chocolate lovers and elevates the overall dessert experience.
-
Whipped Cream: A dollop of fresh whipped cream on top not only adds volume but also a light, airy texture that complements the cheesecake’s density. It softens the sweetness while enhancing visuals for that dessert elegance.
-
Espresso or Coffee: A small cup of espresso or brewed coffee balances the sweetness and complements the chocolatey flavors in the cheesecake. The warmth contrasts with the chilled dessert, enhancing every sumptuous bite.
-
Vanilla Ice Cream: A scoop of vanilla ice cream alongside the cheesecake cups offers a delightful temperature change and creaminess, making each spoonful a luscious experience. The simplicity of vanilla keeps the focus on the star of the show.
-
Fruit Compote: A homemade berry or peach compote can add a fruity dimension that contrasts well with the rich cheesecake, creating a wonderful harmony of textures and flavors.
-
Nutty Biscotti: Pairing with crunchy biscotti brings a delightful texture contrast, along with their almond or hazelnut notes that can elevate the chocolate experience of the Oreo cups.
-
Mint Leaves: Fresh mint can beautifully garnish the plates, adding a touch of color and a refreshing taste. It’s a simple yet effective way to enhance the presentation and flavor balance.
-
Sparkling Water: Serve with a refreshing sparkling water infused with lemon or lime for a palate-cleanser that refreshes the taste buds between bites.
Variations & Substitutions for No Bake Oreo Cheesecake Cups
Feel free to make this delightful dessert your own with these fun twists and substitutions!
-
Gluten-Free: Substitute regular Oreos with gluten-free Oreo cookies to create a tasty treat suitable for everyone. The flavor remains just as delightful!
-
Vegan: Use dairy-free cream cheese and coconut cream in place of heavy whipping cream for a rich, vegan version that still satisfies that sweet tooth.
-
Fruit-Infused: Fold in crushed strawberries or blueberries into the cheesecake mixture for a fruity twist that adds a refreshing burst of flavor to your cups.
-
Nutty Crunch: Add finely chopped nuts such as walnuts or almonds to the crust for an exciting texture twist that enhances the overall flavor profile.
-
Minty Fresh: Toss in a few drops of mint extract into the cheesecake filling for a refreshing mint variant that pairs wonderfully with the chocolatey base.
-
Peanut Butter Swirl: Fold creamy peanut butter into half of the cheesecake mixture for a deliciously nutty contrast against the Oreo crust. This unexpected twist is sure to delight!
-
Chocolate Decadence: Swap out some of the cream cheese for chocolate cream cheese for an extra-chocolaty cheesecake that’s rich and indulgent.
-
Citrus Zing: Add the zest of a lemon or orange to elevate the filling with a sunny, citrusy brightness; this really livens up the dessert!
Expert Tips for No Bake Oreo Cheesecake Cups
- Use Room Temperature Cream Cheese: Softening cream cheese fully prevents lumps, ensuring a silky-smooth cheesecake filling every time.
- Avoid Overmixing: Fold the whipped cream gently into the cream cheese mixture to keep it light and airy, preserving the perfect melt-in-your-mouth texture.
- Crush Oreos Evenly: Aim for fine, uniform crumbs for the crust to bind well with butter and create a satisfying crunchy base.
- Chill Thoroughly: Give your No Bake Oreo Cheesecake Cups at least 2 hours in the fridge to set fully and develop rich flavors.
- Add Toppings Last: Place Oreo crumbs or chocolate shavings right before serving to keep toppings crisp and visually appealing.
Make Ahead Options
These No Bake Oreo Cheesecake Cups are perfect for busy home cooks looking to save time! You can prepare the crust and cheesecake filling up to 24 hours in advance, ensuring a stress-free dessert experience. Simply crush the Oreo cookies and mix them with melted butter, then refrigerate the crust in individual cups. For the filling, beat the cream cheese and fold in the whipped cream; store it in a sealed container in the fridge. When you’re ready to serve, layer the prepared filling over the crust, garnish with toppings, and let them chill briefly to maintain that luscious texture. This way, your elegant treat will be just as delicious and ready to wow your family or guests!
How to Store and Freeze No Bake Oreo Cheesecake Cups
- Fridge: Store leftover No Bake Oreo Cheesecake Cups in an airtight container for up to 3 days to maintain their fresh taste and creamy texture.
- Freezer: If you need to freeze them, wrap each cup tightly with plastic wrap and then foil. They can be frozen for up to 2 months.
- Thawing: To enjoy frozen cups, transfer them to the fridge and let them thaw overnight for the best texture before serving.
- Reheating: There’s no need to reheat these cups, as they are best enjoyed chilled right out of the fridge!
No Bake Oreo Cheesecake Cups Recipe FAQs
How do I know if my Oreos are good for making the crust?
Look for Oreos that are crisp and fresh without any dark spots all over or a stale smell. Fresh Oreos ensure a crunchy, flavorful base that holds together well.
What’s the best way to store leftover No Bake Oreo Cheesecake Cups?
I recommend storing them in an airtight container in the fridge for up to 3 days. This keeps the cheesecake creamy and the Oreo crust crunchy without sogginess.
Can I freeze No Bake Oreo Cheesecake Cups for later?
Absolutely! Wrap each cup tightly with plastic wrap, then foil, and place in the freezer. They keep well for up to 2 months. When you’re ready to enjoy, thaw them in the fridge overnight to preserve that smooth, creamy texture.
My cheesecake filling turned out a bit runny—how can I fix this next time?
Runny filling usually means the cream cheese wasn’t fully softened or the whipped cream wasn’t beaten to stiff peaks. Next time, let your cream cheese come to room temperature completely and whip your heavy cream until it holds firm, glossy peaks before folding it gently into the mixture.
Are these No Bake Oreo Cheesecake Cups safe for pets or people with allergies?
These cups contain dairy and gluten from Oreos, so they aren’t suitable for pets or those with lactose intolerance or gluten allergies. For a pet-safe treat, keep their snacks simple and avoid sharing sugary desserts. For allergies, opt for dairy-free cream cheese and gluten-free Oreo alternatives!
Easy No Bake Oreo Cheesecake Cups That Wow Every Time
Ingredients
Equipment
Method
- In a food processor or sturdy bag, crush Oreo cookies into fine crumbs resembling wet sand.
- Gently stir melted butter into the Oreo crumbs until moistened and sandy, then chill for 10 minutes.
- Divide the mixture evenly among 6 cups, pressing firmly to form a ¼-inch crust.
- In a large bowl, beat softened cream cheese until smooth and creamy.
- Beat heavy whipping cream at medium-high speed until stiff peaks form, about 3 minutes.
- Gently fold whipped cream, powdered sugar, and vanilla extract into cream cheese until light and airy.
- Spoon or pipe cheesecake filling over chilled Oreo crusts, filling each cup to the top.
- Refrigerate cups for at least 2 hours or overnight for best texture.
- Top each cup with Oreo halves, crumbs, or chocolate shavings right before serving.


