")


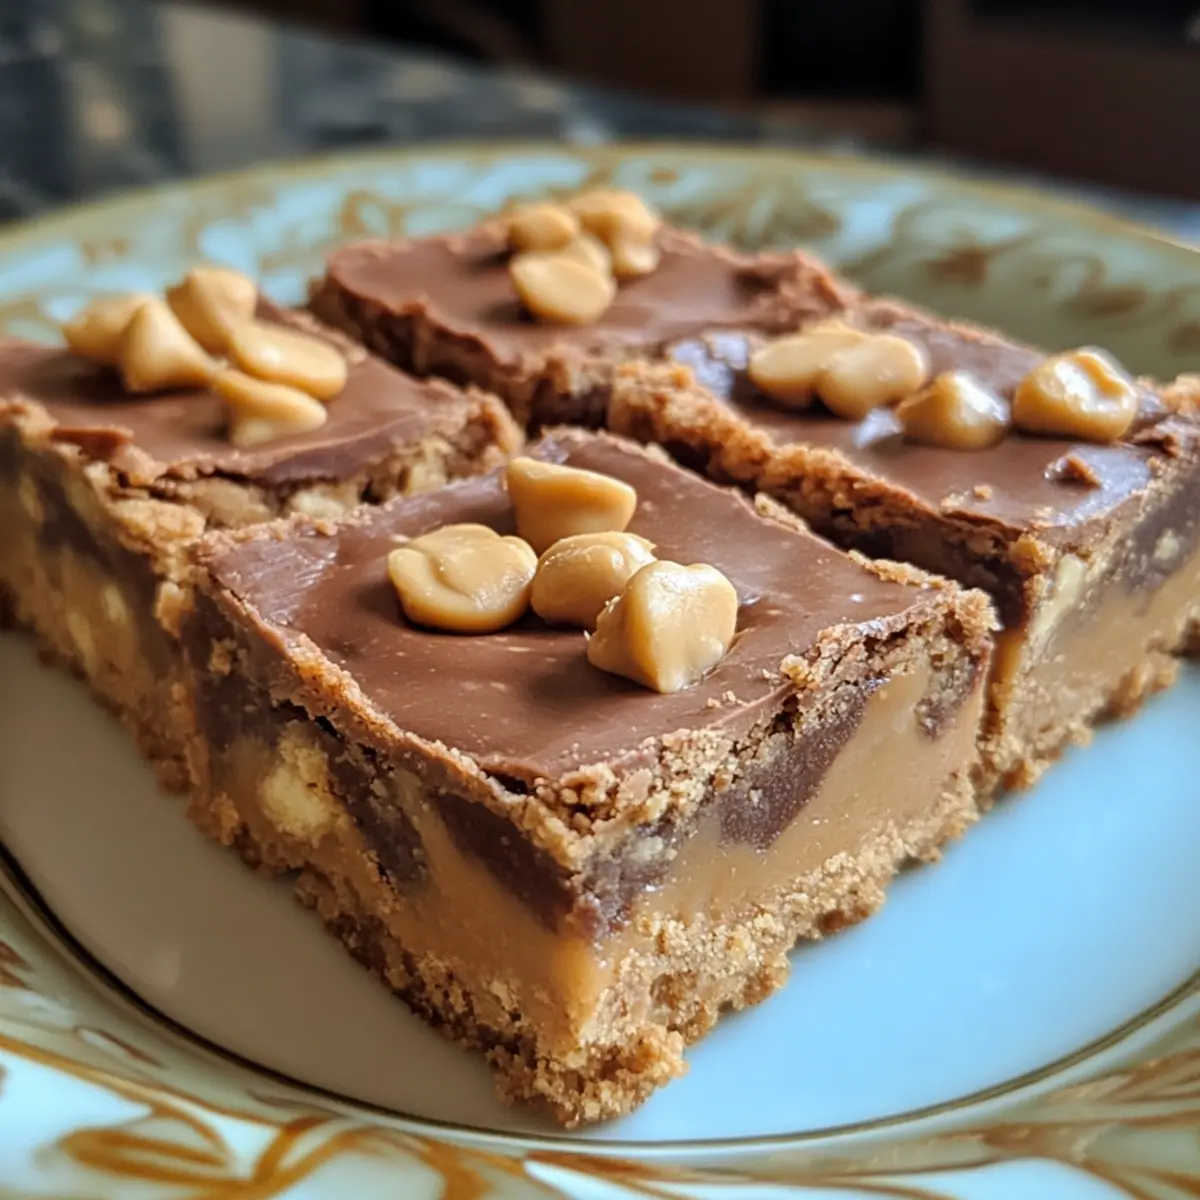
There’s something almost hypnotic about the creamy swirl of peanut butter melting into a sweet layer of chocolate — and that’s exactly what inspired my Easy Peanut Butter Dessert Bars. After a long day, I wanted a treat that didn’t demand hours but still felt indulgent and homemade. These bars hit the sweet spot between rich, nutty flavor and simple prep, making them perfect for anyone craving that satisfyingly gooey dessert without the fuss. Whether you’re sharing with friends or sneaking a bite during a quiet moment, these bars bring comfort and decadence together in every bite. Let me show you how easy it is to whip up this crowd-pleaser right in your own kitchen!
Why choose Easy Peanut Butter Dessert Bars?
Mouthwatering simplicity: This recipe requires just a handful of ingredients and minimal prep, perfect for busy home cooks. Irresistible flavor: The rich peanut butter melds beautifully with smooth chocolate, creating a decadent taste experience. No-bake convenience: Skip the oven and save time while still serving a dessert that feels homemade. Crowd-pleaser alert: These bars are a guaranteed hit at parties or cozy nights in. Versatile treat: Enjoy them as an afternoon snack, dessert, or even a sweet breakfast indulgence!
Easy Peanut Butter Dessert Bars Ingredients
For the Base
- Graham cracker crumbs – provide a crunchy foundation that balances the rich peanut butter flavor.
- Powdered sugar – adds subtle sweetness and helps bind the base together perfectly.
- Unsalted butter – melts smoothly to unify the base ingredients with a buttery richness.
For the Peanut Butter Layer
- Creamy peanut butter – the star ingredient that creates the signature gooey texture and nutty taste.
- Powdered sugar – sweetens and thickens the peanut butter layer for easy spreading.
For the Chocolate Topping
- Semi-sweet chocolate chips – melt into a glossy, smooth layer that complements the peanut butter.
- Unsalted butter – blends with the chocolate for a luscious, silky finish.
These easy peanut butter dessert bars come together fast and delight every time!
How to Make Easy Peanut Butter Dessert Bars
For the Base:
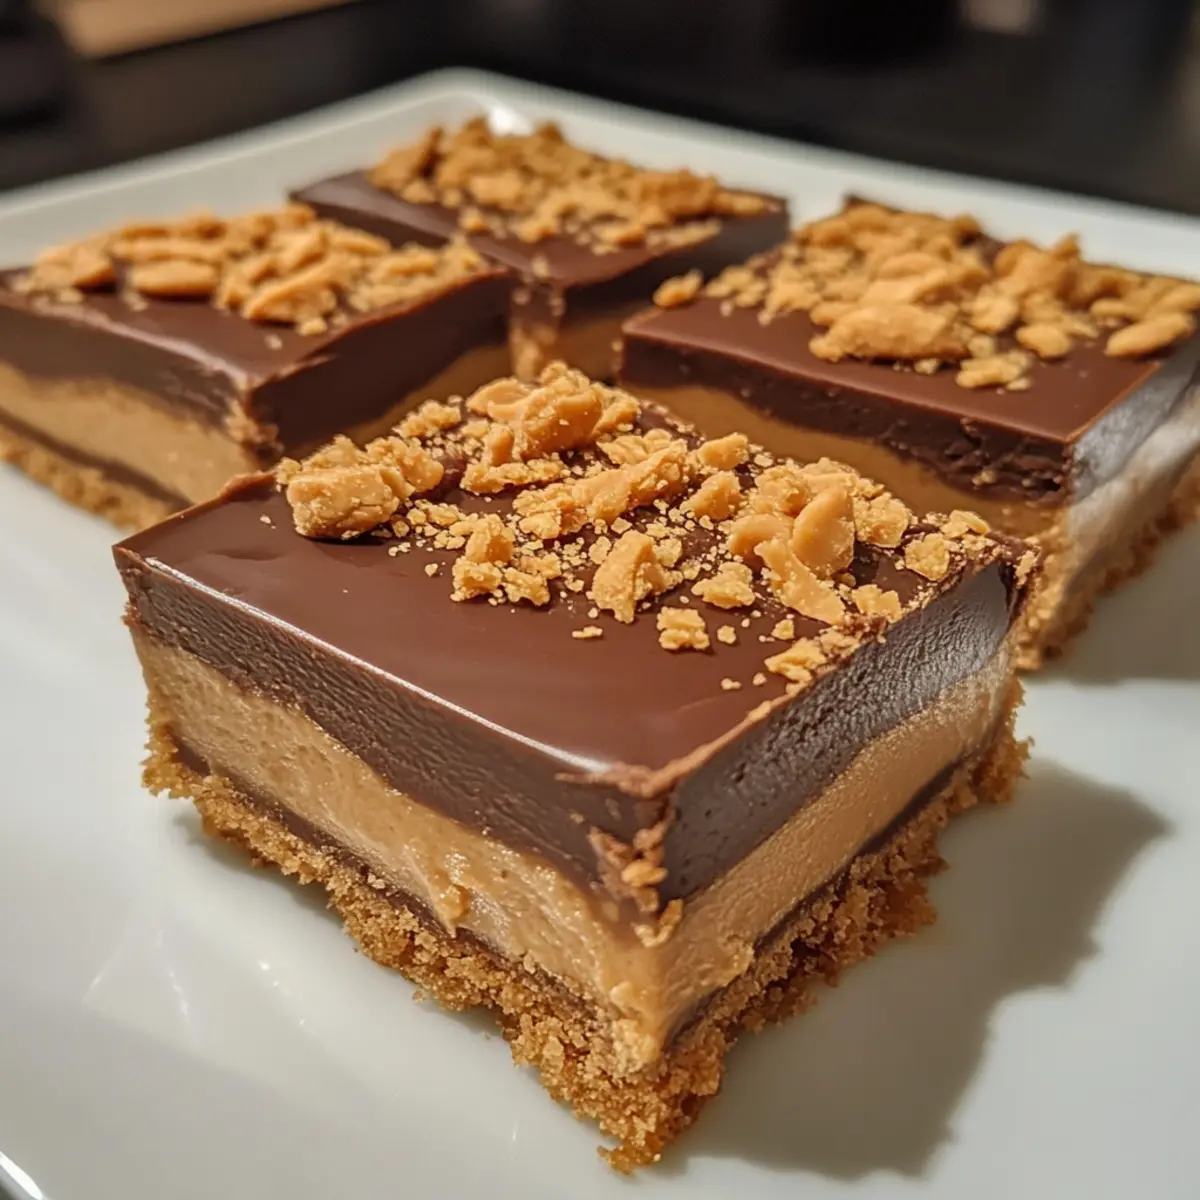
- Mix the Base: In a bowl, stir graham cracker crumbs, powdered sugar, and melted butter until moistened and golden. Press firmly into an 8×8-inch pan for a compact foundation.
For the Peanut Butter Layer:
- Spread Peanut Butter: Combine creamy peanut butter and powdered sugar until smooth and thick. Gently spread over the chilled base with a spatula for an even, gooey coating.
For the Chocolate Topping:
-
Melt Topping: In a microwave-safe bowl, heat chocolate chips and butter on medium power for 30 seconds. Stir until glossy and pourable, then spread evenly over the peanut butter layer.
-
Chill Bars: Place the pan in the refrigerator and chill for at least 2 hours, or until the layers set firmly and become easy to slice without crumbling.
Optional: sprinkle flaky sea salt on top for a flavor pop.
Exact quantities are listed in the recipe card below.
What to Serve with Easy Peanut Butter Dessert Bars?
These delectable treats are just the beginning of a delightful feast that will satisfy your sweet tooth.
-
Fresh Berries: Juicy strawberries and raspberries provide a tart contrast that refreshes the palate after the rich bars.
-
Vanilla Ice Cream: A scoop of smooth vanilla ice cream melts over these dessert bars, adding a creamy texture and cooling effect.
-
Coffee or Espresso: The bold flavors of freshly brewed coffee or a shot of espresso perfectly balance the sweetness, enhancing the dessert experience.
-
Chocolate Drizzle: A light drizzle of melted chocolate over each bar adds a touch of elegance and extra indulgence for chocolate lovers.
-
Nutty Granola: Crunchy granola sprinkled on top gives a delightful crunch that contrasts beautifully with the gooey texture of the bars.
-
Milk: A classic pairing, a glass of cold milk offers a comforting balance to the rich flavors, ensuring each bite is perfectly complemented.
-
Salted Caramel Sauce: A drizzle of warm salted caramel elevates these bars to new heights of decadence, providing a sweet and salty experience.
These suggestions will transform your dessert into a splendid occasion, whether it’s a cozy evening at home or a gathering of friends!
How to Store and Freeze Easy Peanut Butter Dessert Bars
Fridge: Keep the bars in an airtight container in the fridge for up to 1 week to maintain their freshness and gooey texture.
Freezer: Freeze the bars wrapped tightly in plastic wrap and then in foil for up to 3 months. Thaw in the fridge overnight before serving.
Reheating: If desired, for a warm treat, microwave individual bars for 10-15 seconds to melt the chocolate topping slightly, enhancing that decadent experience.
Serving Tip: When ready to enjoy, let the bars sit at room temperature for a few minutes after removing from the fridge or freezer for the best flavor and texture.
Variations & Substitutions for Easy Peanut Butter Dessert Bars
Feel free to let your creativity shine as you customize these delightful bars to suit your tastes!
- Nut-Free: Substitute creamy sunflower seed butter for peanut butter to create a delicious nut-free version that’s just as indulgent.
- Vegan: Use plant-based butter and vegan chocolate chips, making these bars suitable for your dairy-free friends without sacrificing taste.
- Crunchy Texture: For an added crunch, mix in some chopped peanuts or crushed pretzels into the peanut butter layer.
- Flavor Boost: Stir in a teaspoon of vanilla extract to the peanut butter layer for an extra layer of depth and warmth.
- Sweet Swap: Replace powdered sugar with maple syrup or agave nectar for a more natural sweetness that still binds well.
For a unique experience, try adding a swirl of raspberry or strawberry jam atop the peanut butter layer before pouring on the chocolate. This luscious berry twist elevates the flavor profile while adding a refreshing tartness.
- Chocolate Variations: Opt for dark chocolate chips for a richer topping or experiment with white chocolate for a sweeter finish that contrasts wonderfully with the peanut butter.
- Spices: Add a pinch of cinnamon or a dash of sea salt to the peanut butter layer for a subtle hint of warmth that enhances the overall flavor.
These variations will keep everyone guessing at which combo is their favorite, making every batch of Easy Peanut Butter Dessert Bars a thrilling new adventure!
Make Ahead Options
These Easy Peanut Butter Dessert Bars are perfect for meal prep enthusiasts! You can prepare the base and the peanut butter layer up to 24 hours in advance, allowing the flavors to meld beautifully. Simply mix the graham cracker crumbs, powdered sugar, and melted butter, then press it into the pan. Follow with the creamy peanut butter spread and cover tightly with plastic wrap before refrigerating. For optimal quality, melt the chocolate topping just before you’re ready to serve, ensuring it remains glossy and smooth. Just pour it over the chilled layers, chill the bars until set (about 2 hours), and you’ll have a delightful treat ready to impress your family or friends!
Expert Tips for Easy Peanut Butter Dessert Bars
- Use Room Temperature Ingredients: Softened butter and peanut butter blend more smoothly, ensuring your Easy Peanut Butter Dessert Bars have a silky texture without lumps.
- Press the Base Firmly: Compacting the graham cracker mixture tightly prevents crumbling and creates a sturdy foundation for the layers above.
- Don’t Overheat Chocolate: Melt chocolate in short bursts and stir often to avoid burning, keeping the topping glossy and smooth.
- Chill Thoroughly: Allow at least two hours in the fridge so bars set well and slice cleanly, avoiding messy edges.
- Optional Salt Sprinkle: A light dusting of flaky sea salt balances sweetness and enhances the nutty peanut butter flavor beautifully.
Easy Peanut Butter Dessert Bars Recipe FAQs
How do I know if my peanut butter is good to use for these bars?
Choose creamy peanut butter that is fresh, smooth, and free of oil separation. If it has dark spots all over or a rancid smell, it’s best to toss it. Fresh peanut butter makes the bars silky and delicious!
What’s the best way to store leftover Easy Peanut Butter Dessert Bars?
Store the bars in an airtight container in the refrigerator where they’ll stay fresh and maintain their gooey texture for up to 1 week. This keeps the chocolate firm but not too hard, perfect for slicing and enjoying.
Can I freeze these bars? If so, how should I do it?
Absolutely! Wrap each bar tightly in plastic wrap, then place them in a freezer-safe container or wrap with foil. Freeze for up to 3 months. To enjoy, thaw overnight in the fridge and let sit at room temperature for 10 minutes before serving to bring back that melt-in-your-mouth texture.
What if my chocolate topping turns grainy or clumpy when melting?
This usually means the chocolate overheated or got moisture in it. To fix it, melt the chocolate slowly in 15-second bursts, stirring often. Using a double boiler or microwave on medium power prevents burning. If it clumps, add a teaspoon of butter or coconut oil while stirring to smooth it out.
Are these Easy Peanut Butter Dessert Bars safe for pets or people with nut allergies?
Since peanut butter is the star ingredient, these bars are not safe for those with peanut or tree nut allergies—and keep them away from pets, as peanut butter and chocolate can be toxic to animals. For allergy-friendly options, consider seed butters and a chocolate substitute, but always verify ingredients carefully!
Easy Peanut Butter Dessert Bars That Melt in Your Mouth
Ingredients
Equipment
Method
- In a bowl, stir graham cracker crumbs, powdered sugar, and melted butter until moistened and golden. Press firmly into an 8×8-inch pan for a compact foundation.
- Combine creamy peanut butter and powdered sugar until smooth and thick. Gently spread over the chilled base with a spatula for an even, gooey coating.
- In a microwave-safe bowl, heat chocolate chips and butter on medium power for 30 seconds. Stir until glossy and pourable, then spread evenly over the peanut butter layer.
- Place the pan in the refrigerator and chill for at least 2 hours, or until the layers set firmly and become easy to slice without crumbling.