")


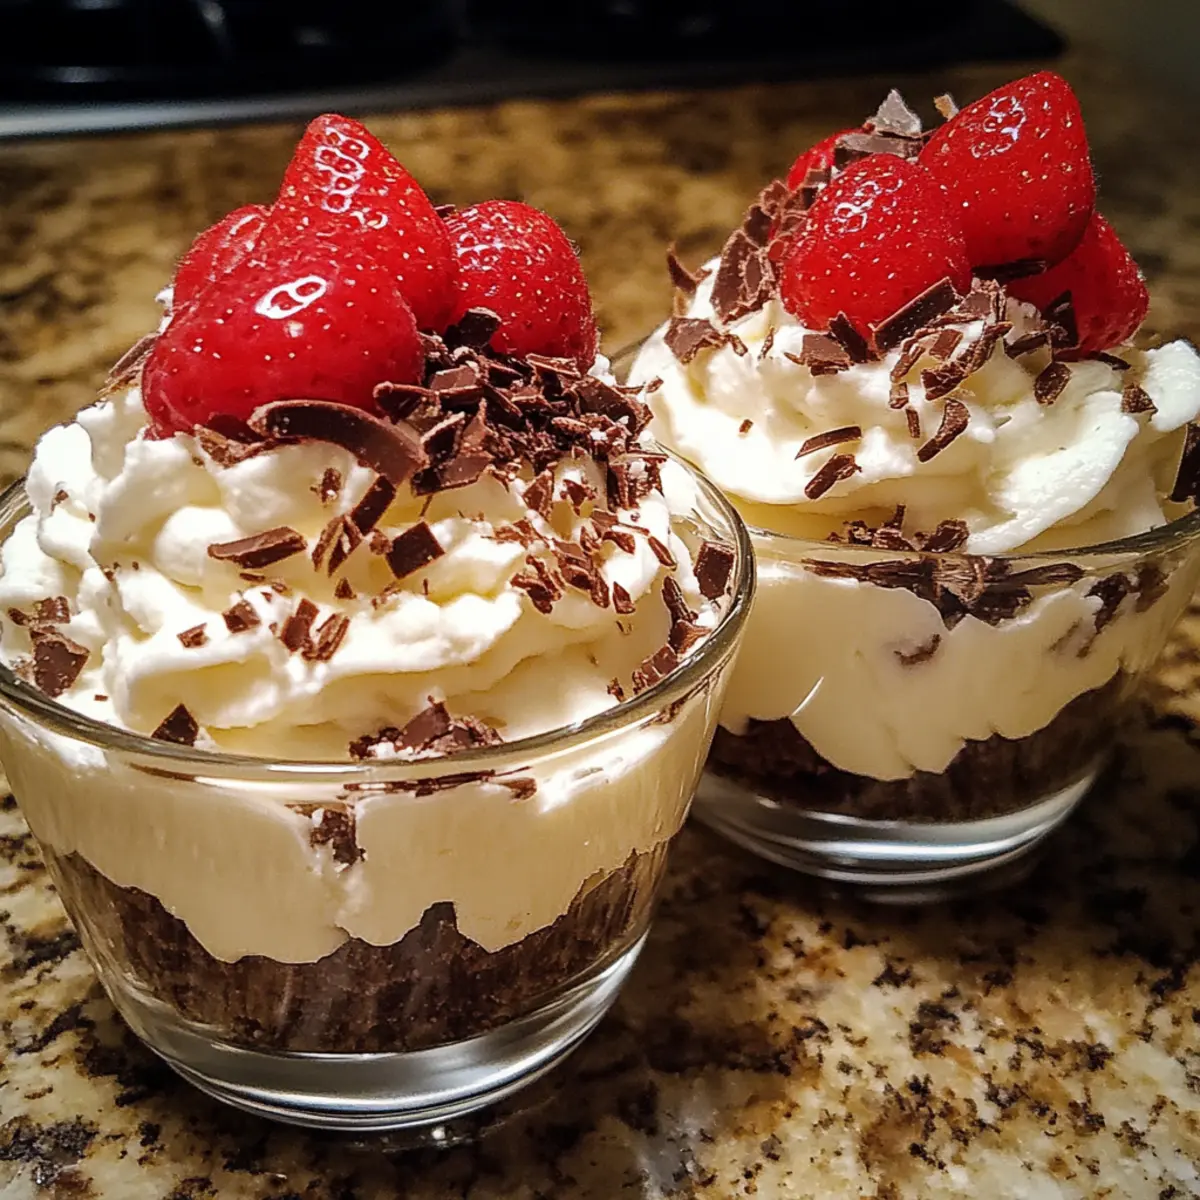
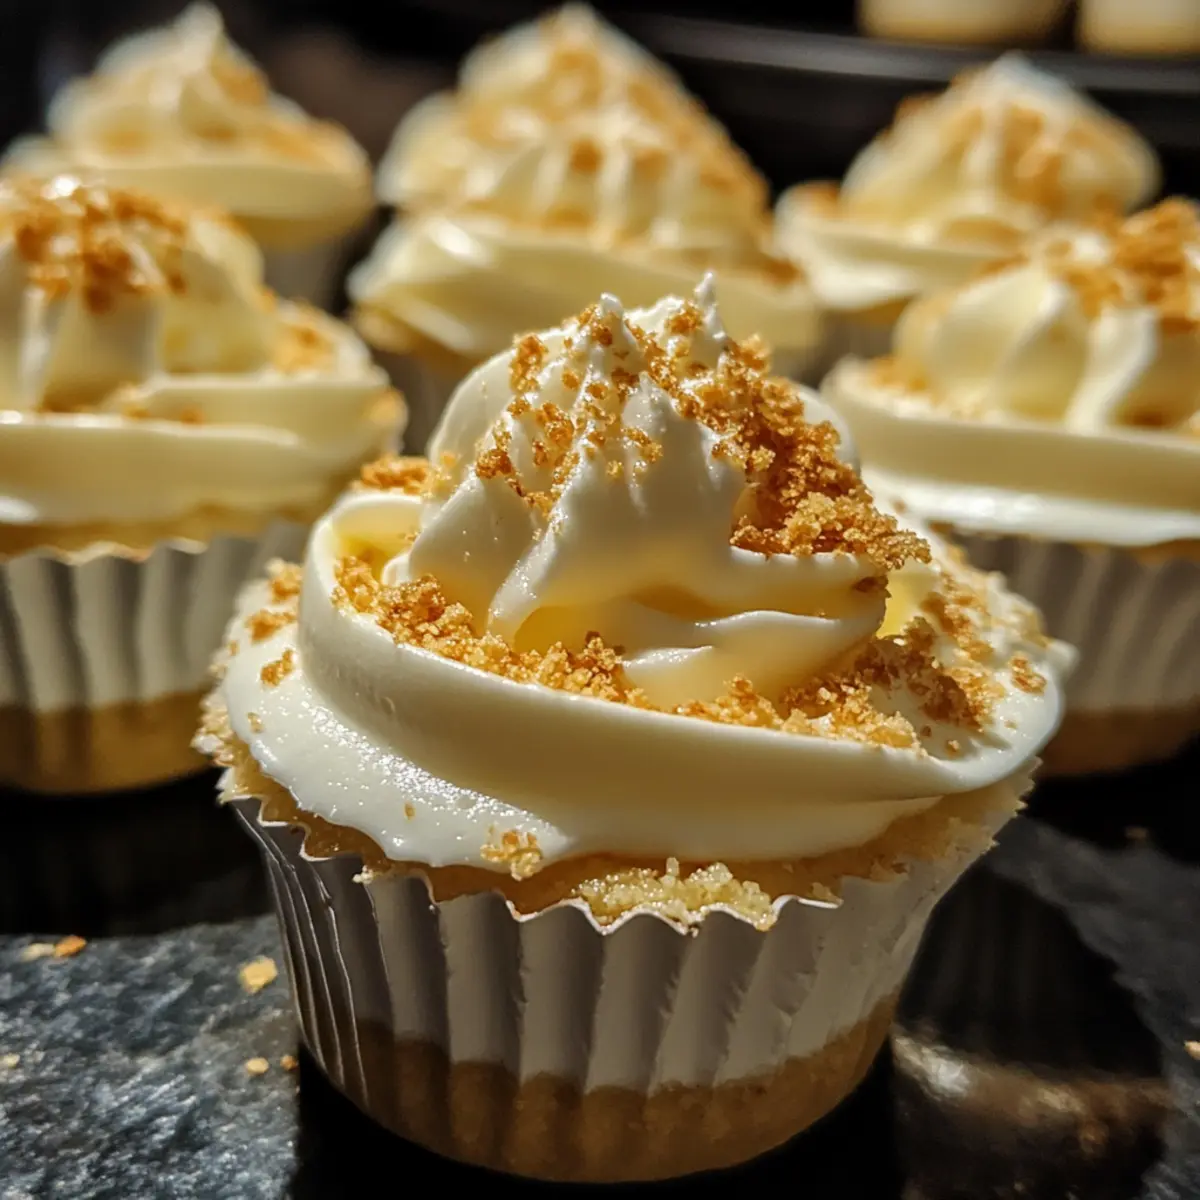
There’s something delightfully soothing about a dessert that’s rich, creamy, and effortlessly elegant—all without hours in the kitchen. These Simple Creamy Cheesecake Dessert Cups have become my go-to treat when I crave something indulgent yet fuss-free. Imagine silky smooth cheesecake layered over a crunchy crust, all served in perfectly portioned cups that are as charming as they are delicious. Whether you’re winding down after a long day or hosting friends who need a quick but impressive finish to the meal, this recipe is sure to win hearts and satisfy sweet cravings without the hassle. Get ready to discover how easy it is to whip up a dessert that truly feels homemade and luxurious at the same time!
Why choose Simple Creamy Cheesecake Dessert Cups?
Simplicity is key—this recipe requires minimal ingredients and no complicated steps. Creamy indulgence shines through every bite with a luscious, silky texture that melts in your mouth. Portion-perfect cups make serving effortless and mess-free for any occasion. Versatility lets you add your favorite toppings, from fresh berries to chocolate drizzle. Plus, quick preparation frees up your time while still delivering a crowd-pleasing dessert that feels upscale and homemade.
Simple Creamy Cheesecake Dessert Cups Ingredients
For the Crunchy Crust
- Graham cracker crumbs – Use finely crushed crumbs for the perfect crisp base that complements the creamy filling.
- Unsalted butter – Melted butter binds the crust together and adds rich flavor without overpowering.
- Granulated sugar – Just a touch to balance the buttery crust with subtle sweetness.
For the Creamy Cheesecake Filling
- Cream cheese – The star of the show, softened for a smooth and decadent texture in your Simple Creamy Cheesecake Dessert Cups.
- Sour cream – Adds tang and enhances the creamy indulgence of the cheesecake layer.
- Powdered sugar – Dissolves easily to sweeten the filling evenly without grit.
- Vanilla extract – Infuses the filling with warm, comforting flavor that pairs beautifully with every bite.
- Heavy cream – Whipped to add lightness and create that melt-in-your-mouth silkiness everyone loves.
Optional Toppings
- Fresh berries – Brighten up the dessert with juicy freshness and a pop of color.
- Chocolate shavings – For a touch of elegance and a deep cocoa contrast to the creamy layers.
- Fruit compote – Adds a fruity tang and gorgeous visual appeal, making each cup truly special.
How to Make Simple Creamy Cheesecake Dessert Cups
- For the Crunchy Crust:
- Combine ingredients: In a medium bowl, stir together graham cracker crumbs, melted butter, and sugar until evenly coated and mixture holds together when pressed.
- Press crust: Divide crumb mixture among cups and press firmly into the bottom using the back of a spoon, creating a crisp, even layer (about ½ inch thick).
- Chill crust: Place cups in the fridge for 10 minutes so the crust firms up while you prepare the filling.
- For the Creamy Cheesecake Filling:
- Beat cheese: In a mixer bowl, whip softened cream cheese until smooth and fluffy, about 2 minutes, ensuring no lumps remain.
- Add flavor: Mix in sour cream, powdered sugar, and vanilla extract until the filling is silky smooth and evenly blended.
- Whip cream: In a clean bowl, whip heavy cream until soft peaks form, about 1–2 minutes, adding volume and lightness.
- Fold filling: Gently fold whipped cream into the cheesecake mixture with spatula until uniform and airy, avoiding deflating the mixture.
- Assemble cups: Spoon or pipe the cheesecake filling evenly over each chilled crust, filling cups almost to the rim for a generous layer.
- Final chill: Refrigerate dessert cups for at least 2 hours (or overnight) until the filling sets firm and holds its shape.
Optional: Garnish with fresh berries and mint for a vibrant finish.
Exact quantities are listed in the recipe card below.
Make Ahead Options
These Simple Creamy Cheesecake Dessert Cups are perfect for meal prep enthusiasts! You can prepare the crunchy crust up to 24 hours in advance; simply combine the graham cracker crumbs, melted butter, and sugar, then press the mixture into the cups and refrigerate until ready to use. The creamy cheesecake filling can be whipped and assembled up to 3 days ahead. Just remember to refrigerate it to maintain texture and quality. When you’re ready to serve, simply garnish with fresh berries or chocolate shavings just before presenting, ensuring a delightful, fresh finish that tastes just as delicious as if you made it on the spot!
What to Serve with Simple Creamy Cheesecake Dessert Cups?
Looking to create a delightful meal that perfectly complements your dessert? Let’s explore the best pairings to enhance your dining experience.
- Fresh Berries: Juicy strawberries, blueberries, or raspberries add a burst of flavor and brightness that contrasts beautifully with the creamy cheesecake.
- Mint Tea: A soothing mint herbal tea serves as a refreshing palate cleanser, balancing the richness of the dessert.
- Chocolate Drizzle: A decadent drizzle of dark chocolate creates an elegant touch, elevating each bite with a hint of cocoa bitterness.
- Fruit Compote: A tangy fruit compote brings an appealing color and flavor contrast, enhancing each creamy mouthful with a fruity punch.
- Whipped Cream: Extra dollops of freshly whipped cream add lightness and an indulgent touch, making the dessert even more luxurious.
- Sparkling Wine: A glass of bubbly sparkling wine elevates the celebration, with its effervescence enhancing the cheesecake’s creaminess.
Imagine the blend of textures and flavors—a delightful medley that transforms your dessert from simple to sophisticated. Enjoy crafting the full experience!
Variations & Substitutions for Simple Creamy Cheesecake Dessert Cups
Feel free to get creative and make this cheesecake dessert yours with these fun and tasty adjustments!
- Gluten-Free: Substitute graham cracker crumbs with gluten-free cookie crumbs or crushed nuts for a delightful base.
- Sweetener Swap: Use honey or maple syrup instead of granulated sugar to add a natural sweetness and unique flavor twist.
- Cheese Variation: Swap cream cheese with mascarpone for a different richness or go dairy-free with vegan cream cheese.
- Flavor Infusion: Experiment by adding a splash of almond or lemon extract to the filling for a refreshing zing.
- Fruit Flavors: Incorporate pureed fruit into the filling, like strawberries or mango, for a vibrant twist that brightens each bite.
- Chocolate Lovers: Mix in melted chocolate or cocoa powder into the cheesecake filling for an indulgent chocolate cheesecake vibe.
- Spicy Chocolate: Add a pinch of cayenne to the chocolate option to bring a subtle warmth that layers the flavor experience beautifully.
- Mini Cups: Use mini cups to make bite-sized versions, perfect for parties or a sweet snack that satisfies your cravings without overindulging.
Each variation adds its own character, making your dessert cups versatile and incredibly fun to enjoy!
Expert Tips for Simple Creamy Cheesecake Dessert Cups
- Room Temperature Ingredients: Always soften cream cheese and sour cream before mixing to avoid lumps and ensure a silky smooth filling.
- Don’t Overmix Whipped Cream: Fold whipped cream gently into the cheesecake mixture to keep it light and airy—overmixing can deflate the texture.
- Press Crust Firmly: Pack the graham cracker crust tightly into each cup to prevent it from crumbling when scooping the dessert.
- Chill Thoroughly: Refrigerate the assembled cups for at least 2 hours to let them set properly for that perfect creamy consistency.
- Customize Toppings: Add fresh berries or chocolate shavings just before serving to keep their vibrant color and flavor intact.
How to Store and Freeze Simple Creamy Cheesecake Dessert Cups
Fridge: Store any leftover Simple Creamy Cheesecake Dessert Cups in an airtight container in the refrigerator for up to 3 days to maintain their creamy texture and freshness.
Freezer: If you’d like to save some for later, wrap the cups tightly in plastic wrap and freeze for up to 2 months. When ready, thaw in the fridge overnight before serving.
Reheating: These dessert cups are best served chilled, so simply remove them from the fridge to enjoy at your leisure—no reheating needed!
Toppings: If you’ve added fresh toppings, wait to garnish until right before serving to keep them vibrant and delightful.
Simple Creamy Cheesecake Dessert Cups Recipe FAQs
How do I know if my cream cheese is perfect for this recipe?
The cream cheese should be fully softened but not melted—room temperature is key. This ensures a smooth, lump-free filling. If it still feels cold or hard, just leave it out for 30–60 minutes before mixing.
What’s the best way to store leftover Simple Creamy Cheesecake Dessert Cups?
Store them in an airtight container in the fridge for up to 3 days. This keeps the creamy texture fresh and prevents the crust from becoming soggy. Always cover tightly to avoid absorbing fridge odors.
Can I freeze these dessert cups, and how should I do it?
Absolutely! I recommend wrapping each cup tightly in plastic wrap, then placing them in a freezer-safe container or bag. Freeze for up to 2 months. When ready to enjoy, thaw overnight in the fridge to keep that perfect creamy consistency.
My crust is falling apart when I try to eat the dessert—what went wrong?
This usually means the crust wasn’t pressed firmly enough or there wasn’t enough butter in the mix. Next time, pack the graham cracker crumbs tightly into the cups and ensure the butter is fully melted and well combined for a sturdier base.
Are these dessert cups safe for pets or suitable for people with allergies?
Simple Creamy Cheesecake Dessert Cups contain dairy and gluten (from the graham crackers), so they’re not safe for pets or anyone with those specific allergies. For a pet-friendly treat, I recommend sticking to plain fresh fruits or specially made pet desserts.
Easy Simple Creamy Cheesecake Dessert Cups You’ll Crave
Ingredients
Equipment
Method
- In a medium bowl, stir together graham cracker crumbs, melted butter, and sugar until evenly coated.
- Divide crumb mixture among cups and press firmly into the bottom using the back of a spoon.
- Place cups in the fridge for 10 minutes so the crust firms up.
- In a mixer bowl, whip softened cream cheese until smooth and fluffy, about 2 minutes.
- Mix in sour cream, powdered sugar, and vanilla extract until smooth.
- In a clean bowl, whip heavy cream until soft peaks form, about 1–2 minutes.
- Gently fold whipped cream into the cheesecake mixture until uniform.
- Spoon or pipe the cheesecake filling evenly over each chilled crust.
- Refrigerate dessert cups for at least 2 hours until the filling sets firm.


