")


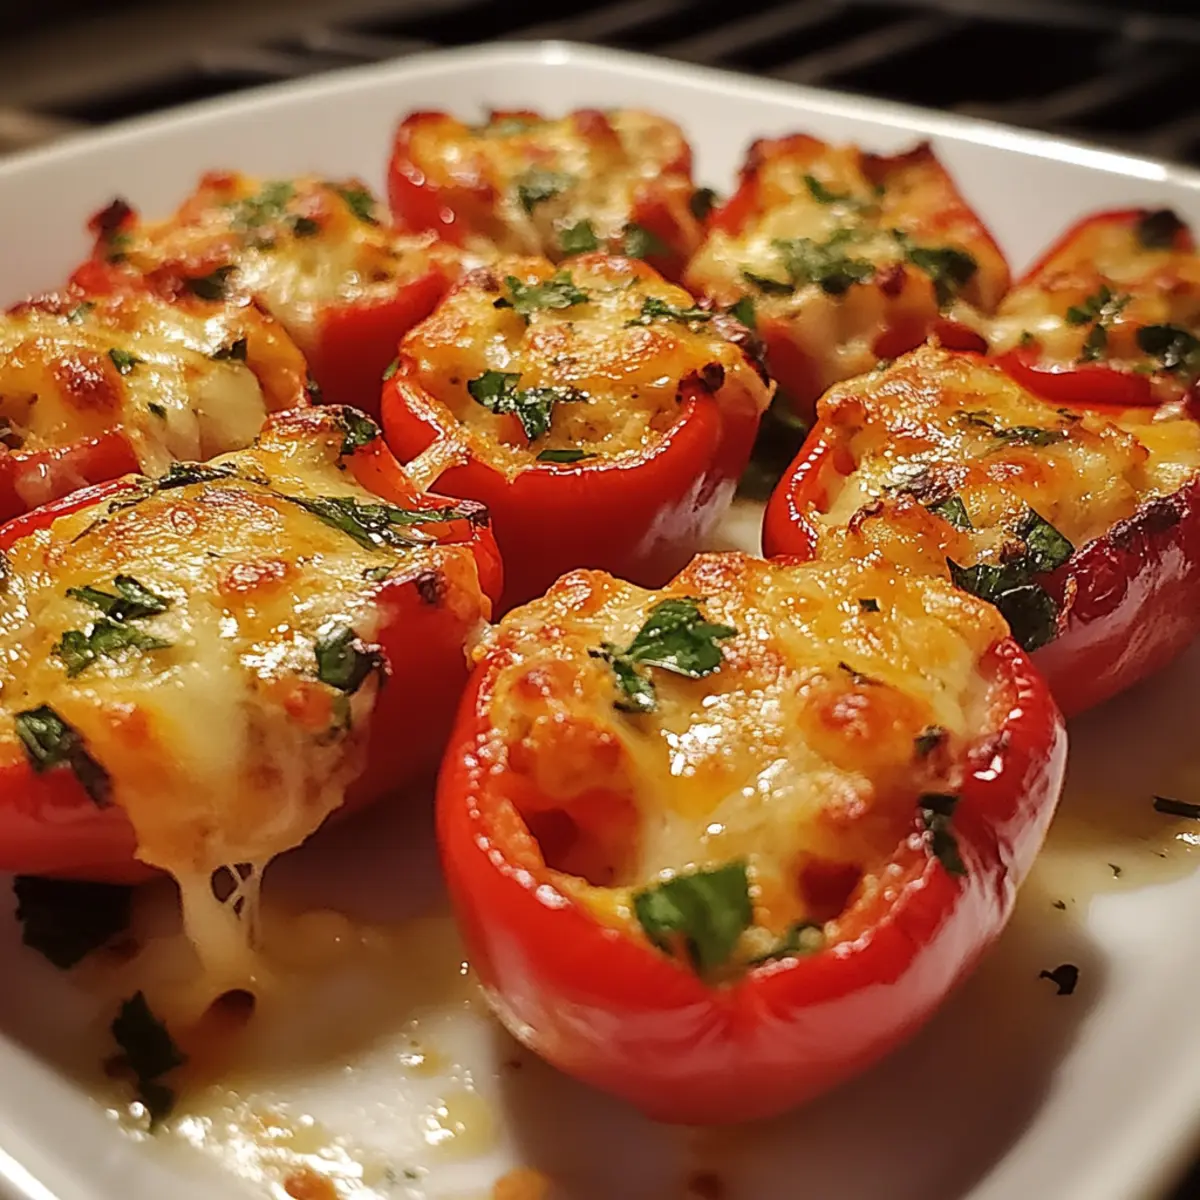
The first time I bit into one of these Mini Cheese Stuffed Peppers, I was hooked by the perfect blend of creamy, melted cheese and the subtle sweetness of the tender pepper. It’s such a simple treat, yet it feels indulgent—like a little homemade appetizer that’s both comforting and impressive. Whenever I want to elevate a casual meal or surprise guests with something bite-sized and bursting with flavor, these peppers come to the rescue. Plus, they’re incredibly versatile: swap out cheeses or add your favorite herbs to make them uniquely yours. If you’re craving something fresh, cheesy, and utterly satisfying, this recipe is about to become your new go-to!
Why choose Mini Cheese Stuffed Peppers?
Irresistible flavor: Creamy, melted cheese pairs perfectly with the natural sweetness of tender peppers. Effortless preparation: Minimal ingredients and straightforward steps make this a quick, no-fuss recipe. Versatile delight: Customize with different cheeses or herbs to suit any taste. Crowd-pleasing: Bite-sized and visually appealing, perfect for parties or snacks. Comfort meets elegance: A simple homemade treat that feels special every time.
Mini Cheese Stuffed Peppers Ingredients
For the Mini Peppers
- Mini sweet peppers – Choose vibrant colors for a festive, fresh base that’s naturally sweet and tender.
- Olive oil – A light drizzle helps roast the peppers to perfection without overpowering their flavor.
For the Cheese Filling
- Cream cheese – Provides a silky, creamy texture that melts beautifully inside the peppers.
- Shredded cheddar cheese – Adds a sharp, tangy kick to complement the creaminess.
- Parmesan cheese – A sprinkle boosts savory depth with a slightly nutty finish.
- Fresh herbs (like parsley or chives) – Brighten the filling with fresh, aromatic notes tailored to your taste.
For Seasoning
- Garlic powder – Enhances warmth and subtle earthiness without the hassle of fresh garlic.
- Salt and black pepper – Simple staples that elevate all the flavors harmoniously.
These Mini Cheese Stuffed Peppers ingredients build the perfect foundation for a creamy, satisfying snack that’s as delightful to look at as it is to taste.
How to Make Mini Cheese Stuffed Peppers
- Preheat: Preheat your oven to 375°F and line a baking sheet with parchment paper. This ensures even roasting and prevents sticking for perfectly tender peppers.
- Combine: In a mixing bowl, stir together cream cheese, shredded cheddar and grated Parmesan with garlic powder, salt, pepper, and chopped herbs until smooth and evenly blended.
- Stuff: Using a small spoon or piping bag, fill each mini pepper cavity generously with cheese mixture, pressing down gently so they hold together and look neat on the baking sheet.
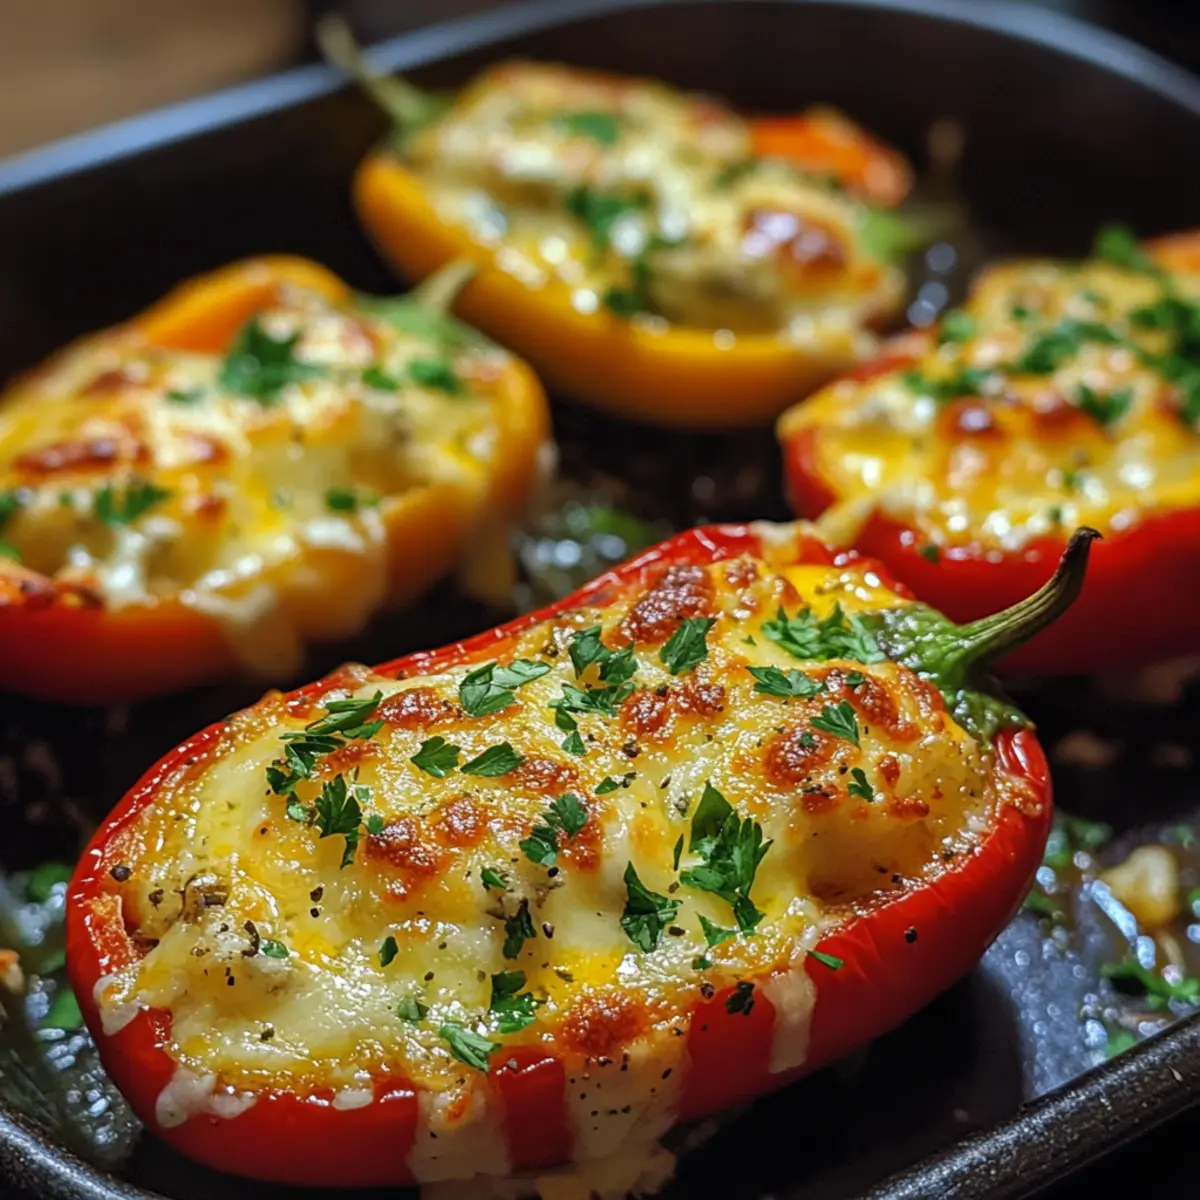
- Bake: Roast the stuffed peppers at 375°F for 15–18 minutes, or until the peppers are tender and the cheese is bubbly with a golden-brown top.
- Garnish & Serve: Transfer peppers to a platter, sprinkle with extra chopped herbs, and serve immediately while warm for best flavor and texture contrast.
Optional: lightly drizzle balsamic glaze before serving.
Exact quantities are listed in the recipe card below.
How to Store and Freeze Mini Cheese Stuffed Peppers
Room Temperature: Enjoy Mini Cheese Stuffed Peppers fresh out of the oven for the best taste and texture; they should not be left out for more than 2 hours.
Fridge: Store any leftovers in an airtight container in the fridge for up to 3 days. Reheat in the oven for a few minutes to retain crispness.
Freezer: To freeze, wrap cooled stuffed peppers individually in plastic wrap and place in a freezer-safe bag. They can be frozen for up to 3 months.
Reheating: Reheat frozen Mini Cheese Stuffed Peppers directly from the freezer in a preheated oven at 375°F for about 20 minutes, or until heated through.
Make Ahead Options
These Mini Cheese Stuffed Peppers are perfect for meal prep enthusiasts! You can prepare the cheese filling up to 3 days in advance and store it in an airtight container in the refrigerator to keep it fresh and ready to use. Additionally, you can stuff the mini peppers and arrange them on a baking sheet, covering them with plastic wrap before refrigerating for up to 24 hours. When you’re ready to serve, simply preheat the oven and bake the stuffed peppers until they are warm and the cheese is bubbly. This way, you’ll have a delicious appetizer with minimal effort, ideal for busy weeknights or unexpected guests!
Mini Cheese Stuffed Peppers Variations & Substitutions
Feel free to customize these delightful Mini Cheese Stuffed Peppers to create a unique twist that suits your taste buds.
-
Spicy Kick: Add diced jalapeños or crushed red pepper flakes to the cheese mixture for a zesty, fiery flavor. These will transform your bites into a mini explosion of heat!
-
Herb-Infused: Swap out the basic herbs for fresh basil or oregano, giving a fragrant garden touch to your filling. A hint of Italian flair can elevate your dish to a whole new level.
-
Meat Lover’s Delight: Mix in cooked, crumbled sausage or bacon bits to the cheese filling for an extra savory punch. This twist turns your appetizer into a hearty treat that meat enthusiasts will adore.
-
Vegetarian Twist: Add finely chopped spinach or sun-dried tomatoes into the cheese blend for a fresh, flavorful veggie boost. The vibrant colors and tastes will make it a visual feast!
-
Nutty Flavor: Incorporate crushed nuts, such as walnuts or almonds, into the cheese mix for an unexpected crunch and a hint of nuttiness. This delightful texture will charm your guests!
-
Cheese Swap: Experiment with different cheeses like feta or goat cheese for a tangy or creamy twist. Each cheese brings its own character, adding rich complexity to your peppers.
-
Sweet and Savory: Drizzle honey or balsamic reduction over the finished peppers for a sweet contrast that balances the richness of the cheese. This touch of sweetness makes every bite memorable.
-
Stuffed Eggplant Boats: For a twist, substitute mini peppers with hollowed-out eggplants, filling them with the same delicious cheese mixture. They’ll roast beautifully and provide a new, hearty base for your favorite flavors.
What to Serve with Mini Cheese Stuffed Peppers?
These delightful bites are not just a snack; they make a perfect addition to your meal spread.
-
Crunchy Green Salad: A fresh salad with crisp greens and a tangy vinaigrette balances the richness of the cheese, keeping your meal light and vibrant.
-
Herbed Quinoa: Fluffy quinoa infused with herbs brings a nutty flavor and chewy texture that pairs well with the creamy stuffed peppers.
-
Roasted Vegetables: Seasoned colorful veggies provide additional depth and heartiness, creating a harmonious contrast with the soft texture of the peppers.
-
Garlic Bread: Warm, toasty garlic bread is perfect for scooping up any cheese that spills out, adding a crunchy element to your meal.
-
Chilled White Wine: A crisp Pinot Grigio or Sauvignon Blanc enhances the flavors of the dish and adds a refreshing touch, perfect for a laid-back evening.
-
Homemade Salsa: Bright, zesty salsa with fresh tomatoes and herbs injects a punch of flavor, making each bite of stuffed peppers even more exciting.
Elevate your dining experience by mixing and matching these suggestions—the possibilities are endless, and each pairing will offer a delightful new layer to your meal!
Expert Tips for Mini Cheese Stuffed Peppers
- Choose fresh peppers: Select firm, brightly colored mini peppers without blemishes for the best texture and sweet flavor in your Mini Cheese Stuffed Peppers.
- Don’t overfill: Fill peppers just enough to hold the cheese mixture without spilling, ensuring even roasting and easy handling.
- Room temperature cheese: Soften cream cheese before mixing to achieve a smooth, creamy filling that blends effortlessly with other cheeses.
- Use a piping bag: For neat, uniform stuffing, pipe the cheese mixture into peppers to avoid mess and create an attractive finish.
- Watch roasting time: Keep an eye on baking; peppers should be tender but not soggy, and cheese bubbly with light browning for perfect results.
- Add fresh herbs last: Sprinkle extra herbs after baking to preserve their bright flavor and vibrant color, enhancing your dish visually and taste-wise.
Mini Cheese Stuffed Peppers Recipe FAQs
How do I know if my mini sweet peppers are ripe and fresh?
Look for peppers that are firm with vibrant, glossy skin and no dark spots or wrinkles. They should feel heavy for their size and have a sweet aroma, which means they’re perfectly ripe for stuffing.
What’s the best way to store leftover Mini Cheese Stuffed Peppers?
Store any leftovers in an airtight container in the refrigerator. They stay fresh for up to 3 days. When reheating, pop them back in the oven at 350°F for about 5-7 minutes to warm them through while keeping the peppers tender and the cheese melty.
Can I freeze Mini Cheese Stuffed Peppers, and how long will they last?
Absolutely! After baking, let the peppers cool completely. Then wrap each one individually in plastic wrap to prevent freezer burn, place them in a freezer-safe bag or container, and freeze for up to 3 months. To reheat, bake them straight from the freezer at 375°F for about 20 minutes until heated through.
My cheese filling isn’t smooth and creamy—what should I do?
This can happen if the cream cheese is too cold or the cheeses weren’t combined evenly. I recommend letting the cream cheese soften at room temperature before mixing and stirring the filling thoroughly until silky. You can also use a hand mixer for an ultra-smooth texture.
Are Mini Cheese Stuffed Peppers safe for pets or certain allergies?
While the peppers themselves are safe for many pets in small amounts, the cheese filling contains dairy which some animals can’t digest well. Also, if you or your guests have dairy allergies or lactose intolerance, consider substituting with vegan cream cheese and dairy-free cheeses to keep things delicious and inclusive!
Irresistibly Easy Mini Cheese Stuffed Peppers You’ll Crave
Ingredients
Equipment
Method
- Preheat your oven to 375°F and line a baking sheet with parchment paper.
- In a mixing bowl, stir together cream cheese, shredded cheddar and grated Parmesan with garlic powder, salt, pepper, and chopped herbs until smooth.
- Using a small spoon or piping bag, fill each mini pepper cavity generously with cheese mixture.
- Roast the stuffed peppers at 375°F for 15–18 minutes, or until the peppers are tender.
- Transfer peppers to a platter, sprinkle with extra chopped herbs, and serve immediately.


