")


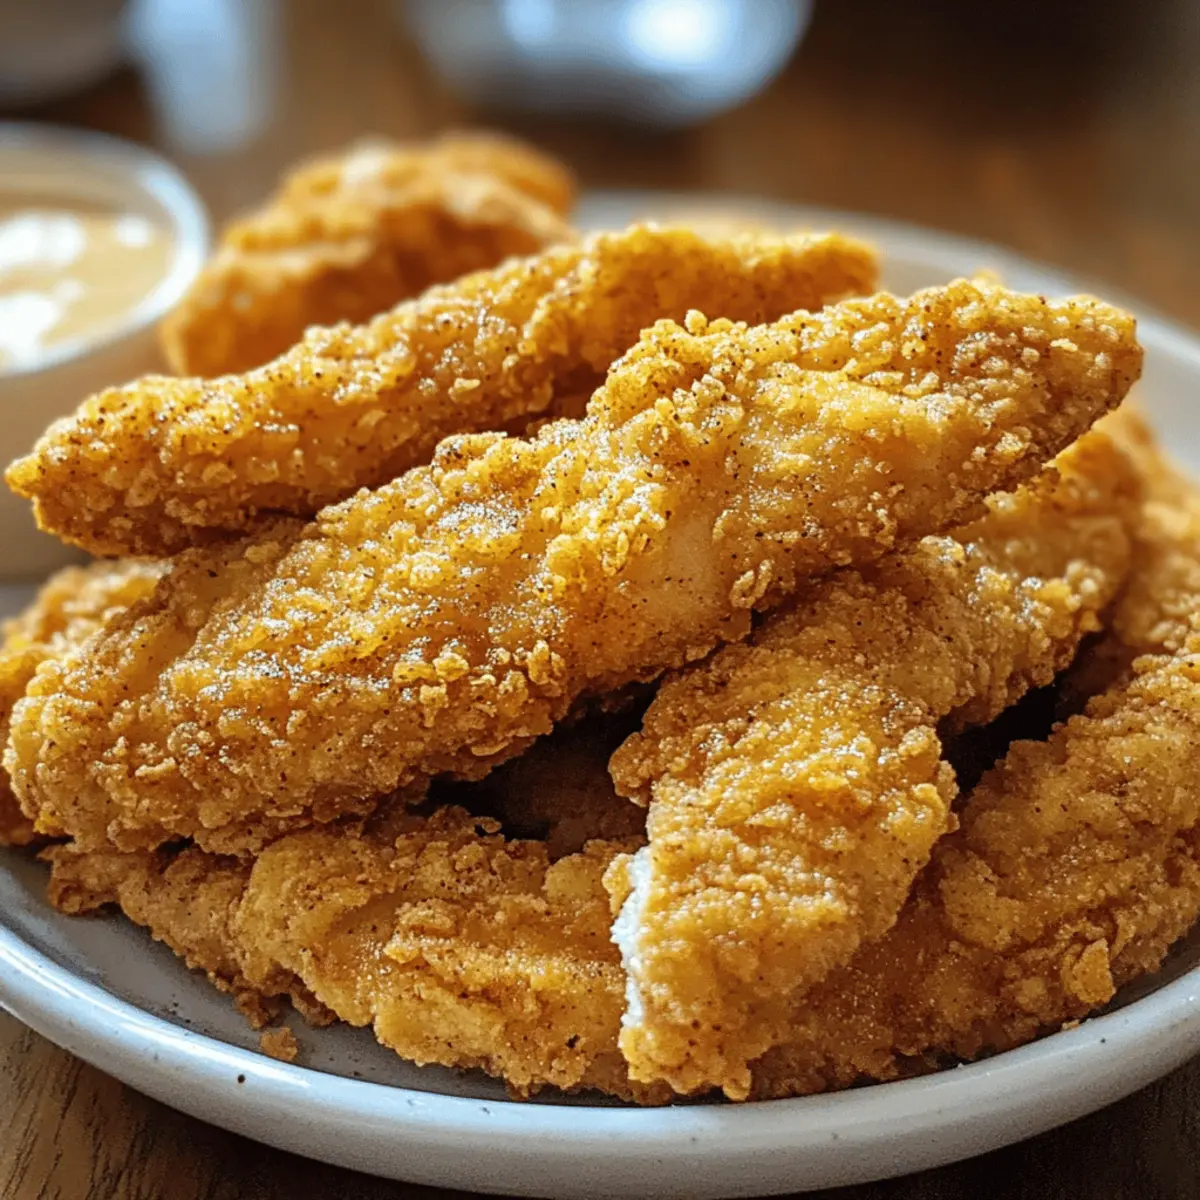
There’s something utterly satisfying about biting into chicken tenders that are crispy on the outside and perfectly juicy inside—like the ultimate comfort food hug. After countless experiments with frying oils, breading tricks, and seasoning blends, I finally nailed a recipe for juicy crispy chicken tenders that hits every note just right. Whether you’re tired of the usual takeout or craving a homemade crowd-pleaser for game night, these tenders are ridiculously easy to make and endlessly versatile. Trust me, once you try this method, you won’t look back!
Why choose Juicy Crispy Chicken Tenders?
Ultimate Crunch meets tender juiciness in every bite, creating a texture that’s addictive and satisfying. Easy homemade recipe means no more waiting for takeout or frozen options. Versatile crowd-pleaser perfect for family dinners, game nights, or quick snacks. Flavor-packed seasoning blends elevate simple chicken to irresistible comfort food. Plus, time-saving techniques keep your kitchen stress-free without sacrificing taste!
Juicy Crispy Chicken Tenders Ingredients
For the Chicken Tenders
- Chicken tenders – choose fresh, high-quality pieces for ultimate juiciness and tenderness.
- Buttermilk – helps tenderize the chicken while adding a subtle tang to complement the crispy crust.
- Salt – seasons the tenders thoroughly and enhances all other flavors.
- Black pepper – adds a gentle kick and balances the richness.
For the Crispy Coating
- All-purpose flour – provides the base for a crunchy, golden exterior.
- Cornstarch – mixed with flour to boost crispiness and prevent sogginess.
- Paprika – adds vibrant color and a touch of smoky flavor.
- Garlic powder – infuses bold savory notes that elevate the coating.
- Onion powder – enhances aroma and depth of flavor.
- Cayenne pepper – optional, for those who love a little heat in their Juicy Crispy Chicken Tenders.
For Frying
- Vegetable oil – use a neutral oil with a high smoke point for perfectly crispy frying without overpowering flavor.
How to Make Juicy Crispy Chicken Tenders
For the Buttermilk Soak:
- Soak: Place the chicken tenders in a bowl of seasoned buttermilk, cover securely, and refrigerate for 1 hour to tenderize and infuse flavor.
For the Crispy Coating:
-
Mix: Whisk the flour, cornstarch, paprika, garlic powder, onion powder, and cayenne in a bowl until the blend is light golden and evenly mixed.
-
Dredge: Remove each tender from buttermilk, let excess drip off, then press firmly into the coating mixture to ensure complete coverage.
For Frying:
-
Heat: Pour vegetable oil into a deep skillet, then heat over medium until it reaches 350°F (180°C) for crisp frying without burning.
-
Fry: Working in batches, fry tenders 3–4 minutes per side until golden brown and crispy, adjusting heat to maintain steady sizzle.
-
Drain: Use tongs to remove tenders to a wire rack set over paper towels; rest 2 minutes to drain excess oil and retain crispness.
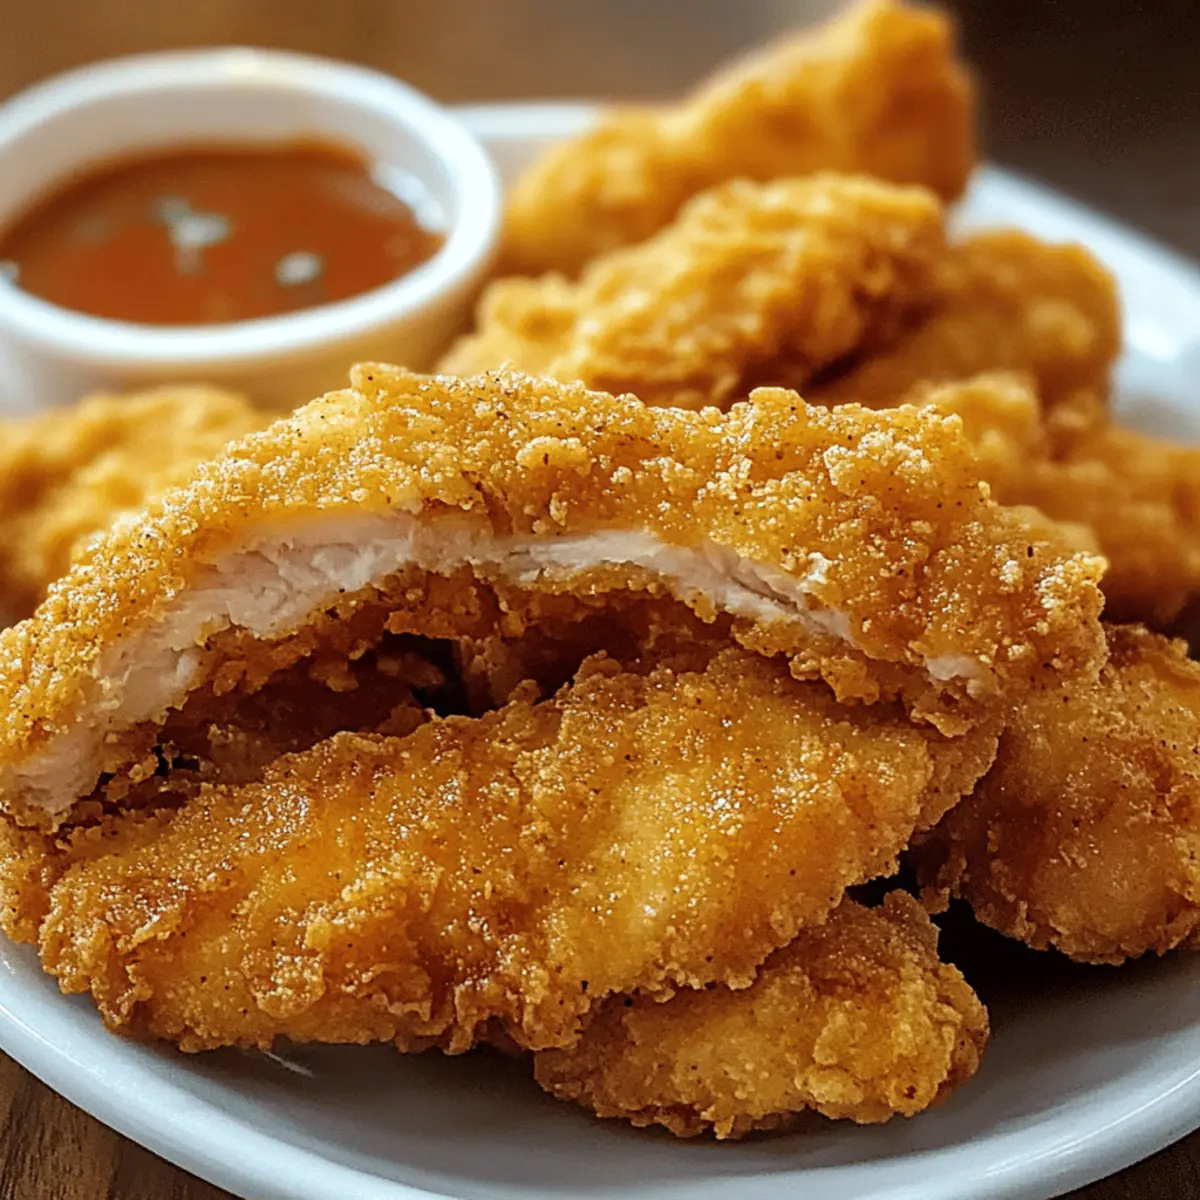
Optional: Serve with honey mustard or hot sauce for dipping.
Exact quantities are listed in the recipe card below.
Juicy Crispy Chicken Tenders Variations
Feel free to explore exciting twists and swaps to make this recipe your own! Customizing your chicken tenders is a delicious adventure for your taste buds.
-
Gluten-Free: Substitute all-purpose flour with a gluten-free flour blend to ensure everyone can enjoy the crispy goodness. Look for blends that mimic traditional flour textures for the best results.
-
Spicy Kick: Add chopped jalapeños or a splash of hot sauce to the buttermilk soak for spicy tenders that pack a flavorful punch. The heat is a delightful surprise in every bite!
-
Herb Infusion: Mix fresh or dried herbs like rosemary or thyme into your coating mixture for a fragrant twist. The herbs will not only elevate the aroma but also add a nuanced flavor profile.
-
Parmesan Crust: Blend grated Parmesan cheese into the breadcrumb mixture for a rich, cheesy flavor and extra crunch. The cheese will create a deliciously indulgent crust that everyone will love!
-
Baked Option: For a healthier take, brush tenders with olive oil and bake them at 400°F (200°C) for 20-25 minutes. You’ll get crispy tenders without the frying hassle—perfect for guilt-free indulgence!
-
Sweet & Spicy: Drizzle honey on your tenders before serving or mix honey into the dipping sauce. This sweet touch balances with the savory flavors, creating a delightful contrast.
-
Smoky Flavor: Add smoked paprika in place of regular paprika for an intriguing smokiness that sets your chicken tenders apart. This subtle smoky flavor adds depth and personality to each bite!
-
Asian Twist: Toss the cooked tenders in a sweet chili sauce for a deliciously sticky and sweet variation perfect for a unique dinner experience. The vibrant flavors are sure to please anyone at your table!
Expert Tips for Juicy Crispy Chicken Tenders
- Buttermilk soak timing: Soak tenders at least 1 hour but no more than 4 hours to lock in moisture without breaking down the meat’s texture.
- Coating consistency: Ensure the flour mixture is well blended and press tenders firmly into it to create that signature crispy crust everyone adores.
- Oil temperature check: Use a thermometer to maintain 350°F—too hot burns the coating, too cool results in greasy, soggy chicken tenders.
- Dry before dredging: Let excess buttermilk drip off before coating to avoid clumpy breading and uneven frying.
- Fry in batches: Don’t overcrowd the pan; cooking in smaller batches keeps oil temperature steady and ensures perfectly crispy tenders.
- Rest after frying: Place tenders on a wire rack instead of paper towels to keep the coating crisp while draining excess oil.
What to Serve with Juicy Crispy Chicken Tenders?
Elevate your meal with delicious sides that perfectly complement the crispy and juicy perfection of your chicken tenders.
- Creamy Coleslaw: A crunchy, tangy slaw adds a refreshing contrast that balances the savory flavors of the tenders.
- Garlic Bread Sticks: Soft and buttery, these bread sticks provide a delightful chewiness that pairs well with homemade dipping sauces.
- Zesty Potato Wedges: Crispy on the outside and tender inside, these seasoned wedges enhance the comfort food vibe of your meal beautifully.
- Steamed Vegetables: Brightly colored broccoli, carrots, and green beans bring a fresh and healthy element, making the dish more balanced and nutritious.
- Caesar Salad: Crisp romaine leaves tossed with creamy dressing provide a nice contrast in texture and flavor, adding a bit of elegance.
- Honey Mustard Dipping Sauce: With a sweet and tangy kick, dipping your chicken tenders in this sauce makes for a standout experience.
- Sparkling Lemonade: This refreshing drink cleanses your palate, perfectly complementing the rich, crispy chicken with its bright citrusy notes.
- Mini Cheesecakes: End your meal on a sweet note with these bite-sized desserts that contrast nicely with the savory fried chicken.
- Pickle Chips: Tangy and crunchy, these little bites add a fun zing, making each bite of chicken feel like a scrumptious adventure.
Make Ahead Options
These Juicy Crispy Chicken Tenders are perfect for meal prep enthusiasts! You can soak the chicken in buttermilk up to 24 hours in advance, allowing flavors to penetrate deeply while tenderizing the meat. The coating mixture can also be prepared and stored in an airtight container for up to 3 days; just keep it in a cool, dry place to maintain its texture. When you’re ready to fry, simply dredge the buttermilk-soaked tenders in your prepped coating and fry them as directed. This way, you can enjoy delicious, homemade chicken tenders with minimal effort on busy weeknights, and they will taste just as delightful as if made fresh!
How to Store and Freeze Juicy Crispy Chicken Tenders
Fridge: Store leftover chicken tenders in an airtight container for up to 3 days; this keeps them juicy while preventing them from drying out.
Freezer: For longer storage, freeze cooked chicken tenders in a single layer on a baking sheet, then transfer to a freezer bag for up to 2 months.
Reheating: To enjoy crispy tends again, reheat in an oven set to 375°F (190°C) for 10-12 minutes, allowing them to regain their crunch while warming through.
Room Temperature: Avoid leaving chicken tenders at room temperature for more than 2 hours to keep them safe for eating.
Juicy Crispy Chicken Tenders Recipe FAQs
How do I know if my chicken tenders are fresh and perfect for this recipe?
Look for chicken tenders that are pinkish in color, moist but not slimy, and have a fresh, clean smell. Avoid pieces with any grayish hues or dark spots. Freshness is key to achieving juicy, tender results after frying!
What’s the best way to store leftover Juicy Crispy Chicken Tenders?
Store any leftovers in an airtight container in the refrigerator for up to 3 days. I recommend placing a paper towel at the bottom to absorb excess moisture, which helps keep the coating crispier. When you’re ready to eat, reheat them in a hot oven rather than a microwave for best texture.
Can I freeze cooked chicken tenders, and how should I do it?
Absolutely! First, let the tenders cool completely. Then, freeze them in a single layer on a baking sheet to prevent sticking, about 1-2 hours. Once firm, transfer to a freezer-safe bag or airtight container. Frozen chicken tenders keep well up to 2 months. To reheat, bake at 375°F (190°C) for 10-12 minutes straight from frozen to restore that irresistible crunch.
Why did my chicken tenders turn out soggy instead of crispy?
Soggy tenders usually mean either the oil temperature was too low or the coating wasn’t properly dried before frying. Make sure your oil is at a steady 350°F (180°C) and let excess buttermilk drip off completely before dredging. Also, avoid overcrowding the pan; frying in batches helps maintain the oil temperature and crispiness.
Are Juicy Crispy Chicken Tenders safe for pets or suitable for special diets?
While the chicken itself is safe for most pets, the seasoned coating often contains spices like paprika, garlic, and onion powder, which can be harmful to dogs and cats. I recommend sticking to plain cooked chicken if feeding your furry friends. For dietary restrictions, feel free to swap the all-purpose flour for gluten-free flour blends to make these tenders more inclusive!
Juicy Crispy Chicken Tenders: The Ultimate Homemade Crunch
Ingredients
Equipment
Method
- Soak the chicken tenders in a bowl of seasoned buttermilk, cover securely, and refrigerate for 1 hour.
- Whisk the flour, cornstarch, paprika, garlic powder, onion powder, and cayenne in a bowl until evenly mixed.
- Remove each tender from buttermilk, let excess drip off, then press into the coating mixture.
- Heat vegetable oil in a deep skillet over medium heat until it reaches 350°F (180°C).
- Fry tenders in batches for 3–4 minutes per side until golden brown and crispy.
- Use tongs to transfer fried tenders to a wire rack set over paper towels; let rest for 2 minutes.


