")


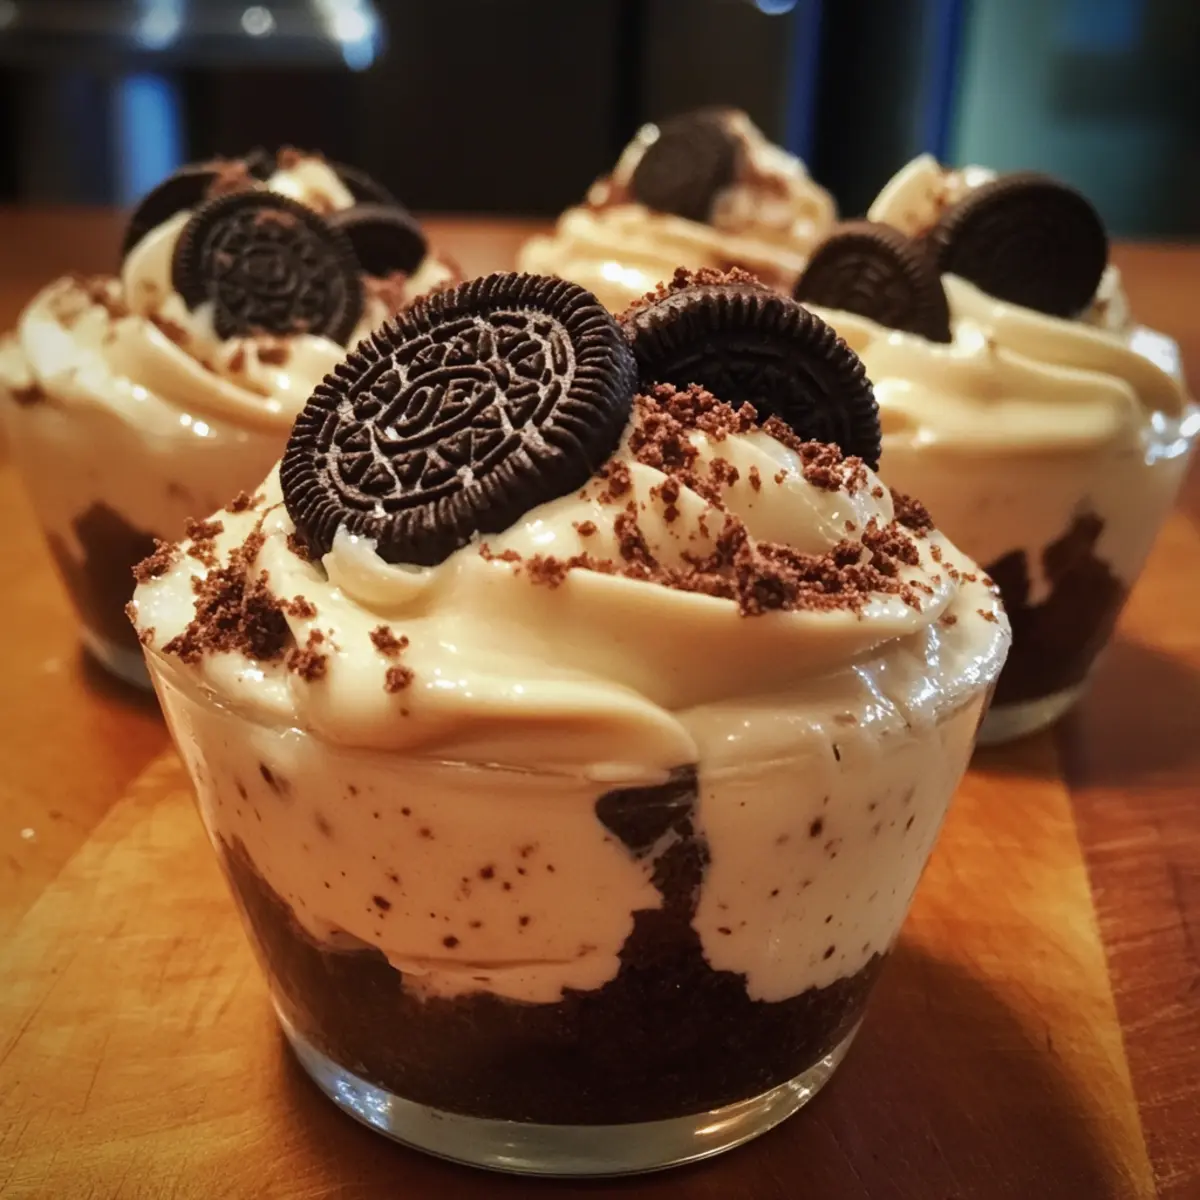
After a long day, nothing beats sinking into a sweet treat that feels indulgent yet requires almost no effort. That’s exactly why these Oreo Cream No Bake Dessert Cups have become my go-to for effortless dessert magic. Imagine layers of crunchy Oreo bits mingling with luscious, creamy filling—no oven needed, just a few simple ingredients and some fridge time. Perfect for those moments when you want a crowd-pleaser that dazzles without the fuss, these cups bring that nostalgic cookie-and-cream combo to a whole new level. Whether you’re winding down after work or hosting a last-minute get-together, this recipe is a total game-changer for homemade desserts.
Why choose Oreo Cream No Bake Dessert Cups?
Effortless preparation: No baking means less time in the kitchen and more time enjoying dessert. Delicious texture: Crunchy Oreo bits combined with a smooth, creamy filling create a perfect contrast. Versatile treat: Ideal for casual nights or elegant gatherings, these cups impress every time. Crowd-pleaser magic: Familiar flavors everyone loves turned into a fun, individual serving. Make-ahead convenience: Prepare in advance for stress-free entertaining or quick indulgence anytime.
Oreo Cream No Bake Dessert Cups Ingredients
For the Oreo Cream Filling
- Cream cheese – Provides creamy richness and a slight tang to balance the sweetness.
- Whipped topping – Adds light, airy texture that makes the dessert feel indulgent without heaviness.
- Powdered sugar – Sweetens gently and helps stabilize the cream filling for perfect scoopability.
- Vanilla extract – Enhances the overall flavor with warm, comforting notes.
For the Oreo Base and Toppings
- Crushed Oreo cookies – The star ingredient that delivers crunch and that signature cookie flavor in every bite.
- Butter – Binds the cookie crumbs together, creating a sturdy base or crunchy topping.
- Extra Oreo pieces – For garnish and added texture delight in each glass.
Optional Add-ins and Garnishes
- Chocolate chips – Sprinkle inside cups for extra chocolaty bursts.
- Mini marshmallows – Add a sweet, chewy surprise that complements the creamy layers.
- Fresh berries – Brighten up the dessert with a pop of color and freshness.
These carefully selected ingredients come together beautifully to create the effortlessly delicious Oreo Cream No Bake Dessert Cups everyone will rave about.
How to Make Oreo Cream No Bake Dessert Cups
-
For the Oreo Base:
Crush Oreos: Place Oreo cookies in a zip-top bag; use a rolling pin or food processor to crush into fine, evenly sized crumbs for a consistent base. -
Bind Crumbs: In a medium bowl, stir melted butter into Oreo crumbs until the mixture resembles damp sand and holds its shape when pressed.
-
Form Bases: Divide crumb mixture among 6 serving cups; press firmly into the bottoms forming ½-inch layers without gaps. Chill in fridge for 10 minutes.
-
For the Cream Filling:
Beat Cream Cheese: In a large bowl, beat room-temperature cream cheese on medium speed until smooth and creamy, about 2 minutes. This creates a silky base for your luscious filling. -
Add Sweeteners: Add powdered sugar and vanilla extract to the cream cheese; mix on low until fully incorporated and the texture is light and billowy.
-
Fold in Topping: Gently fold whipped topping into the cheese mixture until a uniform pale texture appears, careful not to deflate the airy consistency.
-
Layer Filling: Spoon or pipe the cream filling over chilled Oreo bases, creating even ½-inch layers. Smooth tops with a spatula for neat presentation.
-
Chill and Serve: Refrigerate dessert cups for at least 1 hour until set. Top with extra Oreo crumbs, chocolate chips, or berries just before serving.
Optional: sprinkle a dusting of cocoa powder for elegant finish.
Exact quantities are listed in the recipe card below.
Expert Tips for Oreo Cream No Bake Dessert Cups
- Use room temperature cream cheese: This ensures a smooth, lump-free filling and makes it easier to blend with powdered sugar and vanilla.
- Don’t overmix whipped topping: Fold gently to keep the airy texture, which is key to light and fluffy Oreo Cream No Bake Dessert Cups.
- Press crumbs firmly: Compact the Oreo base well to prevent it from crumbling when scooping or serving.
- Chill adequately: At least one hour in the fridge helps the flavors meld and the dessert to set perfectly for clean, neat servings.
- Customize toppings: Add fresh berries or chocolate chips just before serving to keep textures distinct and visually appealing.
Storage Tips for Oreo Cream No Bake Dessert Cups
Fridge: Store unused dessert cups in an airtight container for up to 3 days. This helps maintain freshness and flavor.
Freezer: For longer storage, place cups in a freezer-safe container for up to 2 months. Make sure to cover each cup tightly to avoid freezer burn.
Thawing: When ready to enjoy, transfer the cups to the fridge to thaw overnight. Avoid using a microwave as it may affect the cream’s texture.
Serving: Reinvent the dessert by adding fresh toppings just before serving, ensuring a delightful blend of flavors in every bite of your Oreo Cream No Bake Dessert Cups.
What to Serve with Oreo Cream No Bake Dessert Cups?
When you’re ready to elevate your dessert experience, these delightful pairings will create a full culinary moment.
-
Fresh Berries: The tartness of strawberries or raspberries cuts through the creaminess, adding a refreshing burst of flavor and color on your plate.
-
Chocolate Drizzle: A drizzle of warm, melted chocolate enhances the indulgence factor and introduces a luxurious touch.
-
Coffee or Espresso: The robust flavors of coffee create a perfect contrast, balancing sweetness while providing a delightful pick-me-up.
-
Whipped Cream: A dollop of fresh whipped cream adds extra volume and smoothness, complementing the creamy filling beautifully.
-
Mint Leaves: A few fresh mint sprigs not only brighten the plate but also provide a refreshing aroma and flavor that contrasts nicely with the dessert.
-
Ice Cream: Serve alongside a scoop of vanilla or cookies and cream ice cream for that irresistible creamy combo, making it a decadent dessert experience.
-
Chocolate-Covered Pretzels: The salty crunch offers a delightful contrast to the sweet layers of the dessert, creating a satisfying balance of flavors.
-
Sparkling Wine: A glass of bubbly can provide a festive touch, enhancing the sweetness of the dessert while offering a celebratory vibe for any occasion.
Make Ahead Options
These Oreo Cream No Bake Dessert Cups are perfect for busy home cooks looking to save time without sacrificing flavor! You can prepare the Oreo base and cream filling up to 24 hours in advance. Simply crush the Oreo cookies and mix with melted butter, then press the mixture into serving cups and chill. For the filling, beat together the cream cheese, powdered sugar, and vanilla until smooth, fold in the whipped topping, and refrigerate the mixture separately. When you’re ready to serve, layer the cream filling on top of the chilled bases, garnish as desired, and enjoy a delightful, indulgent dessert that tastes just as fresh!
Variations & Substitutions for Oreo Cream No Bake Dessert Cups
Feel free to get creative and personalize your Oreo Cream No Bake Dessert Cups! Here are some fun and tasty twists to try.
- Gluten-Free: Use gluten-free Oreos and butter alternative to make this treat suitable for gluten-sensitive friends.
- Vegan: Substitute cream cheese with vegan cream cheese, whipped topping with coconut cream, and use dairy-free butter for a delicious plant-based version.
- Peanut Butter Lovers: Fold in peanut butter into the cream filling for a nutty, rich flavor that complements the Oreo perfectly.
- Mint Chocolate Chip: Add mint extract to the cream filling for a refreshing twist, then layer with crushed mint Oreos for extra flavor.
- Layering Fun: Alternate layers of crushed Oreos and the cream filling with layers of pudding or cheesecake for a delightful twist on traditional taste.
- Spicy Kick: Sprinkle a pinch of cayenne pepper into the cream filling for some unexpected heat that balances the sweetness.
- Fruit Infusion: Mix in fresh berries like raspberries or strawberries into the filling for a delightful fruity burst in every bite.
- Chocolate Ganache Topping: Drizzle some warm chocolate ganache over the tops right before serving for an indulgent finishing touch.
With these variations, you can make this dessert uniquely yours and explore a world of flavors, textures, and excitement!
Oreo Cream No Bake Dessert Cups Recipe FAQs
How do I know if my Oreos are still good to use?
Check the Oreos for any unusual smells or visible mold. If they’re stale or have dark spots all over, it’s best to use fresh ones to keep your dessert tasting its best.
What’s the best way to store leftover Oreo Cream No Bake Dessert Cups?
Store them in an airtight container in the fridge for up to 3 days. This keeps the creamy filling fresh and preserves the Oreo crunch without sogginess.
Can I freeze these dessert cups, and if so, how?
Absolutely! Freeze the cups in a sturdy, freezer-safe container for up to 2 months. First, chill them in the fridge until firm, then cover tightly with plastic wrap or foil before freezing. When ready to enjoy, thaw overnight in the fridge for the best texture—avoid microwaving to keep the cream smooth.
Why did my cream filling turn out runny or too stiff?
Runny filling usually means the cream cheese was too cold or the whipped topping was overmixed and lost its airiness. To fix this, always use room-temperature cream cheese and fold the whipped topping gently. If too stiff, try mixing in a splash of milk or cream to loosen it slightly.
Are Oreo Cream No Bake Dessert Cups safe for pets or people with allergies?
These cups are not safe for pets due to the chocolate content. For guests with dairy or gluten allergies, consider using allergy-friendly cream cheese and gluten-free Oreos substitutes to create a safe, delicious alternative.
Indulgent Oreo Cream No Bake Dessert Cups You’ll Love!
Ingredients
Equipment
Method
- Place Oreo cookies in a zip-top bag; use a rolling pin or food processor to crush into fine crumbs.
- Stir melted butter into Oreo crumbs until the mixture resembles damp sand.
- Divide crumb mixture among 6 serving cups; press firmly into the bottoms and chill in the fridge for 10 minutes.
- Beat room-temperature cream cheese on medium speed until smooth and creamy, about 2 minutes.
- Add powdered sugar and vanilla extract; mix on low until fully incorporated.
- Gently fold whipped topping into the cheese mixture until uniform.
- Spoon or pipe the cream filling over chilled Oreo bases.
- Refrigerate dessert cups for at least 1 hour until set.
- Top with extra Oreo crumbs, chocolate chips, or berries just before serving.


